Just your friendly neighbourhood Spider-Man swinging in with some character inspired cookies. Delicious, triple chocolate NYC cookies, as it happens. Ready? Let’s suit up.
Contents
The Bake
The Spider-Man character has always been one of my favourite superheroes – see my Spider-Man celebration cake for more Spidey goodness! Because of this, I couldn’t stop at just one Spider-Man recipe.
I aimed to incorporate the film’s demographic and the overall feel of Spider-Man: Into the Spider-Verse with this recipe. Thus, I created the most delectable triple chocolate NYC cookies one could make. NYC cookies specifically because Peter Parker is from Queens and Miles Morales is from Brooklyn; parts of New York City.
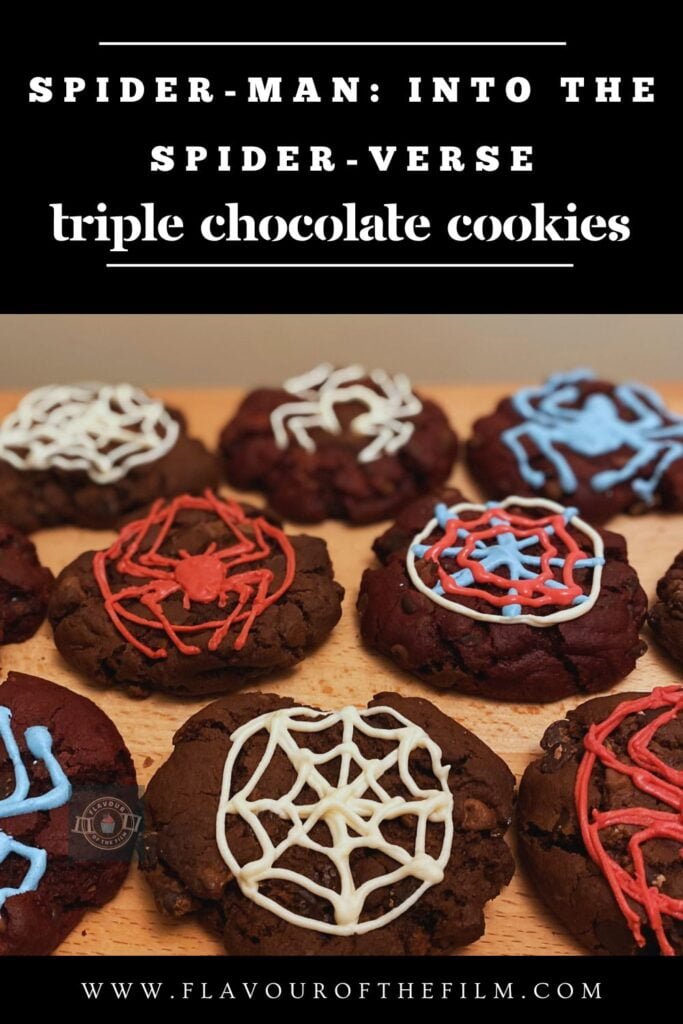
I opted for Spider Man themed cookies because they are a great treat to make with young ones and this film is for audiences of all ages. Plus, cookies are super fun, just like this film!
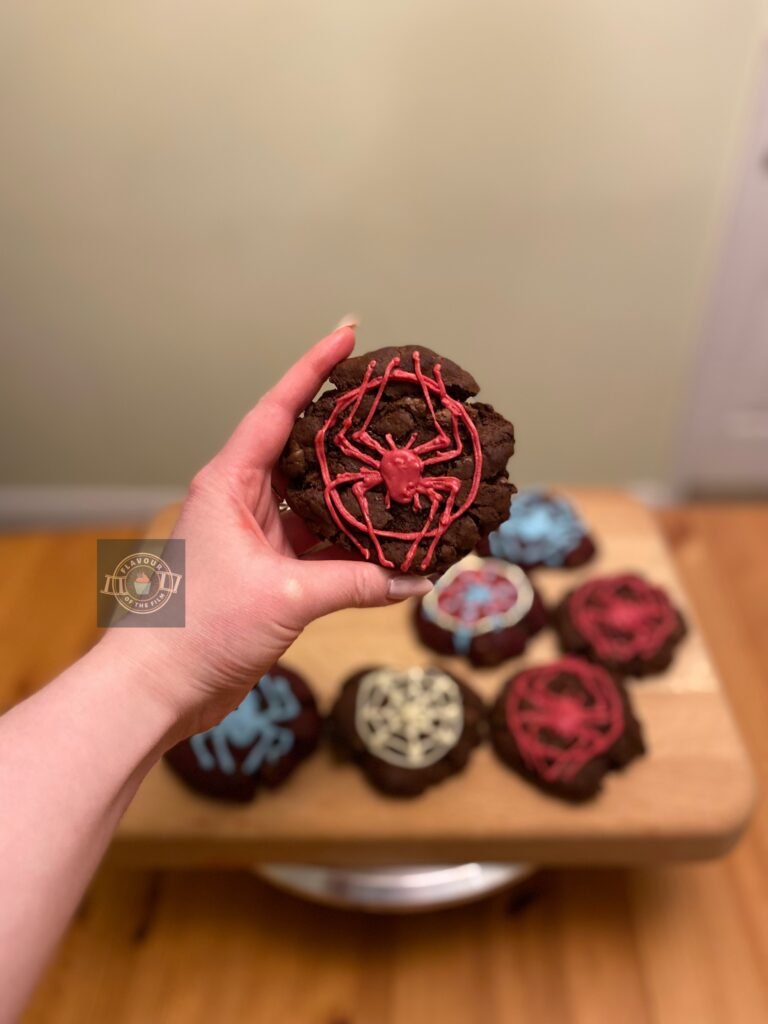
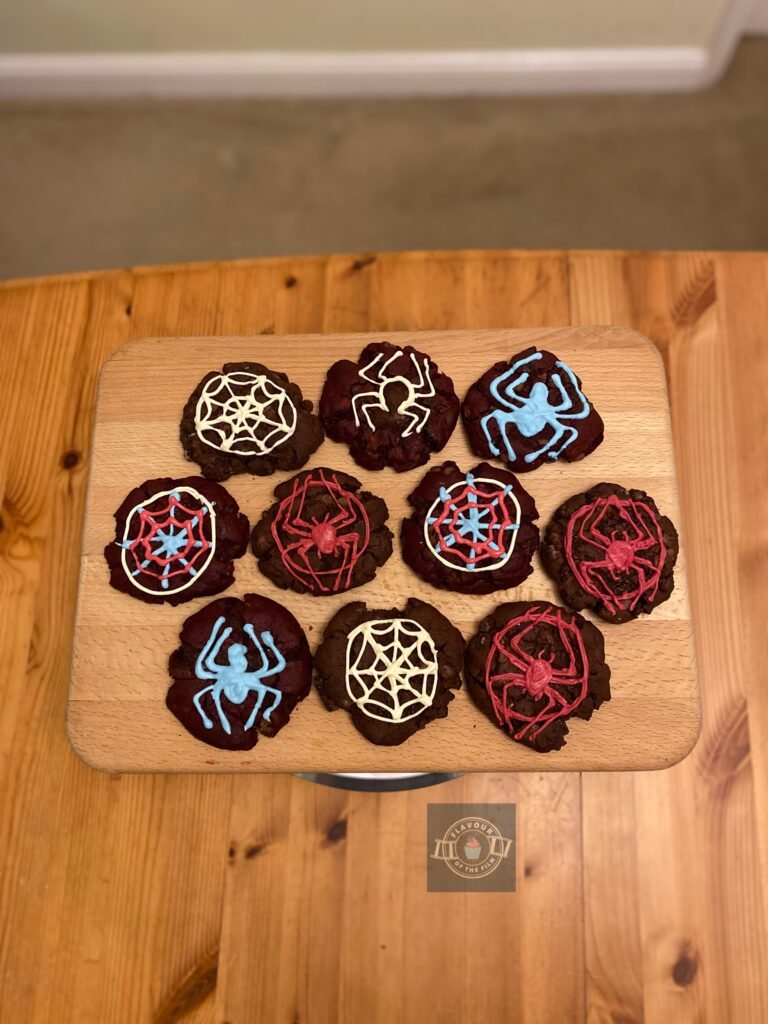
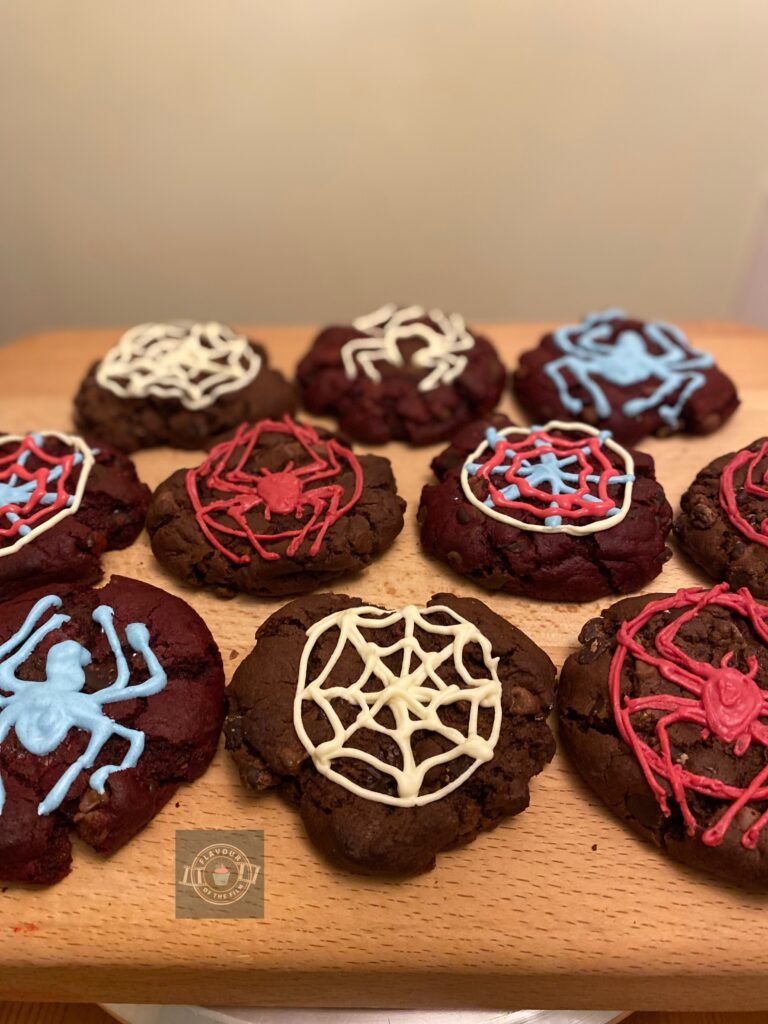
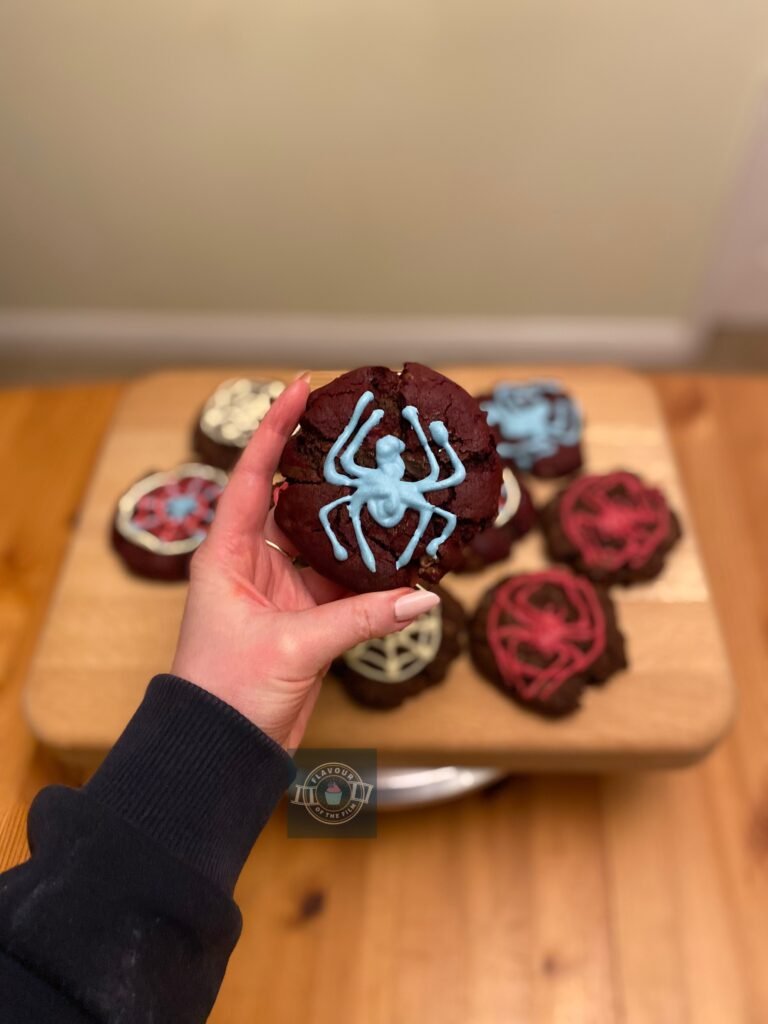
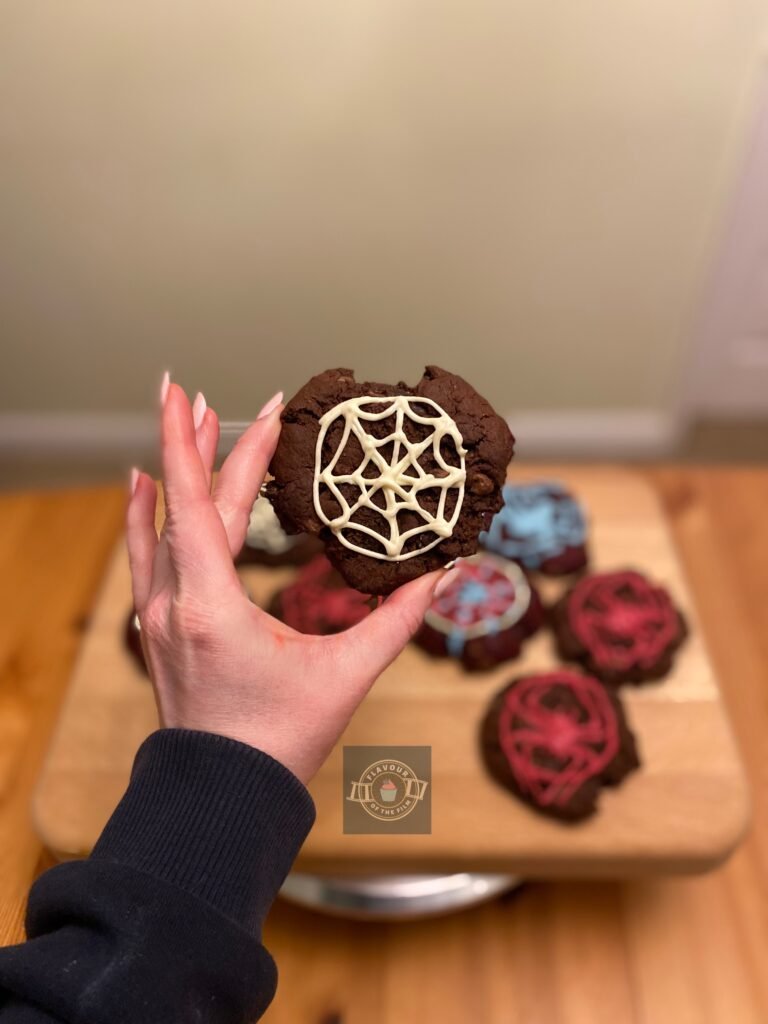
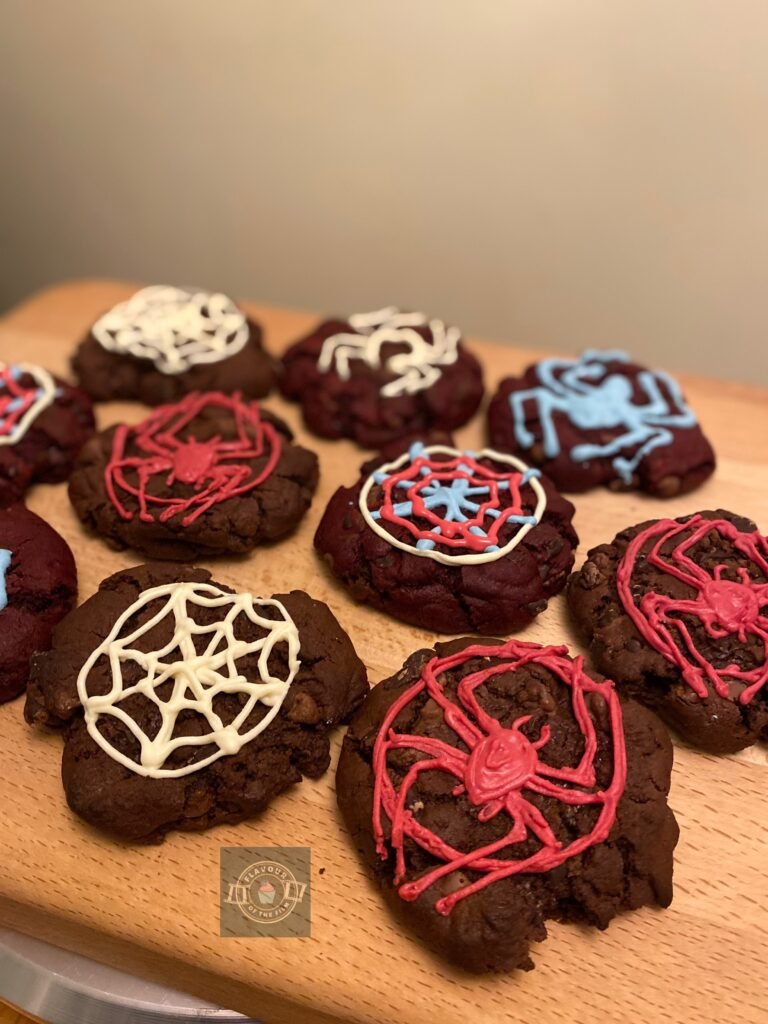
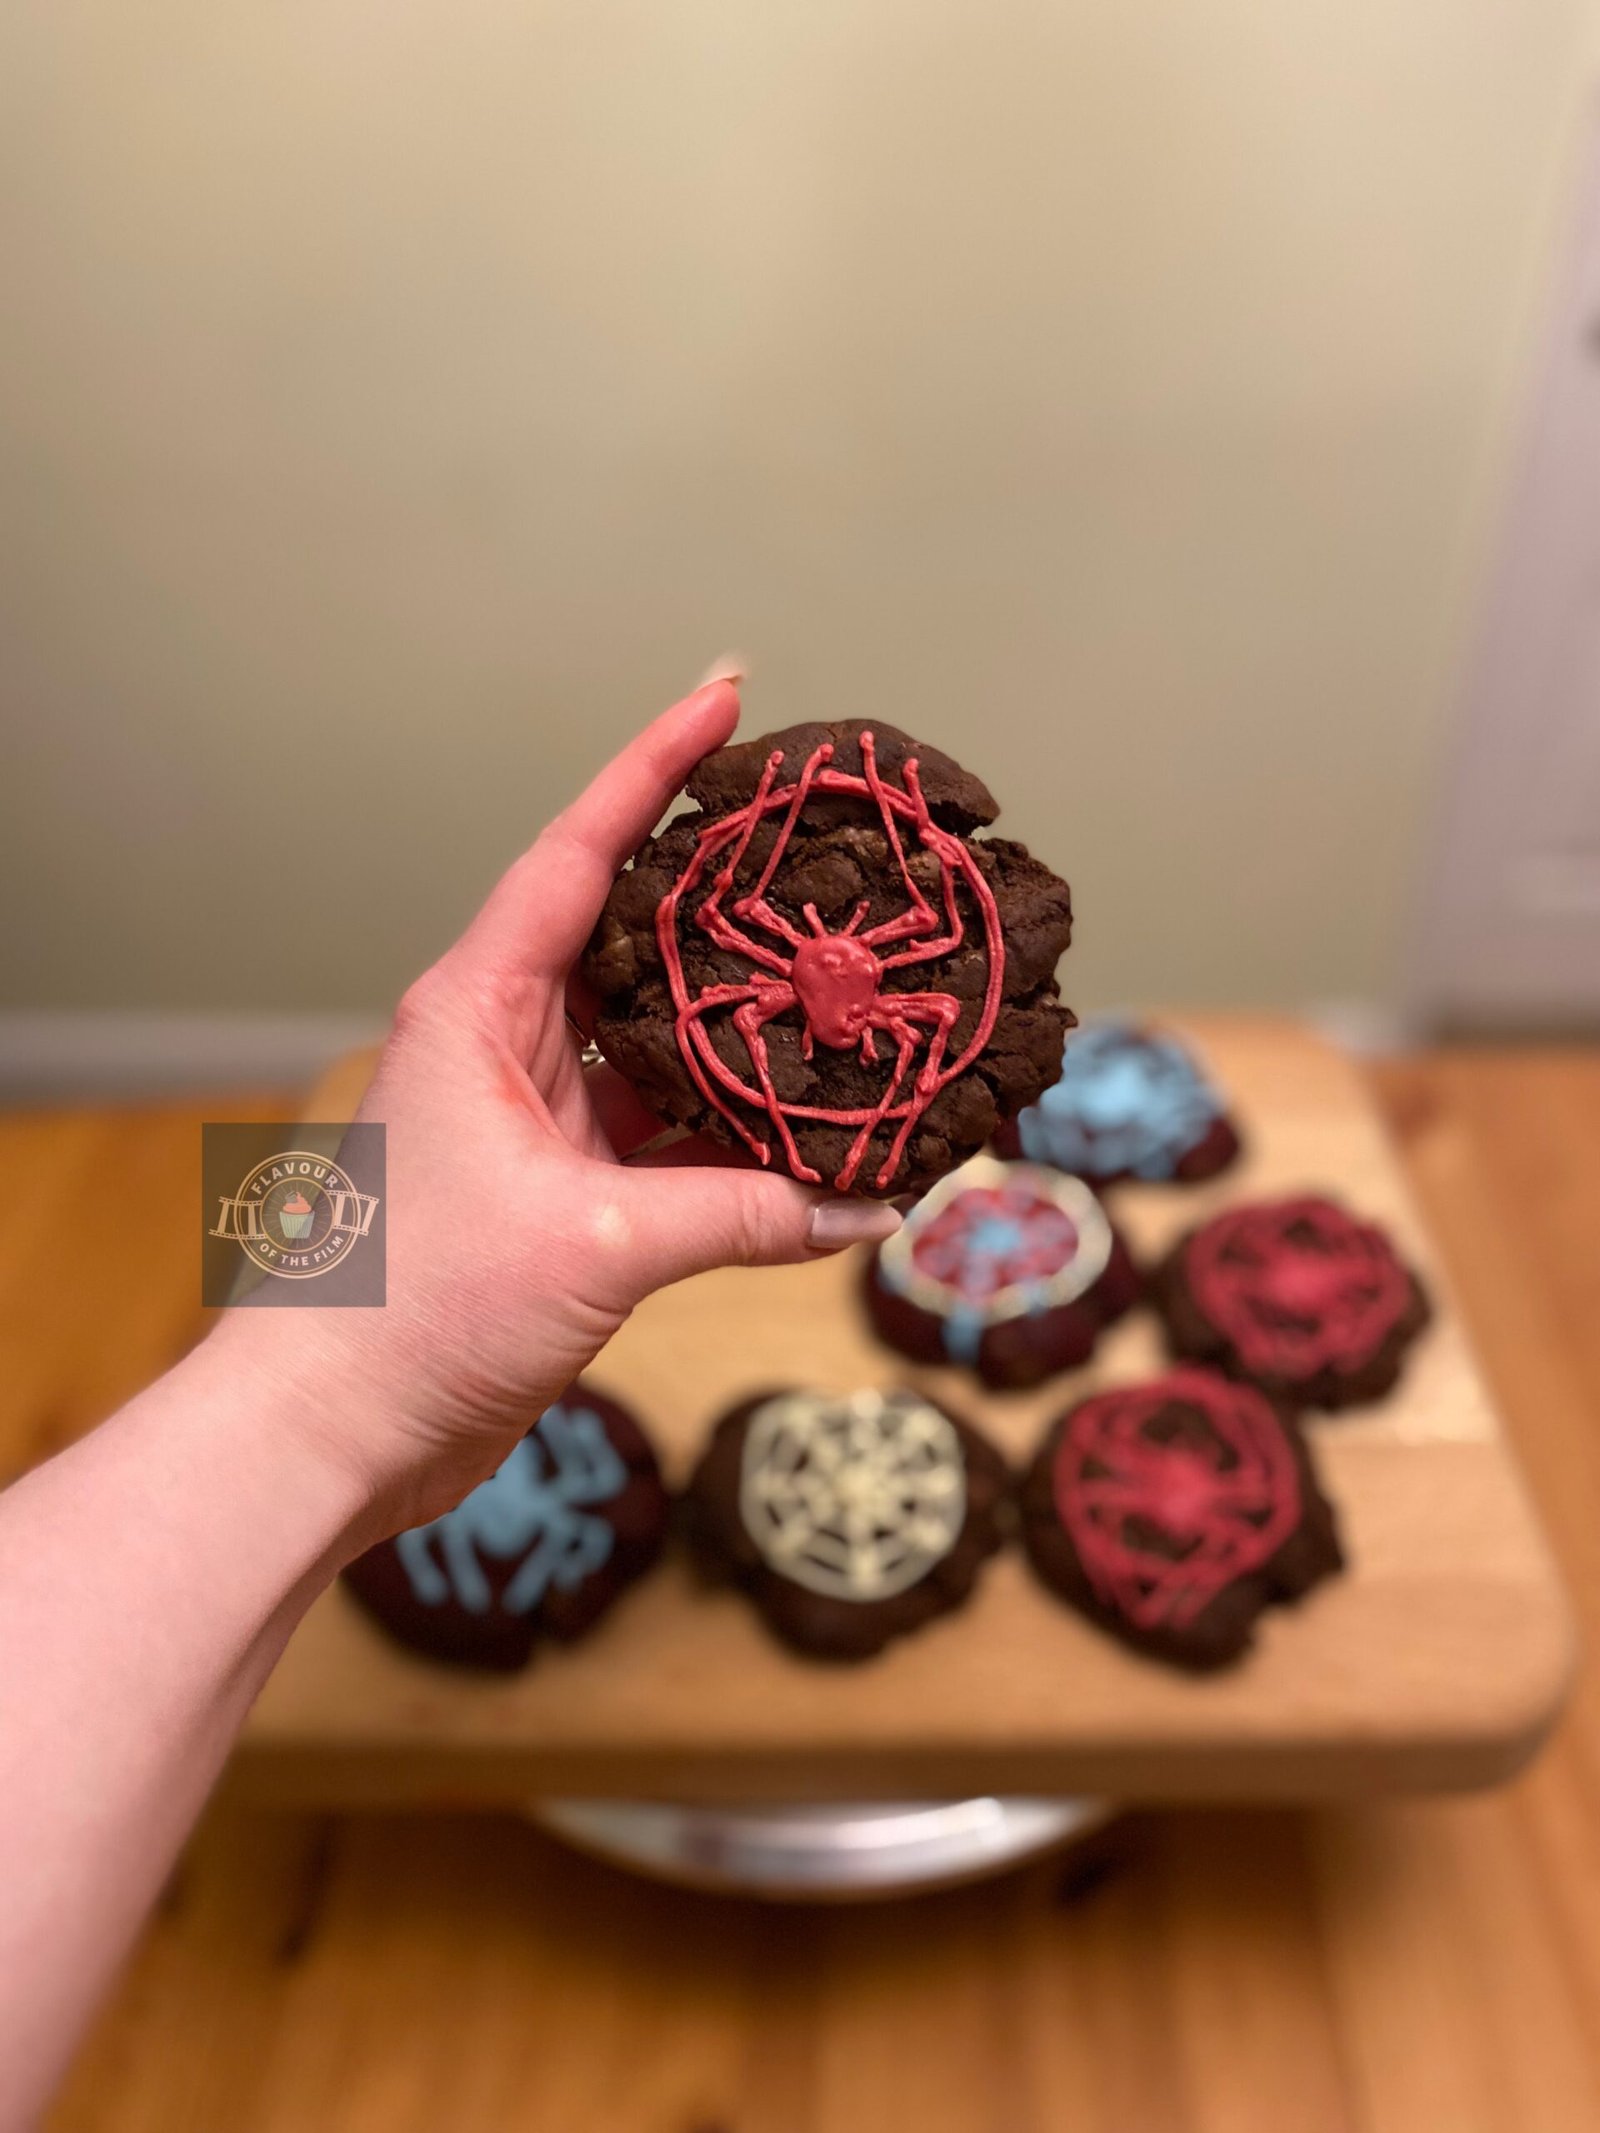
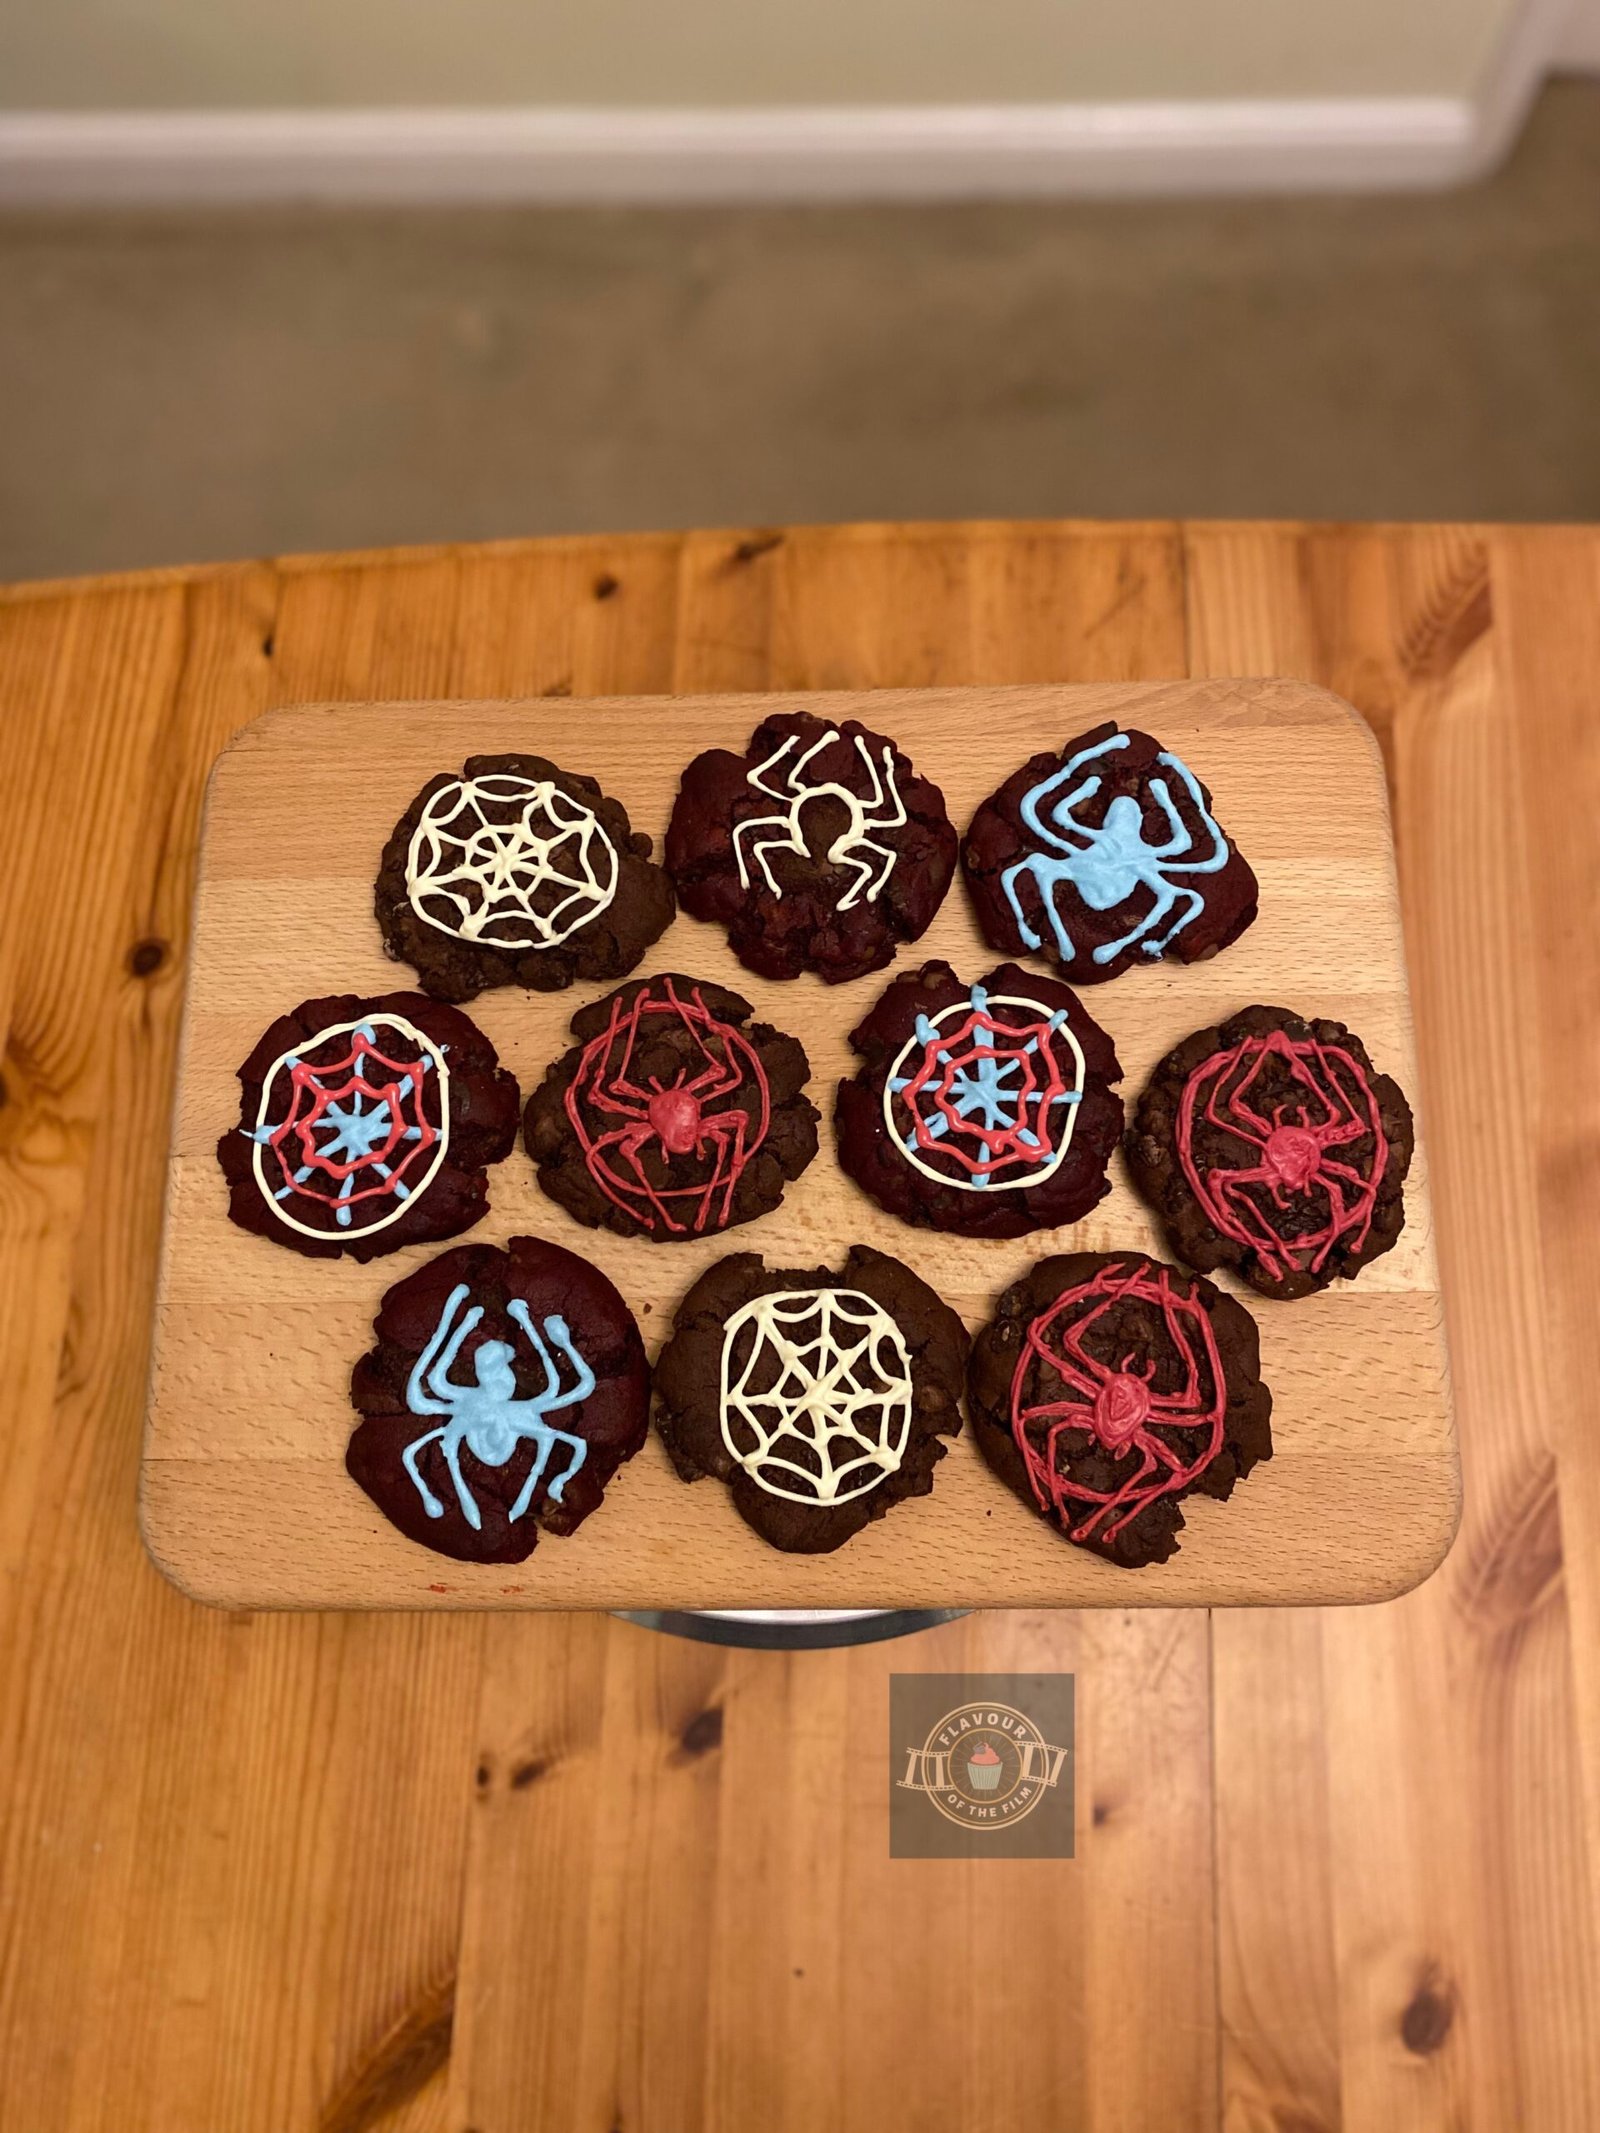
For the decoration, I knew I wanted to create designs to represent the different Spider-Heroes. Each design is either the character’s specific spider design i.e. Miles and Peni, or they are representative of the characters without a spider design like Gwen or Spider-Man Noir. Miles’s spider design is spray-painted onto his suit so I tried to emulate the same vibe with the piping – this is where a little mess is actually effective!

I also knew that I wanted the designs on my Spider Man cookies to really pop.
Pop in the way the colour scheme of the film does. In order to do that, I opted for double chocolate cookies so that I had a dark base. Half of these cookies are coloured with a deep red food dye – like red velvet – so that the blue decorations in particular really look the part.
As the decoration is melted white chocolate, I’m going to say that these cookies are technically triple chocolate NYC cookies. There aren’t any white chocolate chips because of the decoration but there are dark and milk chocolate chips in them.
There are lots of great triple chocolate NYC cookies out there but mine are, as is my style, a little richer in taste. I love a dark but sweet chocolate flavour so I made sure to make these Spider Man cookies with a little dark brown sugar. It’s slightly unusual but it makes all the difference.

The key with NYC cookies is chilling the dough.
Once you’ve shaped it into cookies – for an hour in the fridge or 30 minutes in the freezer before going anywhere near the oven with them. This allows them to keep their shape.
Then, you leave the cookies to continue baking on the trays for at least 30 minutes after they’ve come out of the oven. This achieves that wonderfully thick, soft centre.
The great thing about NYC cookies is that they are forgiving. NYC cookies don’t need to look perfect – the more rustic and slightly rough-around-the-edges they look, the more enticing they are! Your Spider Man cookies are sure to taste amazing whatever they look like so long as you follow the steps below.
Top Tips
- Chill the dough before baking to prevent spreading in the oven. Do not skip this step!
- Massage the colour into the dough but don’t overwork it. Overworking a dough can change the texture.
- Avoid baking the cookies for longer than the time provided in the recipe. They will continue cooking on the trays after their stint in the oven.
- Have fun with the piping: it doesn’t need to be exact! But, be relatively quick to avoid the chocolate hardening in the piping bag before you’re done.
- Add more chocolate chunks/chips if you want, but no more than an extra 100g. Otherwise forming the cookies will be a lot harder as there won’t be enough dough to combine.
These triple chocolate NYC Spider-Man cookies are rich, sweet, chocolatey and deliciously soft on the inside. I hope you enjoy making them and enjoy eating them. They are so wonderfully easy to make and are great fun to make with others. I made 10 cookies out of this recipe but you can always make them a little smaller or bigger if you want more or less. Double the recipe for more pop-coloured joy!
Happy baking, happy eating!
The Recipe
Ingredients
Triple chocolate NYC cookies:
- 135g [4.75 oz] unsalted butter
- 75g [¼ cup + 2 tbsp] caster sugar
- 70g [¼ cup + 2 tbsp] light brown sugar
- 30g [2 tbsp + 1 tsp] dark brown sugar
- 1 egg
- 250g [1½ + 1 tbsp] plain [all-purpose] flour
- 50g [¼ cup + 3 tbsp] cocoa powder
- 1 tbsp cornflour
- 1 ½ tsp baking powder
- ½ tsp bicarbonate of soda [baking soda]
- ½ tsp salt
- 100g [3.5 oz] dark chocolate chips
- 100g [3.5 oz] milk chocolate chips
- 1 tsp strong red food colouring
Decoration:
- 200g [7 oz] white chocolate
- White food colouring
- Baby blue food colouring
- Pink food colouring
- Red food colouring
Serves: 10
Preparation time: 15 minutes
Chilling time: 30 – 60 minutes
Baking time: 11 – 13 minutes
Decorating time: 15 minutes
Method
Triple chocolate NYC cookies:
- Grease and line two baking trays with greaseproof paper/baking parchment.
- Beat together the butter and all three sugars until light and fluffy.
- Add the egg and beat again until smooth.
- Sieve the flour into the batter. Add the cocoa powder and the rest of the dry ingredients and mix until a dough is formed.
- Split the dough in half and place the two halves in two different bowls.
- Add the red food colouring into one of the halves and massage the food colouring into the dough until it is as incorporated as it can be.
- Pour half of the chocolate chips into one bowl and half in the other. Combine the chocolate chips in each dough half.
- Shape the dough into balls to create your cookies. Place them on the trays – 5 balls on each – two rows of two and one in the middle so that they have space between.
- Allow your cookies to chill in the fridge for 1 hour or in the freezer for 30 minutes. Do not skip this part or you may end up with flat cookies instead of thick NYC-style ones!
- Around 10 minutes before you are ready to take your cookies out of the fridge/freezer, preheat your oven to 200°C [392°F] or 180°C fan.
- When your cookies are ready, bake them for 11 -13 minutes, just until the surface has cracked slightly. You don’t need to press the cookies down before baking as they will spread in the oven, but you can press the tops of them down just slightly before putting them in the oven if you are looking for a flatter surface rather than a domed once.
- Allow your cookies to continue baking on the trays and subsequently cool for 30 minutes before removing them.
Decoration:
- Whilst your cookies are cooling, prepare your decoration.
- Split the white chocolate into four microwavable or heat proof bowls.
- One at a time, melt the white chocolate either over bain marie (bowl in a pot over boiling water) or in the microwave in 20 second bursts, mixing in between.
- Add the food colouring you are starting with i.e. I started with red for Miles’s red spider design.
- Spoon into a piping bag and pipe onto your now baked and cooled cookies.
- Repeat this process with the other bowls of white chocolate, adding the different food colours that you are using for your designs. Make sure to use separate piping bags to avoid cross contamination of colours!
These moreish triple chocolate NYC cookies will last for around 4 days in an airtight container, though I doubt they will last that long! They are utterly divine as they are but can be warmed up in the microwave for 20 seconds and served with ice cream.
The Film
I’ve barely started this post and I already need to pause and take a breath. This film is just TOO good. I went to the cinema when Spider-Man: Into the Spider-Verse was released and spent the full 117 minutes sitting there in awe.
The big screen was graced with Spider-Man: Into the Spider-Verse back in 2018.
It follows the story of comic-fan-favourite Miles Morales as he becomes the Spider-Man… of his Universe. As he’s beginning to get to grips with his new abilities, Miles encounters the first of five different versions of the Spider-Hero from different dimensions: Gwen Stacey.
Once all of the four main versions are ripped into his Universe, Miles and his fellow Spider-Heroes work together to fight a force that threatens all multiple realities.
This masterpiece was directed by Bob Persichetti, Peter Ramsey and Rodney Rothman. Written by Phil Lord and Rodney Rothman, Spider-Man: Into the Spider-Verse stars a truly excellent cast of talent: the incredible Shameik Moore as Miles Morales; Jake Johnson as Peter B. Parker, Hailey Steinfeld as Gwen Stacey, John Mulaney as Spider-Ham, Kimiko Glenn as Peni Parker and Nicholas Cage as Spider-Man Noir.
They are the main five voice actors, joined by Mahershala Ali as Uncle Aaron; Brian Tyree Henry as Jefferson Davis, Lily Tomlin as Aunt May, Luna Lauren Velez as Rio Morales, Zoë Kravitz as Mary Jane, Katheryn Hahn as Doc Ock, Liev Schrieber as Wilson Fisk, Chris Pine as Peter Parker and Natalie Morales as Miss Calleros among others.

Oscar Isaac even had a part in Spider-Man: Into the Spider-Verse and is credited as Interesting Person #1.
Besides the wonderful story and incomparable voice acting, the beauty of Spider-Man: Into the Spider-Verse are the VISUALS. The pure comic book style of the animation – effects and all. But not only is the main animation style so utterly gorgeous, the film actually includes different animation styles for each of the different Spider-Heroes.
A comic noir style for Spider-Man Noir, Spider-Ham is a straight up Looney Tunes drawing, and my personal favourite, Peni Parker in a style of Japanese Anime.
I genuinely think that Spider-Man: Into the Spider-Verse strengthened that opinion for me even more. I am ridiculously excited for the sequel: Spider-Man: Across the Spider-Verse, which is set for cinematic release this year (2023).
Recipe Card
Triple Chocolate NYC Cookies | Spider-Man: Into the Spider-Verse
Ingredients
Triple chocolate NYC cookies:
- 135 g [4.75 oz] unsalted butter
- 75 g [¼ cup + 2 tbsp] caster sugar
- 70 g [¼ cup + 2 tbsp] light brown sugar
- 30 g [2 tbsp + 1 tsp] dark brown sugar
- 1 egg
- 250 g [1½ + 1 tbsp] plain [all-purpose] flour
- 50 g [¼ cup + 3 tbsp] cocoa powder
- 1 tbsp cornflour
- 1 ½ tsp baking powder
- ½ tsp bicarbonate of soda [baking soda]
- ½ tsp salt
- 100 g [3.5 oz] dark chocolate chips
- 100 g [3.5 oz] milk chocolate chips
- 1 tsp strong red food colouring
Decoration:
- 200 g [7 oz] white chocolate
- White food colouring
- Baby blue food colouring
- Pink food colouring
- Red food colouring
Instructions
- Grease and line two baking trays with greaseproof paper/baking parchment.
- Beat together the butter and all three sugars until light and fluffy.
- Add the egg and beat again until smooth.
- Sieve the flour into the batter. Add the cocoa powder and the rest of the dry ingredients and mix until a dough is formed.
- Split the dough in half and place the two halves in two different bowls.
- Add the red food colouring into one of the halves and massage the food colouring into the dough until it is as incorporated as it can be.
- Pour half of the chocolate chips into one bowl and half in the other. Combine the chocolate chips in each dough half.
- Shape the dough into balls to create your cookies. Place them on the trays – 5 balls on each – two rows of two and one in the middle so that they have space between.
- Allow your cookies to chill in the fridge for 1 hour or in the freezer for 30 minutes. Do not skip this part or you may end up with flat cookies instead of thick NYC-style ones!
- Around 10 minutes before you are ready to take your cookies out of the fridge/freezer, preheat your oven to 200°C [392°F] or 180°C fan.
- When your cookies are ready, bake them for 11 -13 minutes, just until the surface has cracked slightly. You don’t need to press the cookies down before baking as they will spread in the oven, but you can press the tops of them down just slightly before putting them in the oven if you are looking for a flatter surface rather than a domed once.
- Allow your cookies to continue baking on the trays and subsequently cool for 30 minutes before removing them.
- Whilst your cookies are cooling, prepare your decoration.
- Split the white chocolate into four microwavable or heat proof bowls.
- One at a time, melt the white chocolate either over bain marie (bowl in a pot over boiling water) or in the microwave in 20 second bursts, mixing in between.
- Add the food colouring you are starting with i.e. I started with red for Miles’s red spider design.
- Spoon into a piping bag and pipe onto your now baked and cooled cookies.
- Repeat this process with the other bowls of white chocolate, adding the different food colours that you are using for your designs. Make sure to use separate piping bags to avoid cross contamination of colours!
Notes
© Flavour of the Film. All content and imagery is copyright protected. Please do not use any of my images or written content without prior permission. If you would like to share any of the recipes or images on Flavour of the Film, please link back to the recipe in question and rewrite it in your own words, crediting Flavour of the Film as the original source.
3 Comments
Comments are closed.