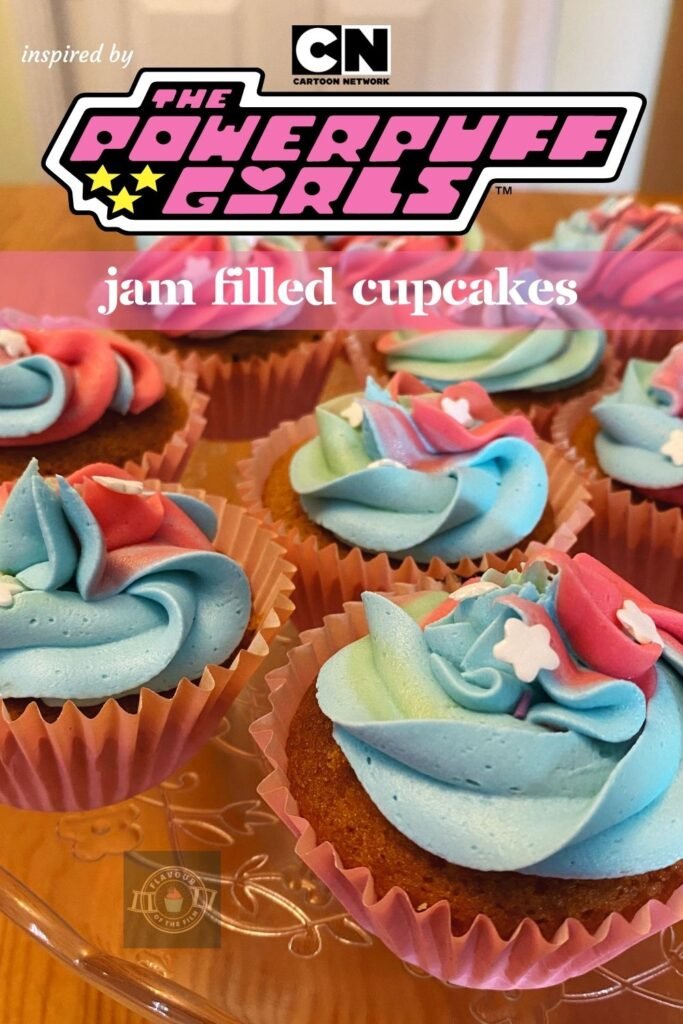
I’m flying in with another throwback recipe! The Powerpuff Girls is truly an iconic television series from my childhood. A trio of young kickass female characters with superpowers and individual personalities considerably more senior than their actual age… a recipe for success I’d say! My jam filled cupcakes are the perfect concoction for any Powerpuff superhero.
Contents

The Bake
In essence, The Powerpuff Girls is a simple blend of quality ingredients, so I wanted to create a bake that reflects that. Less is more. Simplicity as its finest. You get the idea.
Firstly, cupcakes were the chosen form because they are easy and fun to make. Plus, the colours look epic. I opted for a classic vanilla sponge and vanilla buttercream because, well, they are timeless flavours and The Powerpuff Girls is a pretty timeless cartoon in my opinion. I also didn’t want the flavours of the main structure of the cupcakes to distract from the secret ingredient…
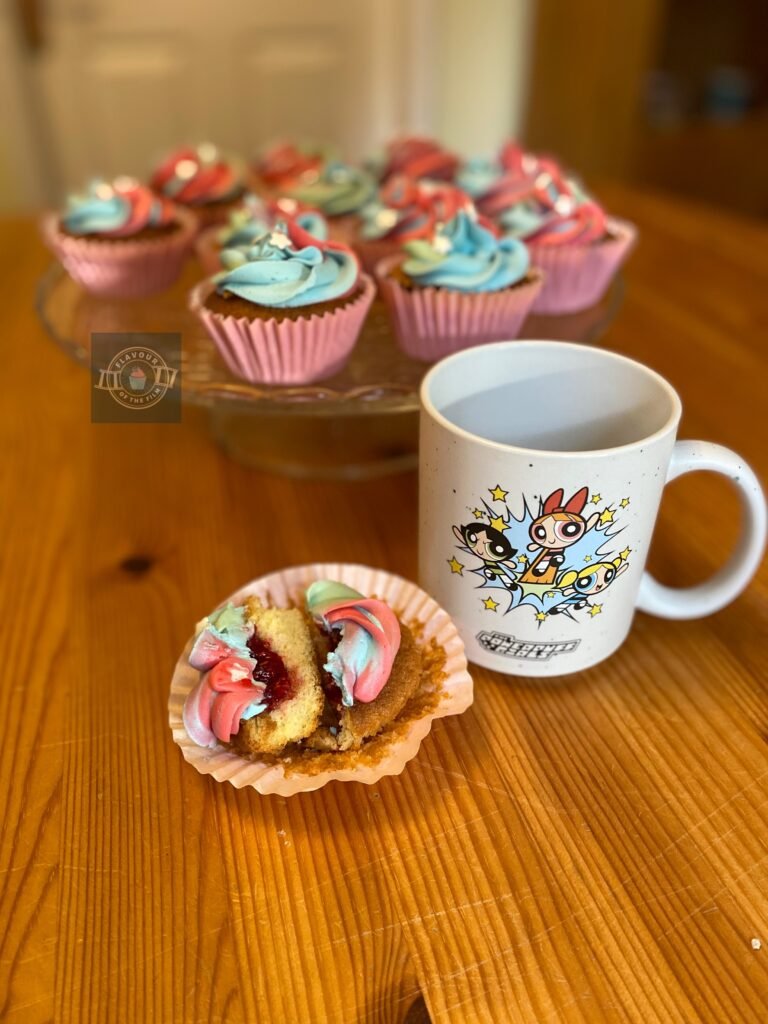
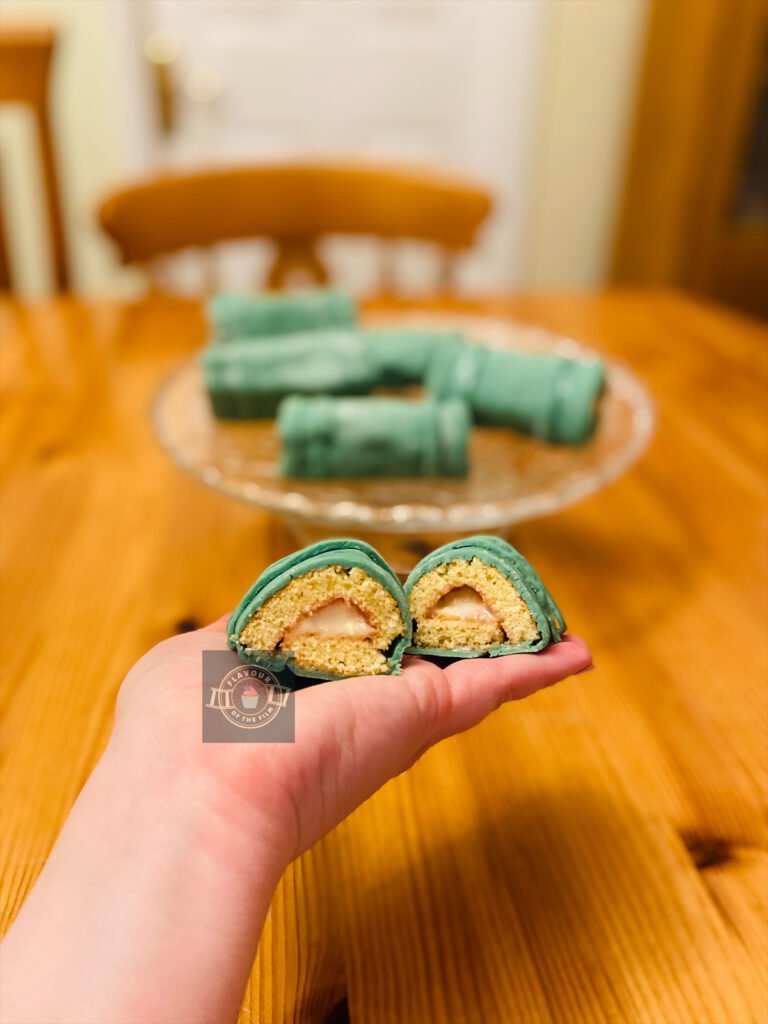
Sweet, tangy, fresh raspberry jam right in the centre of each cupcake.
That’s right. These are JAM FILLED cupcakes. When it comes to the jam, you can absolutely just buy some that you like from the shop. If you’re a little tight on time or you’re making these with little ones that get distracted easily… or you just know a jam you like, by all means just buy a jar of your favourite flavour.
I will say, homemade jam is unbeatable. It’s also incredibly easy to make and makes all the difference when you’re making your own cakes etc. I made my own jam for my jam filled cupcakes and made plenty of it as I used it in another cake (a Victoria sponge for the King’s coronation). That’s the great thing about making your own jam: it’s so cost effective to make a huge batch!
I chose raspberries because I wanted their tartness to cut through the sweetness of the buttercream in particular. The balance is so delicious in this bake, but strawberries would work too if preferred.
When it comes to the sugar, either jam sugar (with pectin in it) or granulated sugar will work. I used jam sugar but if you’re looking to make it as natural as possible, granulated sugar is the ideal option. It just may take a little longer to reach the optimum jam consistency.

Do not skip out on the lemon juice! It helps to congeal the mix.
As the cakes are quite small, you don’t need to go overboard with either the jam or the buttercream. The recipe I have created provides you with plenty of each.
If making more than 12 filled cupcakes i.e. a double batch, simply double the ingredients whilst sticking to 1 tsp baking powder.
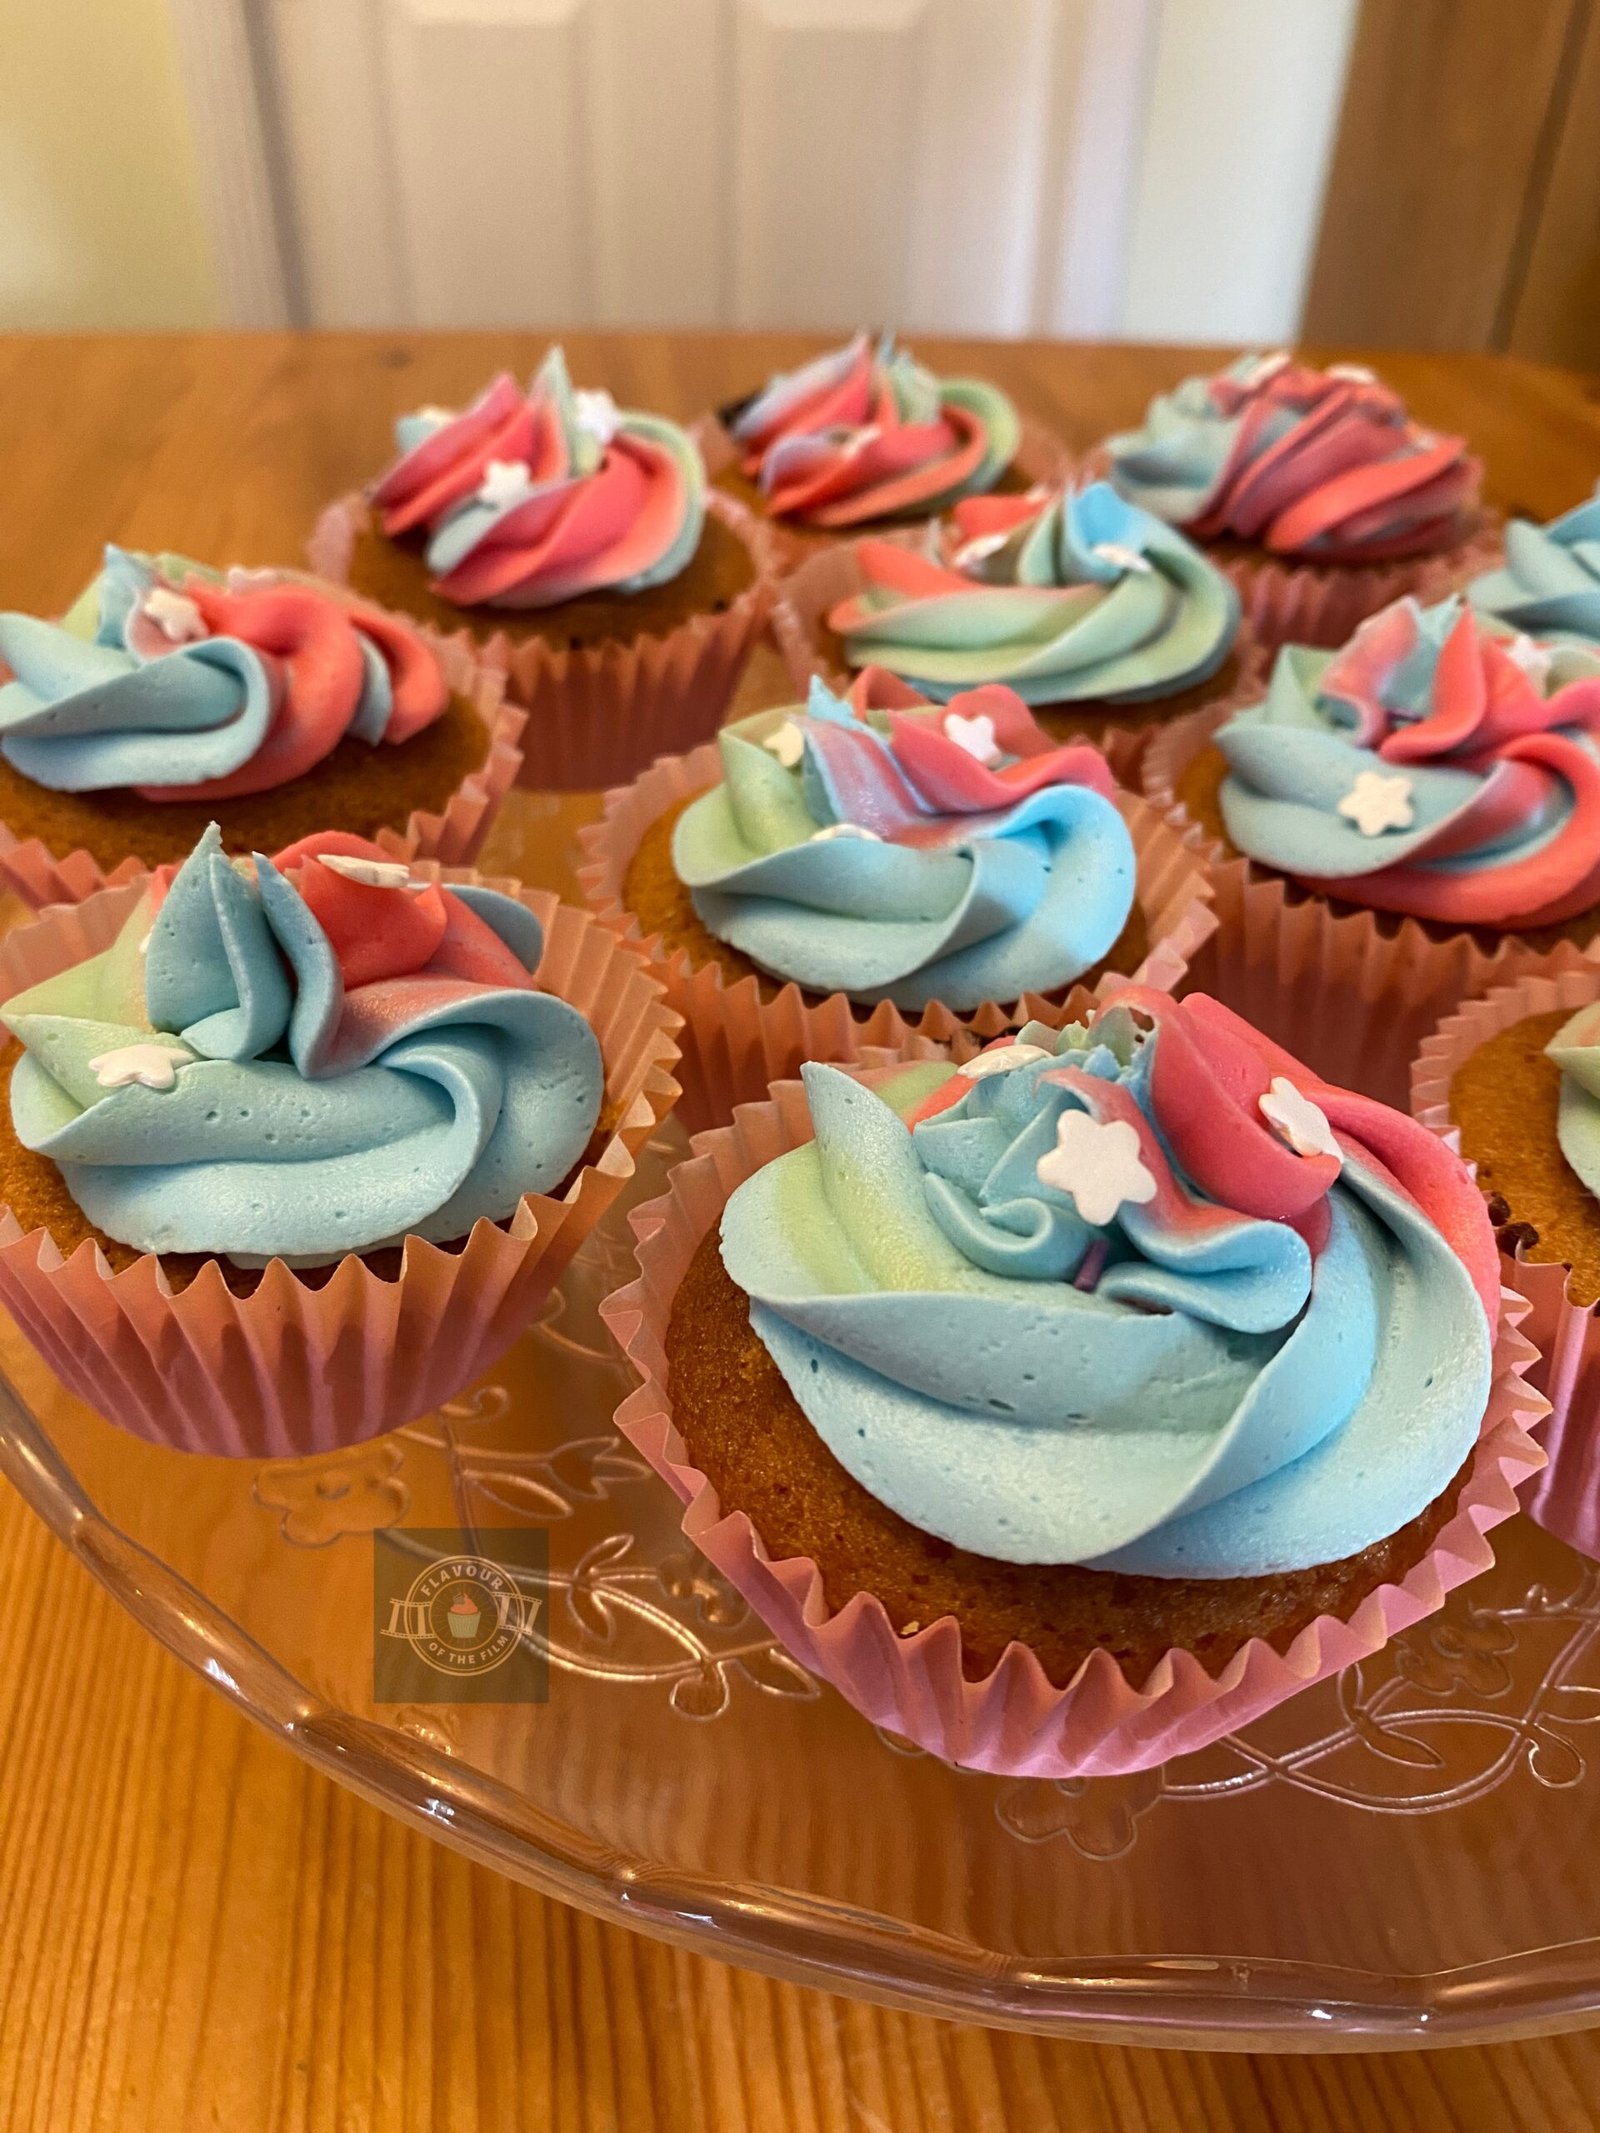
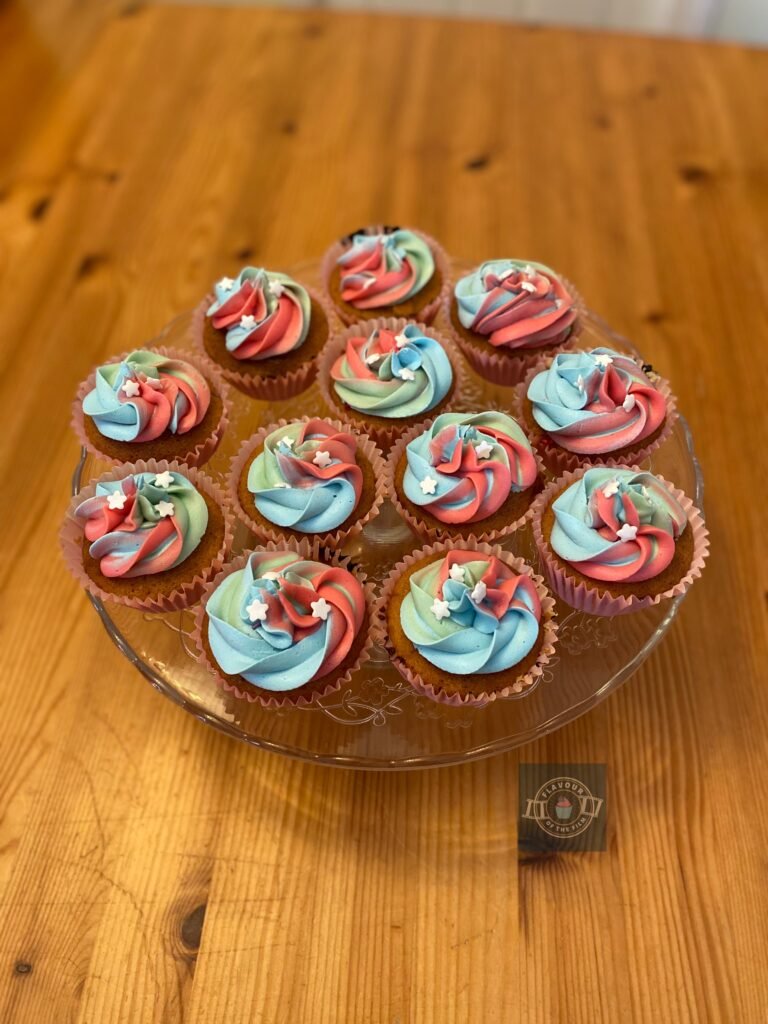
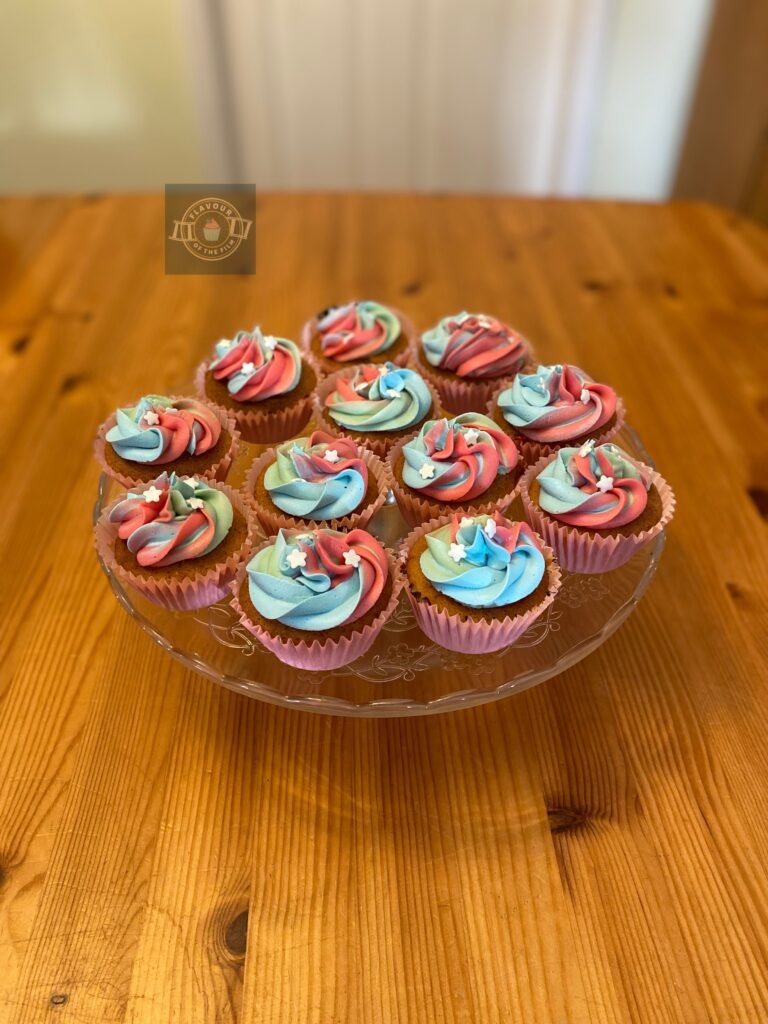
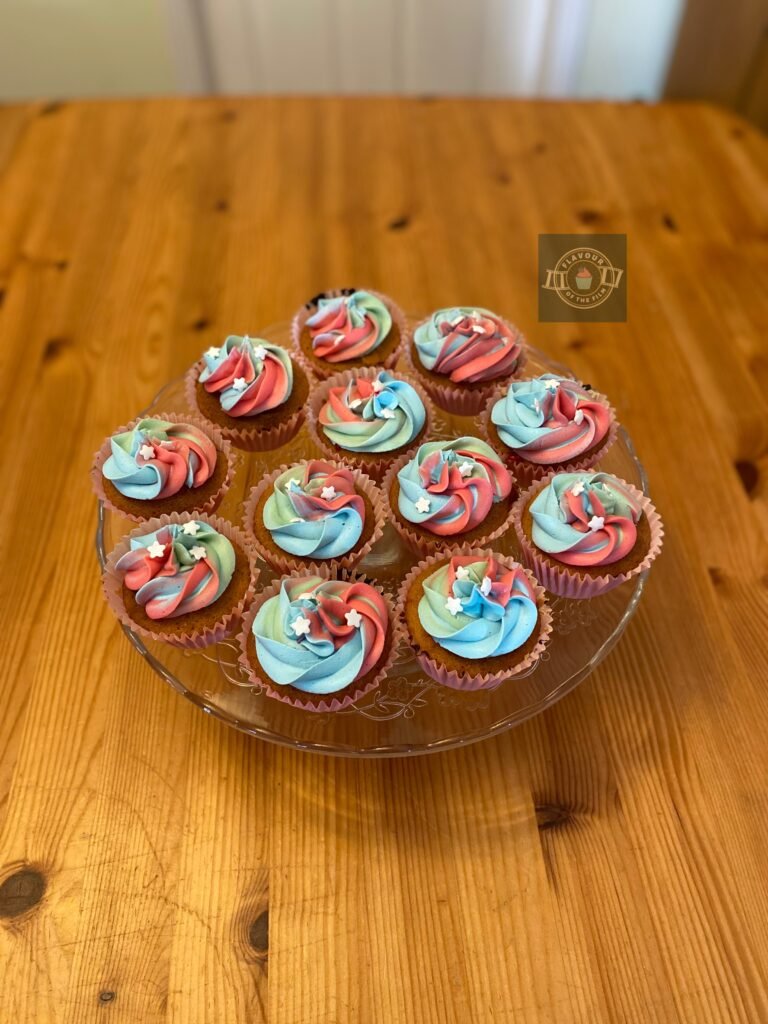
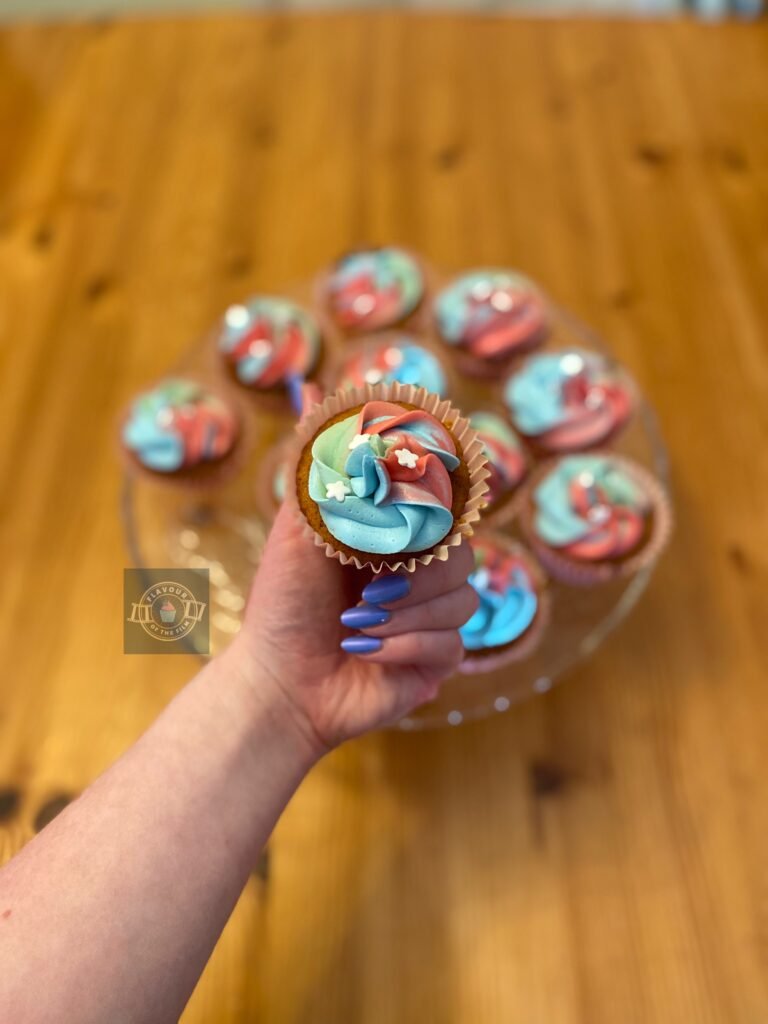
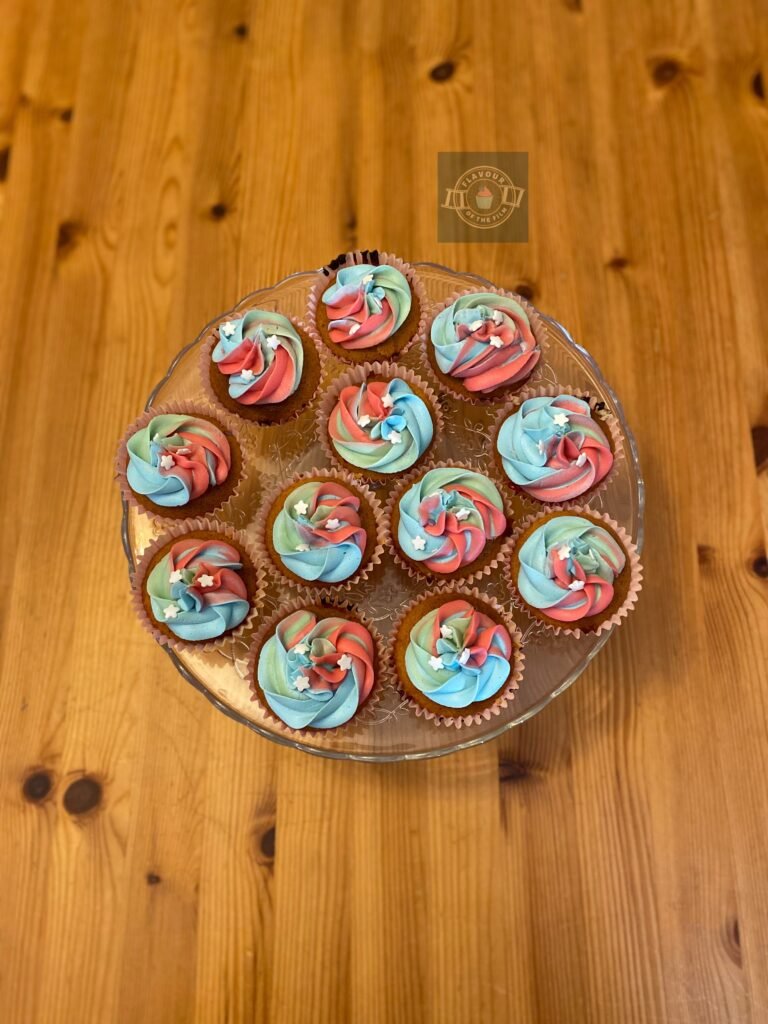
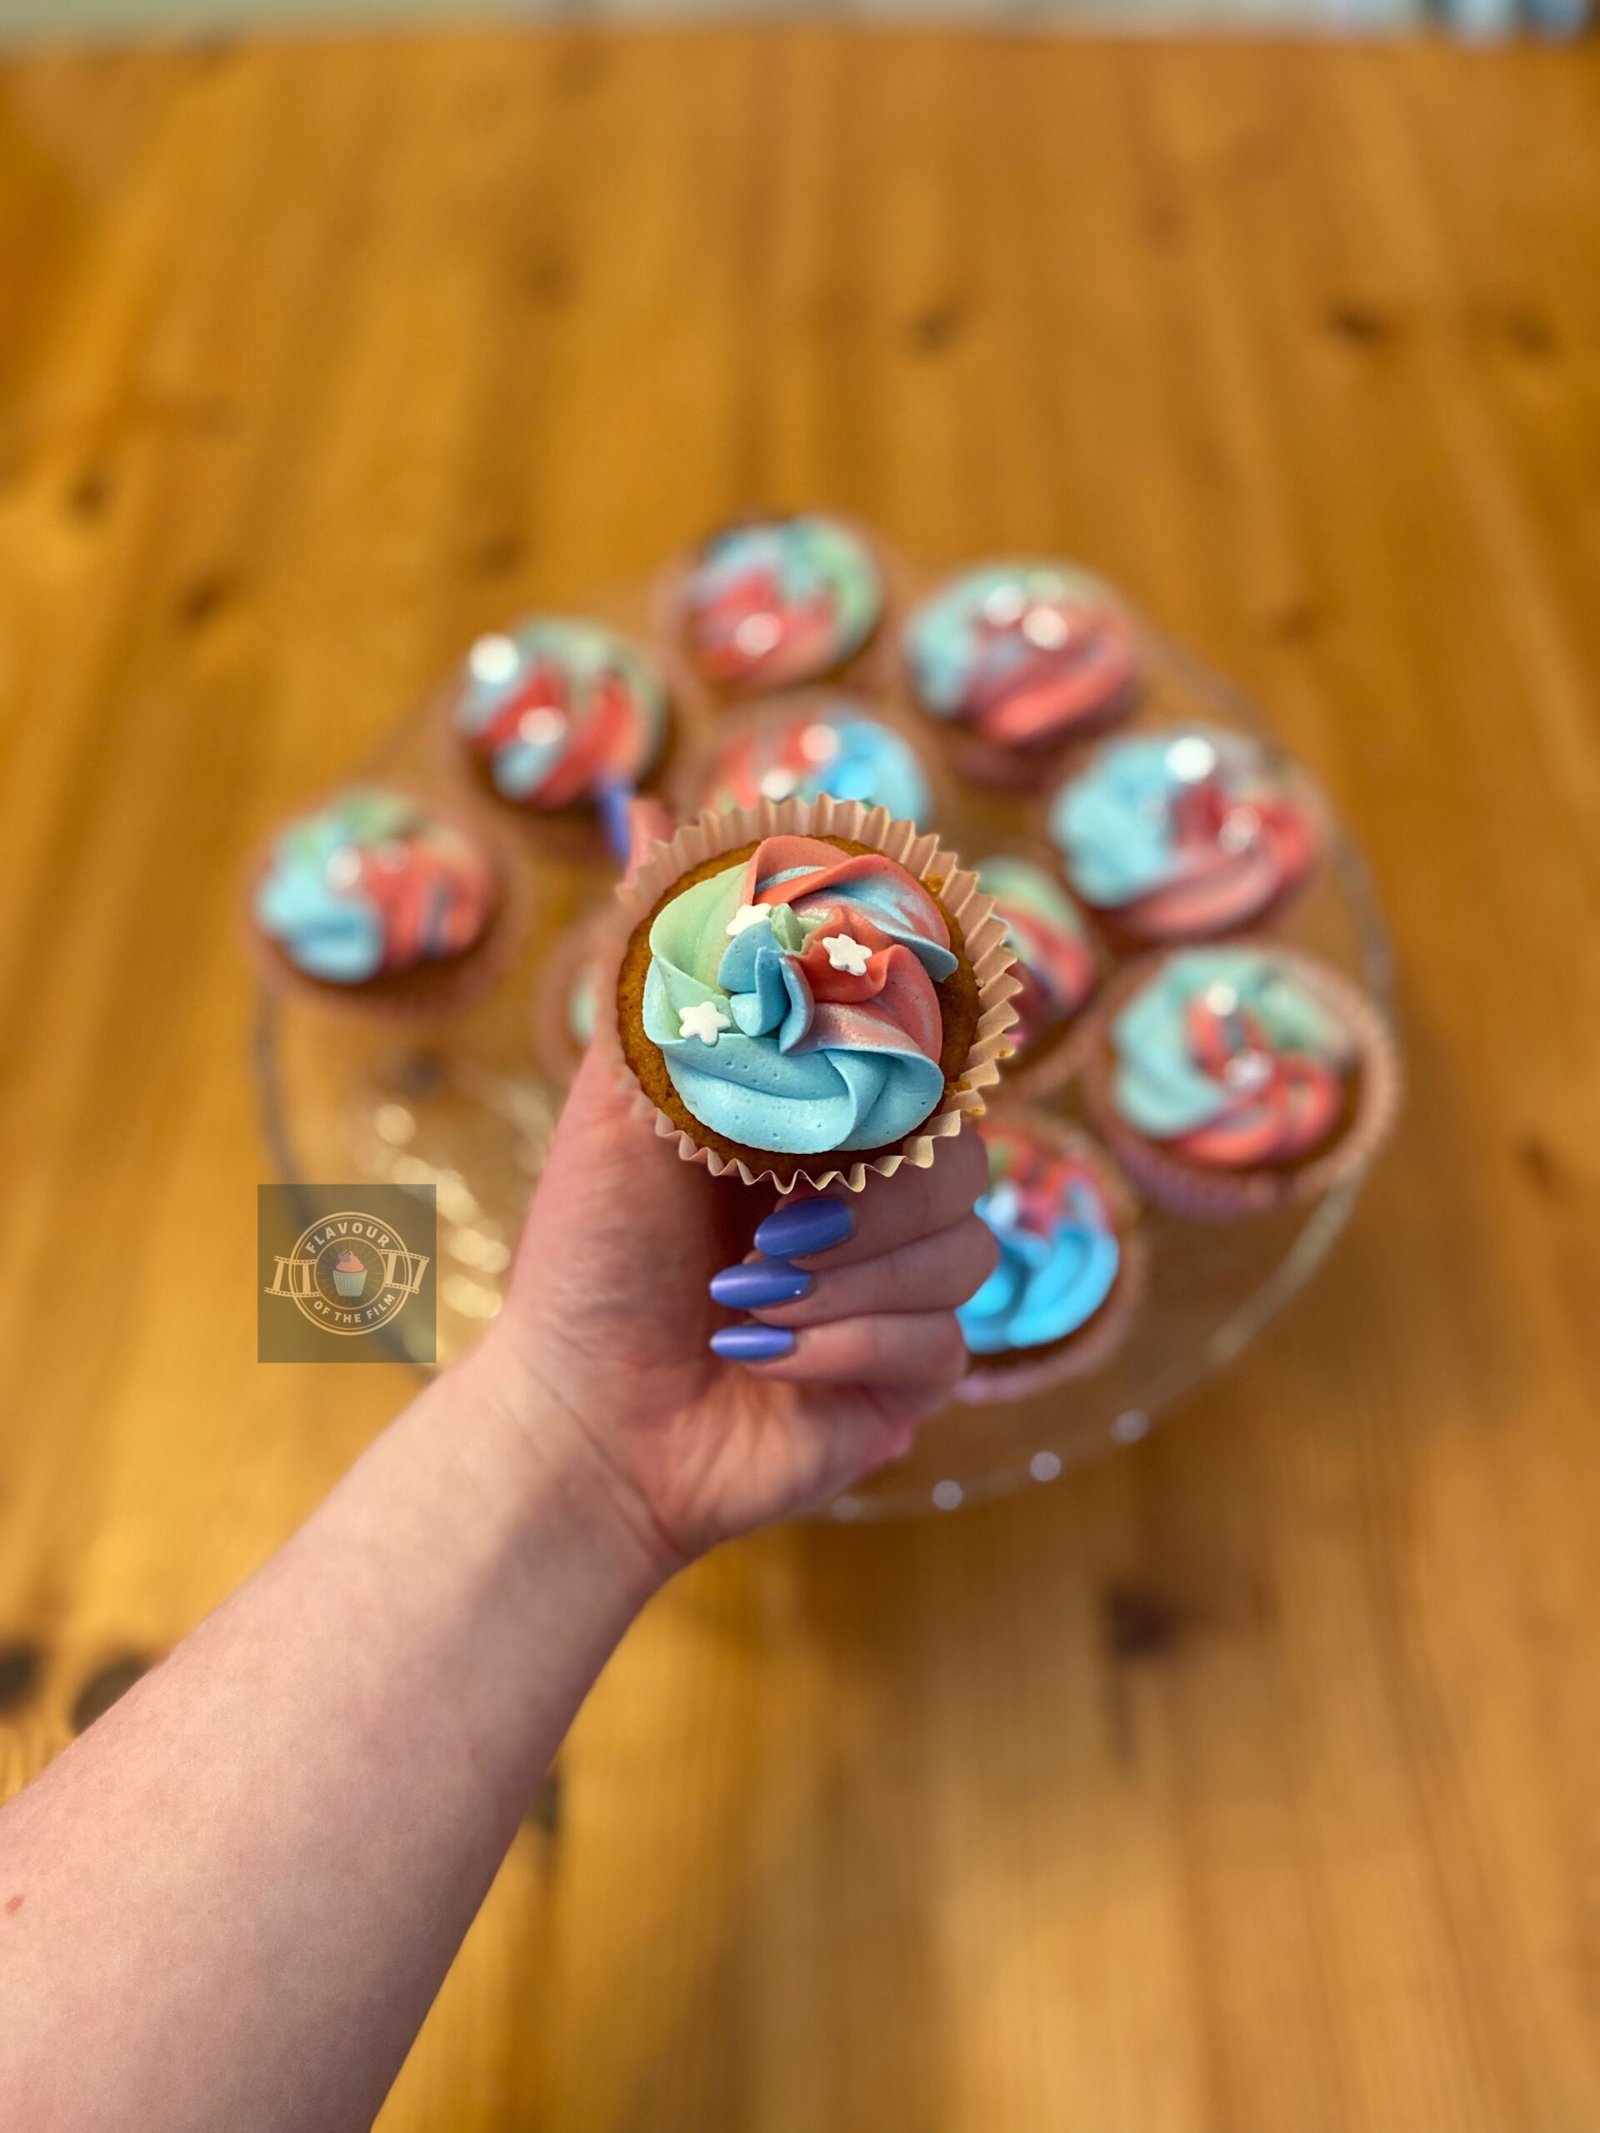
In terms of aesthetic, I went for a simple but powerful look. The buttercream are the colours that each of the Powerpuff Girls wears in one beautiful swirl. What I love about a multi-coloured cupcake swirl is that each one is unique but you still get a shot of each colour in there.

To finish, I topped the swirls with three white stars on each cupcake.
Purely because I had them on hand, but also because they are super appropriate for the theme. If you can’t find stars, you could use other sprinkles (as seen in the show’s title sequence) or some edible glitter to give it some shine.
When I made these cute jam filled cakes, I scooped out their centres with a melon baller but a teaspoon will work just as well. You don’t want to scoop out too much so be mindful of using a spoon any bigger than a teaspoon. I also ate the cake that I scooped out but you can replace it like a lid after filling in the jam. Either works!
Top Tips
- Avoid over mixing the cake batter. This can change the texture of your little cakes if you work it too much.
- Use an ice cream scoop to pour the batter into each cupcake case evenly.
- Make sure to scoop the centre of the cake out whilst still leaving some cake at the bottom. You don’t want your jam falling out when you bite into your cakes!
- Don’t get too caught up in trying to make the colours equal in the swirls. Each swirl is different and that’s what makes the cupcakes so pleasing to the eye.
- These jam filled cupcakes are great to make with kids!
These jam filled cupcakes are sweet, light and fluffy treats that are perfect to make with young ones, friends or just for a bit of easy breezy fun on your own. Cupcakes aren’t strenuous at all so they can be a great way to decompress or de-stress. I hope you have great fun making these gorgeous jam filled cupcakes!
Happy baking, happy eating!
The Recipe
Ingredients
Raspberry jam (if making your own):
- 300g [2⅓ cups] fresh raspberries
- 300g [1¼ cups + 2 tbsp] jam sugar or granulated sugar
- Juice of ½ lemon
Cupcakes:
- 100g [3.5 oz] unsalted butter
- 100g [½ cup] caster sugar
- 2 eggs
- 100g [½ cup + 2 tbsp] self-raising flour
- 1 level tsp baking powder
- 1 tsp vanilla extract
Decoration:
- 100g [3.5 oz] unsalted butter (room temperature)
- 250g [1½ + 3 tbsp] icing [confectioners] sugar
- 1 tsp vanilla extract
- Baby blue food colouring
- Rose pink food colouring
- Peppermint green food colouring
- Sprinkles/glitter
Serves: 12
Preparation time: 20 minutes
Baking time: 15 minutes
Decorating time: 20 minutes
Method
Jam (if making your own):
- If making the jam, prepare now. This is best done the day before but can be made an hour or so in advance.
- Wash the raspberries then add them to a medium sized steel saucepan. Mash them over medium heat and add the lemon juice.
- Allow to simmer for 5 or so minutes.
- If removing the seeds, pour the jam mix through a sieve and into a bowl, pressing the pulp with a wooden spoon until only the seeds remain in the sieve. Pour the now seedless jam back into the saucepan and place back over the heat.
- Add the sugar and stir in until dissolved. Bring to the boil and boil rapidly for 5-10 minutes, stirring every now and again to make sure the sugar doesn’t catch.
- Spoon a small amount of jam into a clean and cool dish and leave for a moment. Press your finger into the cooled jam and see if it is the right texture for jam. It should feel smooth and squidgy. If it is still runny, boil for another minute or so. Test again until you reach the right consistency. It will thicken as it cools so it doesn’t need to be perfect straight away.
- When ready, pour the jam into a clean jar or glass container and leave to cool completely. Put in the fridge once the jam has cooled to room temperature.
Jam filled cupcakes:
- Make the cakes.
- Preheat your oven to 200°C [350°F] or 180°C fan and prepare a muffin tray. Line the tray with 12 medium sized cupcake cases.
- Weigh out your eggs in their shells until you get as close to 100g as you can. The amount of eggs will always be 2, it just depends on their size. Whatever measurement you end up with (I ended up with 115g) is what you should measure the rest of your ingredients out to.
- Cream together the butter and sugar until light and fluffy. Add the eggs one by one and beat in until fully incorporated.
- Beat in the vanilla and then the flour and baking powder until fully incorporated.
- Using a spoon or two, split the batter evenly among the cupcake cases. Only fill them ⅔ of the way as they will need room to rise.
- Bake for 15 minutes. This will depend on your oven and they may need up to 20 minutes. They will be ready when they are golden in colour and a cocktail stick comes out clean.
- Leave to cool in the tray for a few minutes before carefully lifting out and leaving to cool fully on a wire rack.
- While your cakes are cooling, make your buttercream.
- Beat together the butter and sugar in a large bowl until light and fluffy. Add the vanilla. Beat in a splash of water to bring it together if need be. Split evenly into two more bowls so that you have buttercream in three bowls.
- Add a few drops of baby blue food colouring into one and beat in, adjusting until you achieve the desired blue tone. Do the same with the pink in another bowl, and green in the last bowl.
- Make sure your cakes are completely cool, then begin spooning out their centres. Using a melon baller or teaspoon, spoon the middle of each cake out. Only scoop halfway down, leaving some cake at the bottom. A teaspoon is the perfect size for this.
- Fill the centres of each cake with your jam, just enough so that it is level with the surface of your cake – about 1 heaped tsp.
- Either eat the cake you scooped out or replace it over the jam like little lids/caps.
- In a piping bag with a closed star piping nozzle, spoon in the blue buttercream on one side. Smooth it down to the nozzle as much as you can without letting it touch the other sides of the bag. Add the pink next to it, avoiding touching the blue and the other side of the bag as much as possible. Add the green in the remaining space in the bag and push down to the nozzle end as far as you can without the colours mixing too much.
- Pipe the buttercream in cute swirls on your jam filled cupcakes. Add your chosen sprinkles to finish.
These adorable super-powered jam filled cupcakes will last for 3 or so days in an airtight container (or cake stand with a lid). Any leftover homemade jam will last for a few weeks in the fridge (if it lasts that long!). Enjoy!
The TV Show
As it turns out, The Powerpuff Girls had quite the impact on me: two of my closest friends and I started referring to ourselves as the Powerpuff Girls because the colours of our hair each match those of the title characters. Just a little fun during our University days.
The Powerpuff Girls (1998 to 2004) followed the heroic events of Bubbles, Blossom and Buttercup, a.k.a the Powerpuff Girls, as they repeatedly saved Townsville from various monsters and evil entities. Using the superpowers they were given (accidentally) by their scientist father, the Powerpuff Girls fought to keep Townsville safe from anything that threatened it.
Their main recurring foe was usually Mojo Jojo: a greenish monkey with a big old head who always seemed to be attempting to conquer the world.
Kids shows back in the day were a wild ride, weren’t they?
One of the most notable voice actors in this show is Tara Strong, who provided the voice for Bubbles. I guarantee you have heard her voice in at least one show in your time. She was and continues to be the voice of so many iconic characters. For The Powerpuff Girls, she was joined by Elizabeth Daily as Buttercup and Cathy Cavadini as Blossom.
Plus, Tom Kenny (SpongeBob!) starred as the show’s narrator.
The Powerpuff Girls was the brainchild of Craig McCracken, Stephen Hillenburg and Mike Reiss. There were a whole army of writers that worked on the show – too many to name. But, they did a smashing job, especially as the show was made up of self-contained episodes with each episode presenting an entirely new plot.
This concoction of pink, blue and green aired on Cartoon Network.
To be honest, it makes me feel nostalgic just writing about it. What an ERA.
The question of whether you were a Disney Channel kid or a Nickelodeon kid is still a focal point for my generation. But, why don’t people mention Cartoon Network?! Their shows accounted for a decent proportion of my time growing up. Proper good TV.
Side note: in case you were wondering, I was more of a Disney Channel kid, but I definitely indulged in Nickelodeon when the right show was on, hence my Avatar: The Last Airbender cupcakes.
The Powerpuff Girls is nostalgic, big time. But it’s also fun, action-packed, empowering and funny. It may have finished nearly twenty years ago, but it still holds up as an entertaining show. I’m definitely a Bubbles. Let me know on social media which Powerpuff Girl you relate to the most!
“Sugar. Spice. And everything nice. These were the ingredients chosen to create the perfect little girls.”
What a concept. Good thing Professor Utonium accidentally added the secret ingredient.
Recipe Card
Jam Filled Cupcakes | The Powerpuff Girls
Ingredients
Jam:
- 300 g [2⅓ cups] fresh raspberries
- 300 g [1¼ cups + 2 tbsp] jam sugar or granulated sugar
- Juice of ½ lemon
Cakes:
- 100 g [3.5 oz] unsalted butter room temperature
- 100 g [½ cup] caster sugar
- 2 eggs
- 100 g [½ cup + 2 tbsp] self-raising flour
- 1 level tsp baking powder
- 1 tsp vanilla extract
Decoration:
- 100 g [3.5 oz] unsalted butter room temperature
- 250 g [1½ + 3 tbsp] icing [confectioners] sugar
- 1 tsp vanilla extract
- Baby blue food colouring
- Rose pink food colouring
- Peppermint green food colouring
- Sprinkles/glitter
Instructions
- If making the jam, prepare now. This is best done the day before but can be made an hour or so in advance.
- Wash the raspberries then add them to a medium sized steel saucepan. Mash them over medium heat and add the lemon juice.
- Allow to simmer for 5 or so minutes.
- If removing the seeds, pour the jam mix through a sieve and into a bowl, pressing the pulp with a wooden spoon until only the seeds remain in the sieve. Pour the now seedless jam back into the saucepan and place back over the heat.
- Add the sugar and stir in until dissolved. Bring to the boil and boil rapidly for 5-10 minutes, stirring every now and again to make sure the sugar doesn’t catch.
- Spoon a small amount of jam into a clean and cool dish and leave for a moment. Press your finger into the cooled jam and see if it is the right texture for jam. It should feel smooth and squidgy. If it is still runny, boil for another minute or so. Test again until you reach the right consistency. It will thicken as it cools so it doesn’t need to be perfect straight away.
- When ready, pour the jam into a clean jar or glass container and leave to cool completely. Put in the fridge once the jam has cooled to room temperature.
- Make the cakes.
- Preheat your oven to 200°C [350°F] or 180°C fan and prepare a muffin tray. Line the tray with 12 medium sized cupcake cases.
- Weigh out your eggs in their shells until you get as close to 100g as you can. The amount of eggs will always be 2, it just depends on their size. Whatever measurement you end up with (I ended up with 115g) is what you should measure the rest of your ingredients out to.
- Cream together the butter and sugar until light and fluffy. Add the eggs one by one and beat in until fully incorporated.
- Beat in the vanilla and then the flour and baking powder until fully incorporated.
- Using a spoon or two, split the batter evenly among the cupcake cases. Only fill them ⅔ of the way as they will need room to rise.
- Bake for 15 minutes. This will depend on your oven and they may need up to 20 minutes. They will be ready when they are golden in colour and a cocktail stick comes out clean.
- Leave to cool in the tray for a few minutes before carefully lifting out and leaving to cool fully on a wire rack.
- While your cakes are cooling, make your buttercream.
- Beat together the butter and sugar in a large bowl until light and fluffy. Add the vanilla. Beat in a splash of water to bring it together if need be. Split evenly into two more bowls so that you have buttercream in three bowls.
- Add a few drops of baby blue food colouring into one and beat in, adjusting until you achieve the desired blue tone. Do the same with the pink in another bowl, and green in the last bowl.
- Make sure your cakes are completely cool, then begin spooning out their centres. Using a melon baller or teaspoon, spoon the middle of each cake out. Only scoop halfway down, leaving some cake at the bottom. A teaspoon is the perfect size for this.
- Fill the centres of each cake with your jam, just enough so that it is level with the surface of your cake – about 1 heaped tsp.
- Either eat the cake you scooped out or replace it over the jam like little lids/caps.
- In a piping bag with a closed star piping nozzle, spoon in the blue buttercream on one side. Smooth it down to the nozzle as much as you can without letting it touch the other sides of the bag. Add the pink next to it, avoiding touching the blue and the other side of the bag as much as possible. Add the green in the remaining space in the bag and push down to the nozzle end as far as you can without the colours mixing too much.
- Pipe the buttercream in cute swirls on your cakes. Add your chosen sprinkles to finish.
Notes
© Flavour of the Film. All content and imagery is copyright protected. Please do not use any of my images or written content without prior permission. If you would like to share any of the recipes or images on Flavour of the Film, please link back to the recipe in question and rewrite it in your own words, crediting Flavour of the Film as the original source.


7 Comments
Comments are closed.