
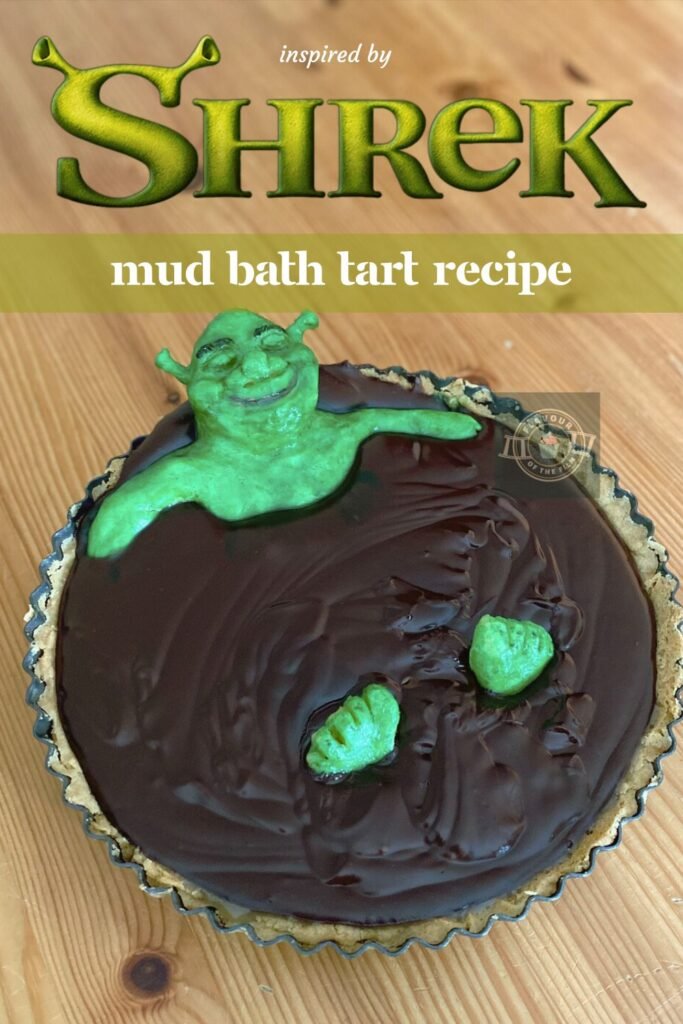
The Shrek films are still talked about to this day for a reason. Many of us who grew up with these movies return to them time and time again because they are the real deal. The ultimate comfort films. My Shrek mud bath tart pays homage to the ogre the world fell in love with. Let’s head into the swamp.
Contents
The Bake
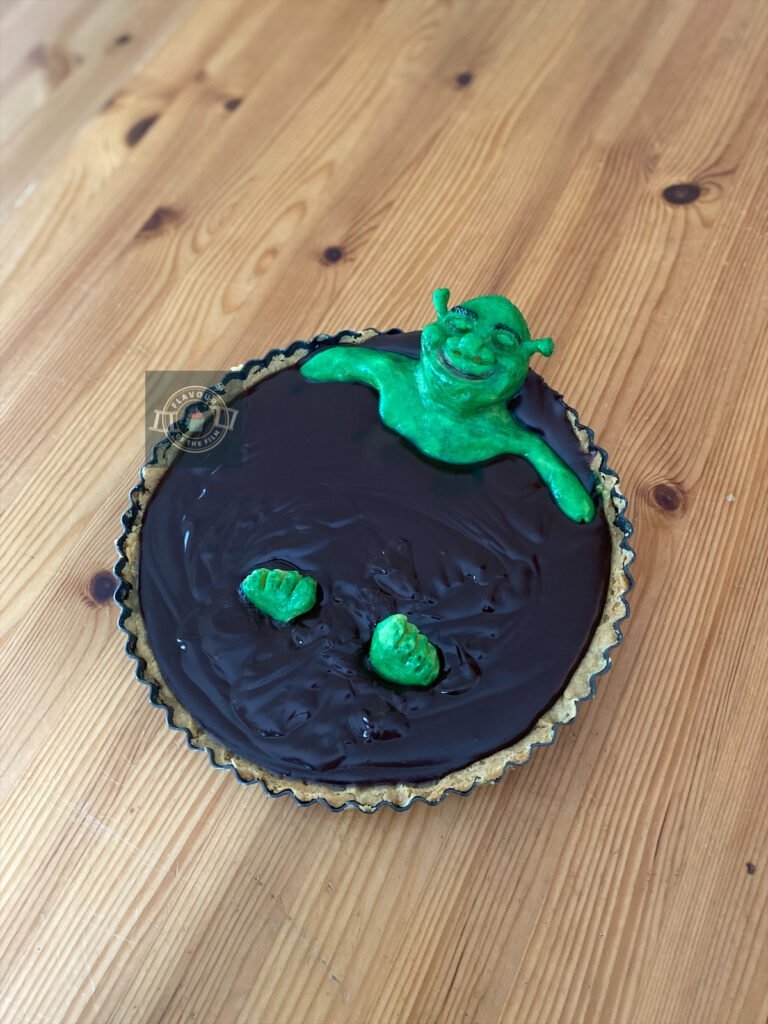
For my first Shrek themed bake, I looked to a mud bath for inspiration. Why? It’s where we find this ogre at his highest level of contentment. I felt that a tart would make an ideal mud bath and I won’t lie, I kind of wished I could climb in and be smothered in chocolate ganache myself.
I actually baked this tart for my oldest friend’s birthday as she loves the Shrek movies. I went full face-paint and ears on mode for the delivery, which went down an absolute treat. We’ve known each other our whole lives and she’s a dear friend, so I had to make an extra special effort.


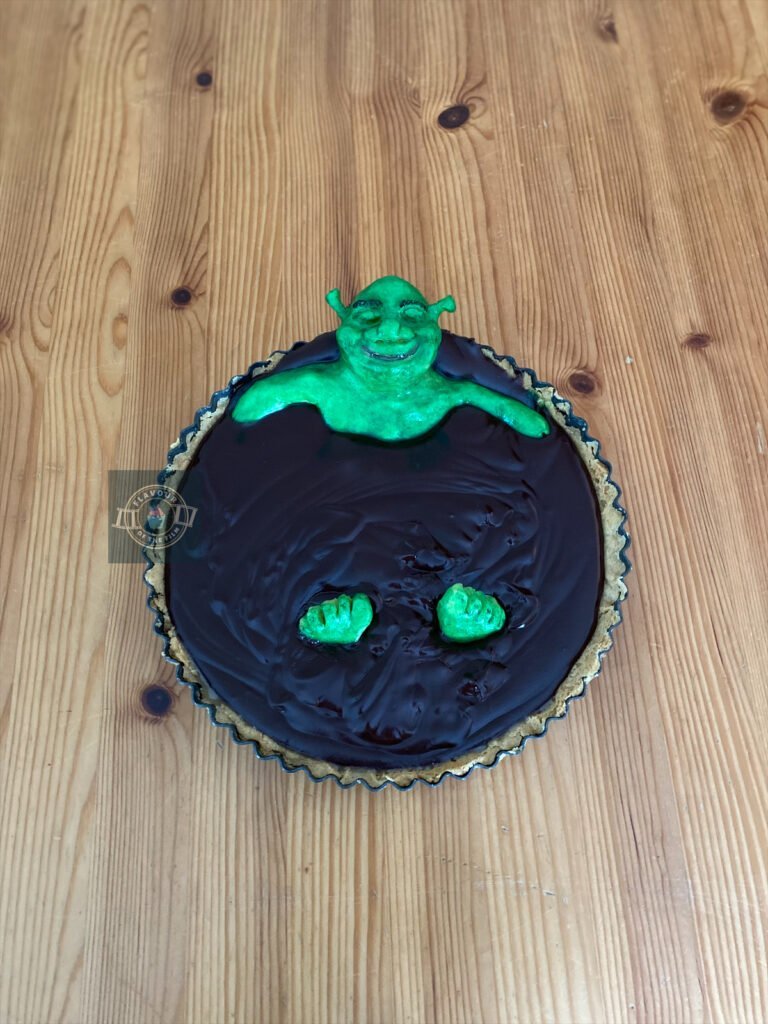
The perfect sized tart tin is a 23cm deep tart tin with a loose bottom.
That way it’s easier to slide right out of the tin and you get a decent slice with each cut. As you may notice in my pictures, my tart was still in the tin when I took them. The reason for this was because it was an incredibly warm day and I wanted to make sure it was properly set when I delivered it to my friend.
Ideally, you want to set the tart overnight, especially if it’s warm weather.
However, you will find that it sets faster than this, so it’s up to you when you take it out. I would give it at least four or five hours in the fridge before even attempting to slide the tart out of the tin!
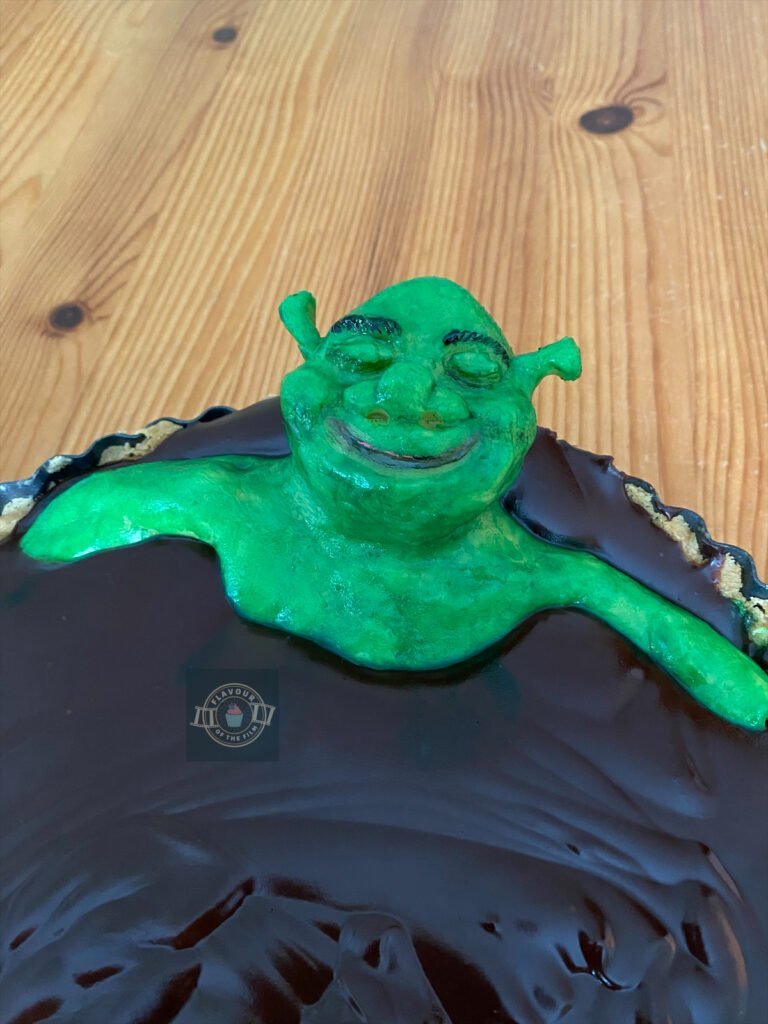
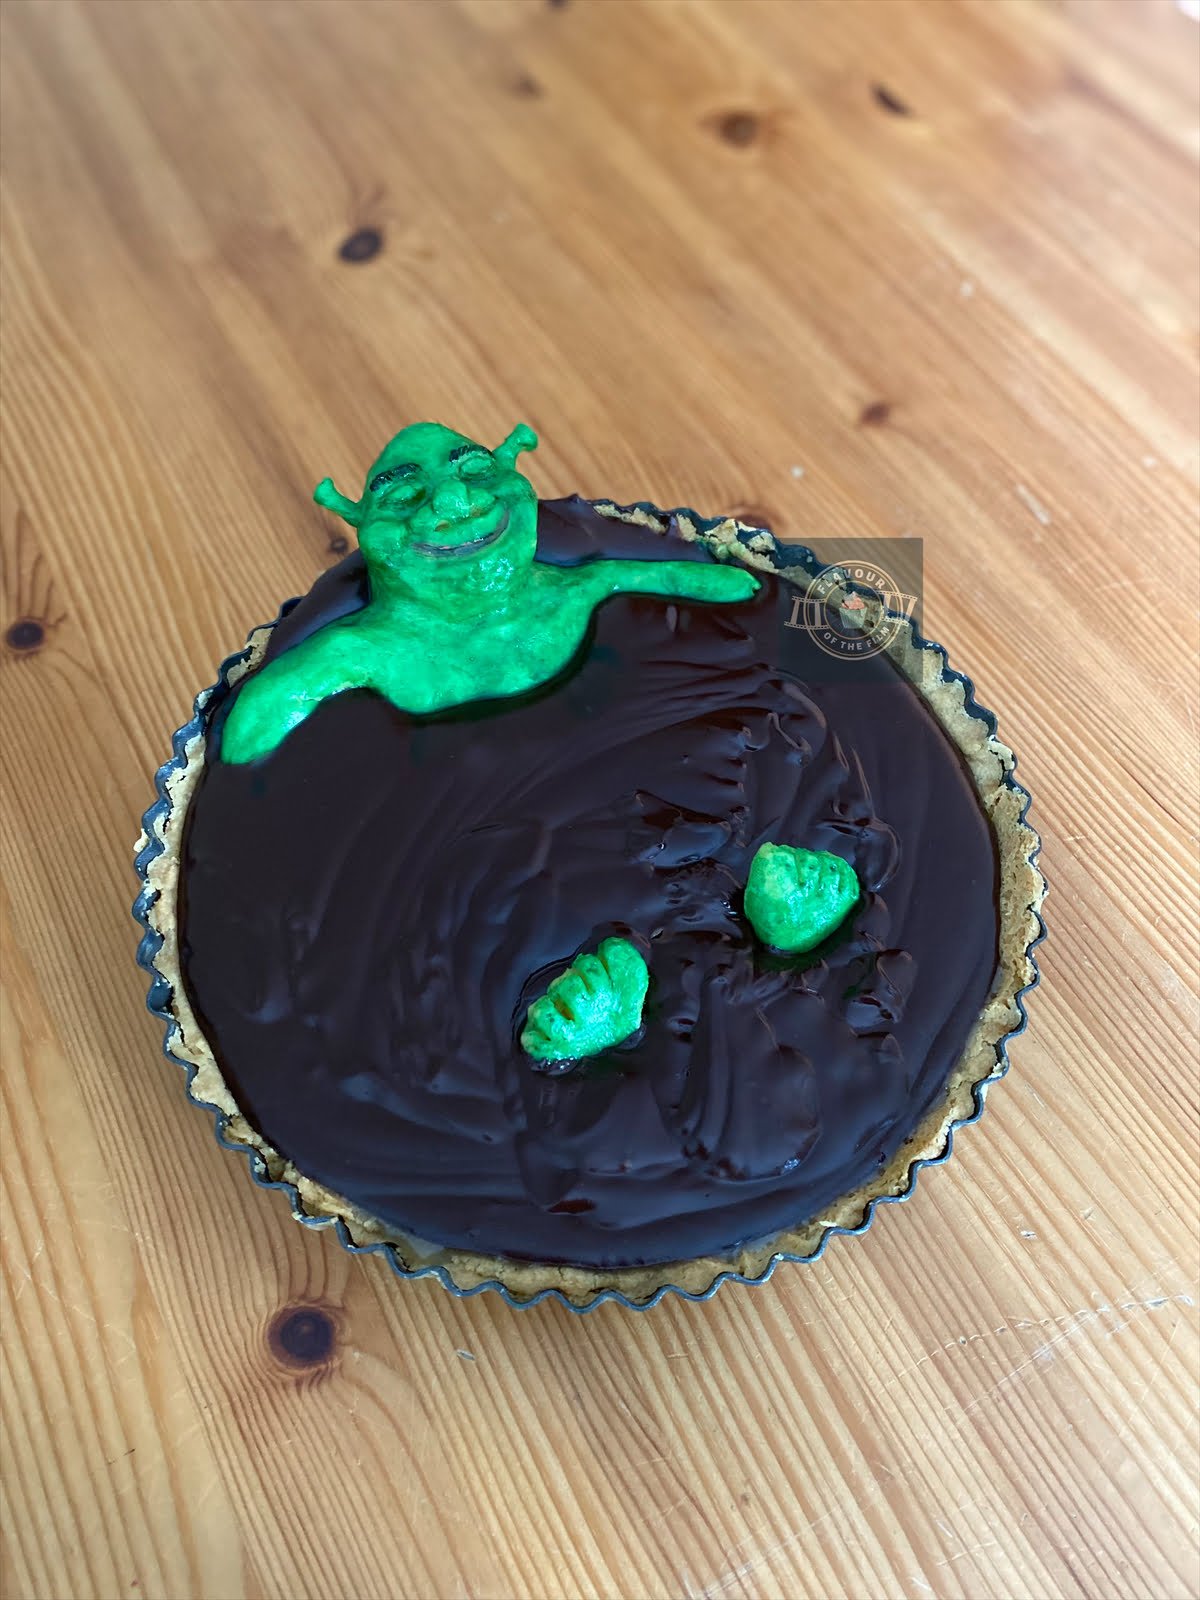
The flavours I chose were a homemade shortbread base with a thin caramel sauce layer and a rich chocolate ganache to create the mud effect. Shrek himself is made from white modelling chocolate which I sculpted first before anything else. I used sculpting tools to carve the details and then airbrushed him green.
Green modelling chocolate is definitely available, it was just out of stock when I was shopping for this bake. You can also just as easily make him out of green fondant, you just may find it a little harder to achieve the details in the face. I carved his facial features as though he were relaxed as it’s the vibe.
Plus, it’s easy to make him look a little creepy if you attempt to sculpt a smile or grin, shall we say.
Now, I wouldn’t recommend making a homemade shortbread in a tart tin.
I did it because my friend loves my shortbread, but it’s really not an easy thing to do. The butter makes the biscuit so soft that it does tend to melt down into the base. Jane’s Patisserie introduced me to biscuit and butter bases that make for such easy dessert bases, so I would recommend doing this as it takes the baking part out of the entire process.
If preferred, you can make a pastry base which I will list in the recipe. Or, you can buy a ready-made sweet shortcrust pastry from the shop. You have options!
When it comes to the caramel sauce, you can buy a can from the shop, but making your own is incredibly rewarding. Plus, you know exactly what’s in it. Either way, you’ll get a delicious caramel, friends.
I made my own so in terms of measurements, I wouldn’t be entirely sure how much you’d want from a shop bought can. Start with half a can and see how thick the layer is. You don’t want too thick a layer as the majority of the tart is the ‘mud’ in your Shrek mud bath.
For the ‘mud’, I made a rich chocolate ganache.
You can play around with the ratios of the milk and dark chocolate for your Shrek mud bath, but I opted for more dark chocolate than milk, purely because it melts better, but also because it balances the sweetness of the caramel so well.
Top Tips
- Go easy on the salt in the caramel. You don’t want it to be overpowering!
- Bain marie is best for melting chocolate because it’s gradual. Plus, you can see it the whole time. But, if microwave is easier, be sure to stir in between bursts of heat.
- Choose the base that you prefer – both to eat and to make. There are a handful of options with this one so go with what feels right for you.
- Chill the modelling chocolate Shrek as you shape him. Especially in the warmer months. Whilst modelling chocolate doesn’t exactly melt, it will soften in the heat which means it will lose its shape. Not ideal when you’re recreating the most iconic ogre in cinema history!
- Painting Shrek is such a fun process. Be sure to chill in the fridge to help the colours dry, especially on a warm day.
This tart is an absolute winner. It’s delicious and great to make with friends or kids. You can either opt for a baked version (pastry base) or a version without a baking process (biscuit crumb base). Shrek looks so chill that it’s hard to look at this tart and not feel relaxed yourself. I hope you love making this tart and really have fun creating your own edible Shrek!
And remember… no ogre is perfect, but every ogre is worth it.
Happy baking, happy eating!
The Recipe
Ingredients
Shrek figure:
- 250g [1 pack or around 8.75 oz] white or green modelling chocolate
- Green food colouring (if using white modelling chocolate)
- Black food colouring for detailing
OR
- 250g [1 pack or around 8.75 oz] green fondant icing or sugar paste
- Edible glue if using fondant/sugar paste
Pastry base (OR you can buy ready-made sweet shortcrust pastry from the shop):
- 175g [1 cup + 1 tbsp] plain [all-purpose] flour
- 100g [3.5 oz] unsalted butter very cold and cubed (plus a little extra for greasing)
- 2 tbsp caster sugar
- Pinch of sea salt
- 75ml [2.75 oz] cold water
OR
- 300g shortbread biscuits
- 125g [4.5 oz] unsalted butter melted
Caramel (OR ½ tin of shop bought caramel sauce):
- 125g [½ cup + 1 tbsp] granulated sugar
- 40ml [1.5 oz] water
- 100ml [3.75 oz] double [heavy] cream
- 30g [2 tbsp] unsalted butter
- 2 tsp vanilla extract
- Pinch of sea salt
Shrek mud bath ganache:
- 300ml [11.25 oz] double [heavy] cream
- 100g [3.5 oz] milk chocolate
- 150g [5.25 oz] dark chocolate (I used 85%)
- 50g [1.75 oz] unsalted butter
- 1 tsp vanilla extract
Serves: 8
Preparation time: 1 hour 30 minutes
Baking time: 20 – 25 minutes (pastry only)
Chilling time: 4 hours or preferably overnight
Method
Shrek mud bath figure:
- Sculpt your Shrek figure first so he’s ready for his bath. If using modelling chocolate and making the tart on a warm day, be sure to chill in stages so the shape holds.
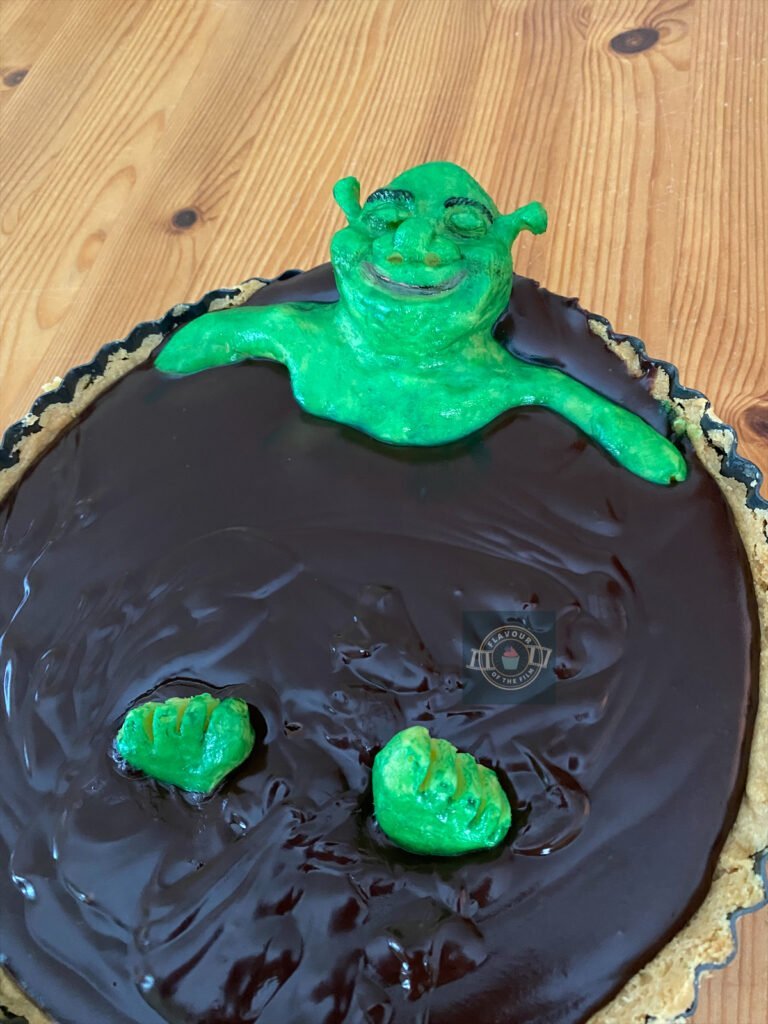
- Knead the modelling chocolate or fondant/sugar paste until pliable, then shape. Make sure to tear off enough for his feet and ears so that you can attach them later.
- It’s easier to sculpt from one whole piece rather than trying to stick on multiple pieces.
- Once the main part of Shrek is done, shape his feet using a sharp knife and shape his ears. Stick the ears on by either using edible glue or by pressing gently into the modelling chocolate.
- Chill if needed for now.
Caramel (if making your own):
- If making the caramel, do so now. Add the sugar and water to a saucepan over a medium heat and stir until the sugar has dissolved. You’ll know it’s properly dissolved when you no longer feel sugar granules scraping along the bottom of the pan when stirring with a spoon.
- Once the sugar has dissolved, turn up to a high heat and DO NOT STIR. Stay with the saucepan but do not stir again.
- Let it boil until the sugar water has changed from a clear colour to a gorgeous amber colour. This can take up to 10 minutes but do not leave it as it can turn very quickly from done to burnt.
- When the mixture has turned that gorgeous amber colour, take it off the heat and whisk in the cream. It will hiss and bubble at you but that’s normal – just keep whisking.
- Add the butter and whisk well until the butter has melted into the mixture.
- Add the vanilla and salt and whisk until combined.
- Pour into a clean container and set aside to cool.
- If painting/airbrushing your Shrek figure, do so now using the green and black food colourings and your airbrush/a couple of small paint brushes.
Biscuit base (if choosing a biscuit):
- If making the biscuit and butter base, do so now. Melt the butter in the microwave in a microwave safe bowl in 30 second intervals until melted.
- Blitz the shortbread biscuits in a food processor or bash them to a crumb in a sandwich bag or two with a rolling pin. Pour the butter in and blitz again in the food processor or mix the butter with the biscuit crumbs in a large bowl until well combined.
- Press the biscuit mixture into a deep 23cm loose bottomed tart tin. Make sure to press up into the edges well.
- Refrigerate your biscuit base.
OR Pastry base (if choosing pastry):
- Grease a deep 23cm loose bottomed tart tin with butter.
- Blitz the flour, sugar and salt in a food processor or mix until combined in a large bowl.
- Add in the cubed and cold butter and blitz until a sort of crumb is formed. If using a bowl rather than a processor, rub the butter into the flour mix using your fingertips until crumbs are formed by the butter mixing in with the flour.
- Add the water and blitz or mix until the pastry has come together. If the pastry feels quite dry, add a splash more water until it comes together.
- On a clean and floured surface, roll the pastry out to about 1 inch in thickness. Lift and press into your greased tart tin. Trim off any excess and use it to patch any holes in the pastry if needed.
- Chill in the fridge for 30 minutes.
- After 20 minutes of chilling, preheat your oven to 200°C [350°F] or 180°C fan.
- Retrieve your pastry from the fridge and line the pastry with baking parchment paper. Fill with baking beans or rice and bake blind for around 15 minutes.
- Lift the baking parchment paper and beans from the tin and bake the pastry for another 5 – 10 minutes or until golden and crisp.
- Leave to cool in the tin.
Shrek mud bath ganache:
- Make the ganache. Put the cream, chocolate, butter and vanilla in a bowl over a pot of simmering water (bain marie). Stir it as it melts until everything has combined and a thick and shiny ganache has formed.
- Pour the cooled caramel into the cooled pastry/biscuit base and chill for a few moments.
- Pour the ganache over the caramel and smooth over with a palette knife gently. Don’t worry if the ganache looks as though it’s sinking into the caramel, you’ll still get a good layer!
- Sit your Shrek into the ganache and allow him to lean back a little, balancing against the back of the base. Place his feet into the ganache further down.
- Chill in the fridge for at least 4 hours, preferably overnight until set.
- When ready to serve, place over a stable narrow object like a tumbler or bowl. Lift and tap gently until the outer part of the tin slides off.
This indulgent ogre-calming Shrek mud bath chocolate and caramel tart will last for around 3 days in the fridge and the base can be frozen for up to 3 months. Enjoy!
The Films
In an era of stunningly beautiful Disney princesses and gorgeous princes, Dreamworks released a story to turn all of that on its head. Don’t get me wrong, I love classic Disney. You can see that from my growing collection of Disney recipes like my Tangled brioche braid and my Hercules Bakewell tart.
But, their age-old idyllic representation of a princess can make a gal feel a little self-conscious about her own body/looks.
So, when Dreamworks stepped in and gave us something new, something that made you feel like anyone and everyone can find true love and be happy in themselves, the world was more than ready for it.

Picture it: Dreamworks Animation, 2001.
Shrek is set for release and is about to storm the world with a completely re-imagined fairy-tale. A fairy-tale where the ogre rescues the princess, falls in love and gets the happily ever after ending. A story where the supposed undesirables are the protagonists.
When a cast of fairy-tale creatures (including Donkey) are exiled to Shrek’s swamp by the selfish lord of the land, Shrek strikes a deal with the lord to rescue a princess for him, in exchange for Shrek regaining his land. After completing the rescue mission, Shrek and Princess Fiona find themselves growing closer on their travels back.
Then, one evening, Donkey discovers that there is more to Princess Fiona than meets the eye.
It may be twenty-two years since the film’s release but I still won’t reveal spoilers. If you know, you know. If you don’t… well, where have you been?

The film, like its title character, has LAYERS. “Onions have layers. Ogres have layers.”
It has adventure; action, a swamp full of comedy and unforgettable characters. But it also provides audiences with a sense of the importance of self-acceptance and self-love. Embracing who you really are, no matter what anyone says or thinks of you. Being true to yourself and not listening to the judgement of others. That’s the key to happiness.
Imperfection as the true definition of perfection.
Just three years after the first film hit cinemas, a sequel graced our screens.
Shrek 2 (2004) continues on where Shrek left off. With even more funny quips, one-liners and endearing moments, Shrek 2 defied the sequels-aren’t-as-good-as-the-original trope.
We got another two installments to this story in Shrek the Third (2007) and Shrek Forever After (2010). But, it didn’t end there. Shrek: The Musical was born and is, apparently, very good. How many ogres can say they have had a stage show created about them?

Then there were the spin-offs: Puss in Boots (2011) and more recently, Puss in Boots: The Last Wish (2022).
Each of the films has various directors and writers, with Andrew Adamson and William Steig being firm figures across the series. Add a fantastic soundtrack and an all-star cast to boot and you have a winner.
Mike Myers (I share a birthday with him!) provided the iconic voice for Shrek. He was joined by the hilarious Eddie Murphy as Donkey and Cameron Diaz as Princess Fiona. John Lithgow gave us the voice of Lord Farquaad in the first film.
In Shrek 2, we were blessed with the likes of Antonio Banderas as Puss In Boots; Jennifer Saunders (British comedy royalty) as the Fairy Godmother and Ruper Everett as Prince Charming. Her royal majesty, Julie Andrews, played the Queen, and John Cleese (more British comedy royalty) voiced the King.
These films are so good that even their spin offs are award winning.
Shrek 2 is my ultimate comfort film. It’s literally playing on my TV as I’m writing this. I even made a parody which involved me badly performing a bunch of one-liners from Shrek 2 as an entry into a talent show that the company my Mum worked for held.
What can I say? Shrek inspires me.
Recipe Card
Shrek Mud Bath Chocolate and Caramel Tart
Ingredients
Shrek figure:
- 250 g [1 pack or around 8.75 oz] white or green modelling chocolate
- Green food colouring if using white modelling chocolate
- Black food colouring for detailing
OR
- 250 g [1 pack or around 8.75 oz] green fondant icing or sugar paste
- Edible glue if using fondant/sugar paste
For the pastry base (OR you can buy ready-made sweet shortcrust pastry from the shop):
- 175 g [1 cup + 1 tbsp] plain [all-purpose] flour
- 100 g [3.5 oz] unsalted butter very cold and cubed plus a little extra for greasing
- 2 tbsp caster sugar
- Pinch of sea salt
- 75 ml [2.75 oz] cold water
OR
- 300 g shortbread biscuits
- 125 g [4.5 oz] unsalted butter melted
For the caramel (OR ½ tin of shop bought caramel sauce):
- 125 g [½ cup + 1 tbsp] granulated sugar
- 40 ml [1.5 oz] water
- 100 ml [3.75 oz] double [heavy] cream
- 30 g [2 tbsp] unsalted butter
- 2 tsp vanilla extract
- Pinch of sea salt
Ganache:
- 300 ml [11.25 oz] double [heavy] cream
- 100 g [3.5 oz] milk chocolate
- 150 g [5.25 oz] dark chocolate I used 85%
- 50 g [1.75 oz] unsalted butter
- 1 tsp vanilla extract
Instructions
- Sculpt your Shrek figure first so he’s ready for his bath. If using modelling chocolate and making the tart on a warm day, be sure to chill in stages so the shape holds.
- Knead the modelling chocolate or fondant/sugar paste until pliable, then shape. Make sure to tear off enough for his feet and ears so that you can attach them later.
- It’s easier to sculpt from one whole piece rather than trying to stick on multiple pieces.
- Once the main part of Shrek is done, shape his feet using a sharp knife and shape his ears. Stick the ears on by either using edible glue or by pressing gently into the modelling chocolate.
- Chill if needed for now.
- If making the caramel, do so now. Add the sugar and water to a saucepan over a medium heat and stir until the sugar has dissolved. You’ll know it’s properly dissolved when you no longer feel sugar granules scraping along the bottom of the pan when stirring with a spoon.
- Once the sugar has dissolved, turn up to a high heat and DO NOT STIR. Stay with the saucepan but do not stir again.
- Let it boil until the sugar water has changed from a clear colour to a gorgeous amber colour. This can take up to 10 minutes but do not leave it as it can turn very quickly from done to burnt.
- When the mixture has turned that gorgeous amber colour, take it off the heat and whisk in the cream. It will hiss and bubble at you but that’s normal – just keep whisking.
- Add the butter and whisk well until the butter has melted into the mixture.
- Add the vanilla and salt and whisk until combined.
- Pour into a clean container and set aside to cool.
- If painting/airbrushing your Shrek figure, do so now using the green and black food colourings and your airbrush/a couple of small paint brushes.
- If making the biscuit and butter base, do so now. Melt the butter in the microwave in a microwave safe bowl in 30 second intervals until melted.
- Blitz the shortbread biscuits in a food processor or bash them to a crumb in a sandwich bag or two with a rolling pin. Pour the butter in and blitz again in the food processor or mix the butter with the biscuit crumbs in a large bowl until well combined.
- Press the biscuit mixture into a deep 23cm loose bottomed tart tin. Make sure to press up into the edges well.
- Refrigerate your biscuit base.
- OR if making pastry, do the following:
- Grease a deep 23cm loose bottomed tart tin with butter.
- Blitz the flour, sugar and salt in a food processor or mix until combined in a large bowl.
- Add in the cubed and cold butter and blitz until a sort of crumb is formed. If using a bowl rather than a processor, rub the butter into the flour mix using your fingertips until crumbs are formed by the butter mixing in with the flour.
- Add the water and blitz or mix until the pastry has come together. If the pastry feels quite dry, add a splash more water until it comes together.
- On a clean and floured surface, roll the pastry out to about 1 inch in thickness. Lift and press into your greased tart tin. Trim off any excess and use it to patch any holes in the pastry if needed.
- Chill in the fridge for 30 minutes.
- After 20 minutes of chilling, preheat your oven to 200 [350F] or 180 fan.
- Retrieve your pastry from the fridge and line the pastry with baking parchment paper. Fill with baking beans or rice and bake blind for around 15 minutes.
- Lift the baking parchment paper and beans from the tin and bake the pastry for another 5 – 10 minutes or until golden and crisp.
- Leave to cool in the tin.
- Make the ganache. Put the cream, chocolate, butter and vanilla in a bowl over a pot of simmering water (bain marie). Stir it as it melts until everything has combined and a thick and shiny ganache has formed.
- Pour the cooled caramel into the cooled pastry/biscuit base and chill for a few moments.
- Pour the ganache over the caramel and smooth over with a palette knife gently. Don’t worry if the ganache looks as though it’s sinking into the caramel, you’ll still get a good layer!
- Sit your Shrek into the ganache and allow him to lean back a little, balancing against the back of the base. Place his feet into the ganache further down.
- Chill in the fridge for at least 4 hours, preferably overnight until set.
- When ready to serve, place over a stable narrow object like a tumbler or bowl. Lift and tap gently until the outer part of the tin slides off.
Notes
© Flavour of the Film. All content and imagery is copyright protected. Please do not use any of my images or written content without prior permission. If you would like to share any of the recipes or images on Flavour of the Film, please link back to the recipe in question and rewrite it in your own words, crediting Flavour of the Film as the original source.


3 Comments
Comments are closed.