
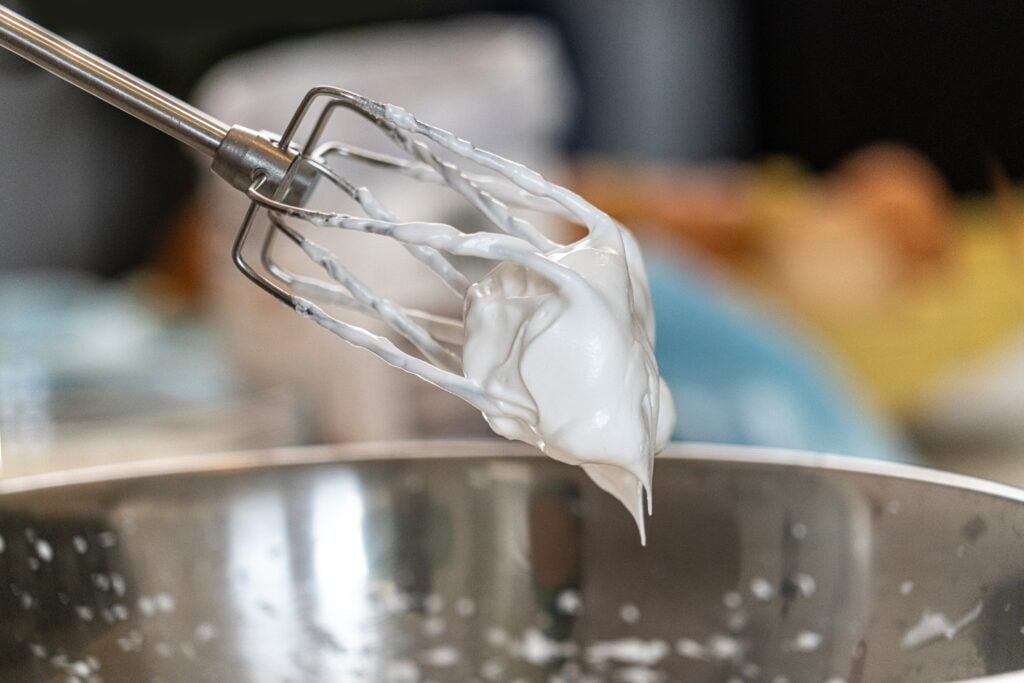
This post is a little different to my usual articles on Flavour of the Film. I decided it would be useful to create a list of my top 10 baking tips and tricks that I have found helpful over the years.
Baking is a science but it’s also an art. It can be quite daunting to start out as so many things can go wrong. However, my top 10 baking tips and tricks will help everything go a lot smoother!
Contents
- Pay attention to the oven temperature
- Match the weight of your ingredients to the weight of your eggs (cakes)
- Precision is key
- Listen to your cakes (if able)
- Use the window pane test
- Soften your butter
- Don’t leave out ingredients
- Always chill when required
- Prove dough in an airing cupboard or warm oven
- Inject love into your bakes
When I say I’ve seen my cakes literally explode in the oven, I’m not joking. I’ve made a lemon meringue pie that has both not set and also burnt at the same time. Most baking journeys are not remotely linear!
Therefore, to help make your baking experiences much smoother – and more fun – I’ve composed a list for you to refer to when you need a guiding hand.
Pay attention to the oven temperature
The first of my top 10 baking tips seems like a pretty standard one. But, one of my friends once said to me “200 degrees for everything, right, Laura?”.
I also have vivid memories of a few students I was living with during my university days saying the same thing. Whilst you may be able to get away with this when cooking certain dishes, this is absolutely not the case when baking!
A recipe for a baked good provides you with a specific oven temperature for the actual baking process for a reason. Take a cake as an example.
Bake it at too low a temperature and it’ll take ages to bake or it won’t bake completely. Bake it at too high a temperature and you risk not only burning the surface of the cake but finding it baked on the top and raw in the centre after the allotted time.
So, if a recipe calls for the oven to be set at 160 degrees, don’t set it to anything different. It’s not worth risking your bake unless you know your oven like the back of your hand i.e. you know it runs hotter or cooler than most standard ovens.
Match the weight of your ingredients to the weight of your eggs (cakes)
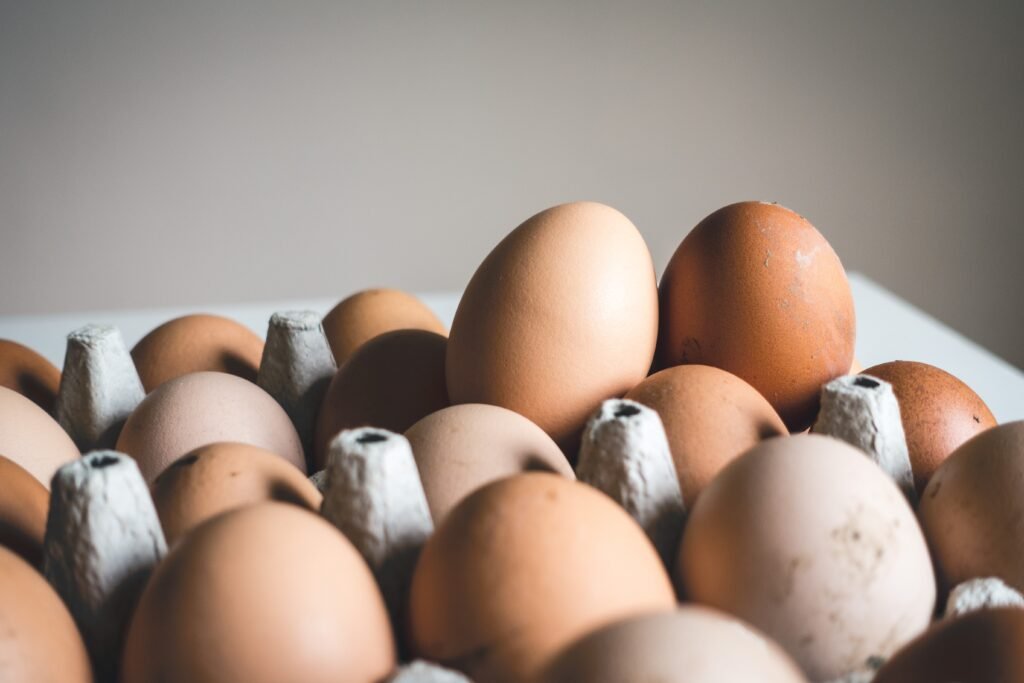
As I mentioned above, baking is a science. There are lots of variables in baking that need to be considered and rules that need to be adhered to in order to achieve a delicious and well baked treat. One of the top tips I have found to be incredibly useful is that of weighing out your eggs first when baking a cake. It’s such a great nugget of information so I had to include it in my top 10 baking tips.
Now, this isn’t necessarily a general rule of thumb. For example, you won’t need to do this when baking a chocolate fudge cake because most recipes for that aren’t the usual “equal parts in eggs, sugar, flour and butter” rule. This is due to the fudgey element: you’re aiming for a different texture of cake so the ingredients and amounts of each ingredient change.
However, if you are making a cake that requires the standard “equal parts in eggs, sugar, flour and butter” rule, then this top tip definitely applies!
Essentially, you just want to weigh out your eggs in their shells and get the weight as close to the required amount stated in the recipe. Then you want to weigh out the rest of your ingredients to match the exact weight of your eggs.
For example, if a cake requires 400g of each ingredient, you’ll want to weigh out your eggs in the shells and get as close as possible. A good perspective to have is to give yourself 20g each way. If you manage to get 387g in eggs, then you’ll want to weigh everything else out at 387g. It sounds like a bit of a faff to do but believe me when I say that it makes all the difference in the end result. A lighter, fluffier and more delicious cake, just like my The Hobbit landscape cake.
I only really implement this trick from my top 10 baking tips when making cakes because they usually require the most amount of eggs per bake. Treats like pastries, cookies and brownies either don’t require any eggs (mostly pastry) or usually only require up to three eggs and are achieving a much different texture to cake.
Precision is key
This point sort of carries on from the tip above in a more general way. I have witnessed people making something as simple as cookies but rather than weighing out the ingredients to precise amounts, they winged it.
Normally, you’d assume this wouldn’t be as much of an issue with something like cookies, but the amounts of each ingredient can drastically change the overall look, taste and texture of a cookie.
The weight of ingredients are provided in a recipe to make sure the baker achieves the best possible outcome, and to achieve the amount the recipe is providing. If you decide to go off script, it is far more likely to lead you to a bad review rather than an award for best production.
This is especially important when there are liquids in your recipe. Not being precise with liquids will likely lead to wet doughs, soggy and raw cakes or fillings that won’t set. So, make sure to pay attention. Adhere to the ingredient weights provided with precision and you’ll be on track for a delicious end result!
Listen to your cakes (if able)
This particular trick is one I learned from watching The Great British Bake Off. A couple of the bakers over the years – including 2020’s winner, Peter – have made a point of listening to their cakes to see if they are baked through. It was a must inclusion in my top 10 baking tips, but only applies if you are capable of doing so. Otherwise, using a skewer or cocktail stick works just as well!
It’s such a quirky technique but I swear by it. You can certainly still check by using a skewer or cocktail stick and making sure it comes out clean, but I have done this and ended up with cakes that were still raw in the centre. It’s also more difficult to tell with chocolate cakes.
By listening to your cakes, you are keeping an ear out for whether they are “talking” to you. This simply means that if you can still hear a bubbling or crackling sound when you lift the cake to your ear (out of the oven), the cakes are still wet inside. If you can barely hear anything or no sound at all, they are baked through.
I tend to test with a cocktail stick or skewer, press my finger gently on the surface to see if the cake springs back and listen to my cakes. That way I know for sure that they are baked through.
Use the window pane test
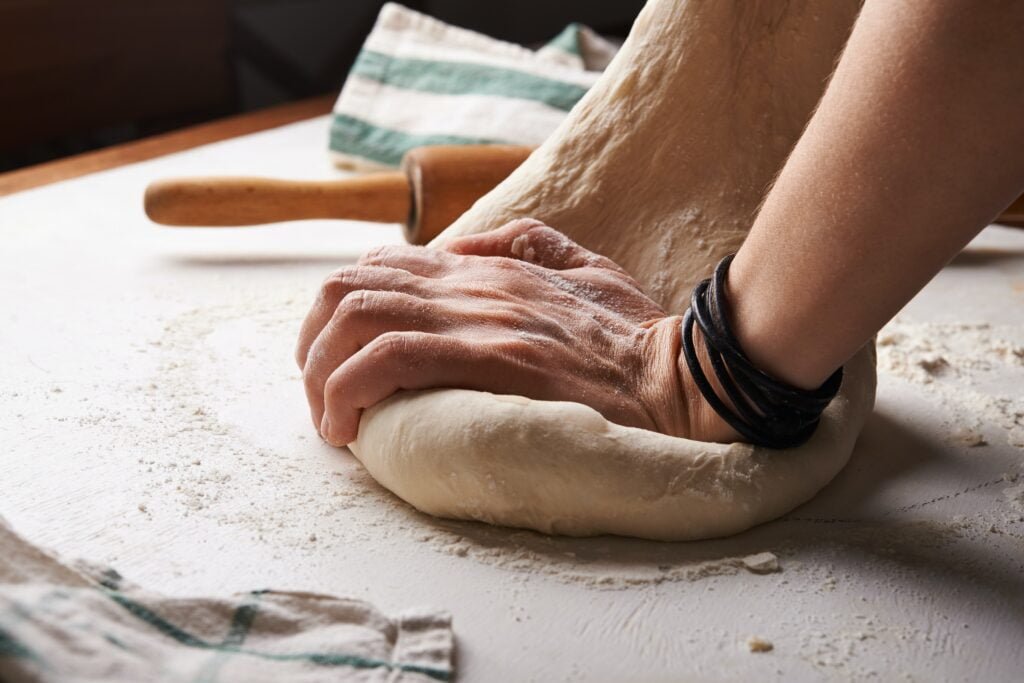
My top 10 baking tips wouldn’t be complete without a bread making tip. The window pane test is a technique used to check whether the gluten has developed enough when making bread. This is especially useful when you are kneading the dough by hand rather than using a dough hook attached to a mixer.
Once you have kneaded the dough for the recommended amount of time, simply rip a piece off of your dough and pull it between two fingers, stretching it apart. Do this in front of a window or other source of natural light to get the best viewpoint.
If the dough rips straight away, the gluten needs to develop more so you need to continue kneading. If the dough stretches and starts to allow light through without ripping, like a window pane, the gluten has developed well.
You’ll also know when your dough is ready when it feels elasticated and is smooth and shiny in appearance. But, the window pane test is a great way to find out whether the gluten has developed enough before the dough’s first rise.
Soften your butter
If your house is like my family house (cold most of the time) then you’ll want to soften your butter slightly before using. This is especially useful with recipes that require room temperature butter: cakes, cookies, etc. If the recipe requires very cold butter i.e. when making pastry, then do not soften beforehand.
This tip from my top 10 baking tips list is for those with colder than average kitchens/houses. Room temperature for me is often still too solid to cream with sugar or eggs or to make buttercream with. So I usually soften the butter slightly in the microwave.
Depending on the time of year (though it’s cold for most of the year in England), I will soften the butter for ten to twenty seconds in the microwave before using and find that it helps immensely.
You do have to be careful as you don’t want to melt the butter completely. You also don’t want it to be so hot that it curdles your eggs. When softening butter for buttercream, only do a ten second blast in the microwave as it could affect the consistency when you pipe it afterwards. Buttercream that is too soft loses its shape.
With buttercream, it’s better to soften for less time. If needed, you can then add a splash of milk to bring it all together.
I tend to use block butter, not baking spreads or brands like Stork. If you are using the latter, then softening the butter will likely not be needed!
Don’t leave out ingredients
This sounds like a really obvious one, but in the beginning of my baking career, I made this mistake. I then watched as a cake I was attempting to make for my Mum’s birthday overflowed and made a mess in the oven. Such mistakes are reflected on and make it into my top 10 baking tips.
When you leave out ingredients, the entire structure of the bake changes. I left out a dry ingredient and the entire mix became too wet as a result. That liquid fail of a cake ended up in a bin bag that I carried out while tears ran down my face.
It is so important not to leave any ingredients out UNLESS stated otherwise. Often a recipe will say something like “optional” next to an ingredient. If an ingredient is optional, this is when you can leave it out or keep it in based on your personal preference.
Always chill when required
Again, this seems like an obvious one. But, I know people who have skipped a step instructing them to chill a bake at a certain stage. I’m talking about both letting a bake cool after the designated time in the oven, as well as chilling something before it goes in the oven.
It’s important to let a cake fully before decorating, for example. If you try to decorate a cake with any kind of buttercream or whipped cream whilst it’s still warm, you’ll find the decoration losing shape and melting, and the cake slipping and sliding everywhere.
When making cookies, especially NYC cookies like my Percy Jackson and the Olympians cookies, a recipe will often say to chill the dough before baking them. This helps to maintain their shape during the baking phase, so you don’t end up with a flat disc of a cookie. Hence why it needed to be included in my top 10 baking tips!
If you skip the chilling stage, you are likely to end up with shapeless cookies as a result. The texture could also end up differently to what you were after. If you want to achieve thick, deliciously soft-in-the-centre cookies then the chilling stage is crucial!
Make sure not to skip any chilling stages that a recipe requires you to do. Doing so can drastically change the end result of your bake.

Prove dough in an airing cupboard or warm oven
When making a bread dough, allowing it ample time to rise and for the gluten to fully develop is integral. If you don’t give it that time to prove, the gluten is unlikely to develop properly and you won’t achieve the correct rise and texture you’re after. Naturally, this doesn’t apply to all breads that you can make.
Some types of dough can be left to rise in a fridge overnight, like my Tangled braided brioche. But for the times when a recipe calls for the bread to rise (not specifically in the fridge), it is expected that the dough be left to rise in a warm place.
For most houses, leaving the dough to one side in the kitchen is warm enough, especially in the summer. However, as the temperature of the room dictates how long your dough will need to rise, it means you may find yourself waiting for up to two hours for the first rise to be complete.
Many types of bread dough will need two rising sessions as well
As mentioned before, my family house can get very cold. I have found myself waiting longer than I anticipated for my dough to rise as a result. This is when I started experimenting with ways to shorten the time needed for my dough to rise.
First, I realised that my family house’s airing cupboard is like a proving cupboard. Obviously not all houses have an airing cupboard but if yours does, I highly recommend making some room in there and placing your dough inside for any rising time it needs. It helps if you have the heating on, of course, which is why this is more helpful during the colder months.
With the cost of living, I can understand why this could be a less attractive option. However, it wouldn’t be necessary during the warmer months to do this. You could definitely time it so that you are proving your dough while you have the heating on for an hour during the winter.
Doing this would mean your dough rises in less time because it is in a warmer climate.
Another way of achieving this would be to put the dough in an oven at the lowest temperature. I discovered this relatively recently and found it to be really effective. I was making bread for a friend of mine and leaving the dough to rise in the oven meant I didn’t need to get up nearly as early in the morning!
The key is to only keep it at the lowest temperature and no higher, and to check after 45 minutes to see if the dough has doubled in size. Luckily, this is easy to do with most oven doors having windows.
These options just mean you can shorten the time it takes for your dough to rise (without ruining the dough itself) during the winter months. It means delicious homemade bread quicker!

Inject love into your bakes
The last of my top 10 baking tips is a special one. Have you ever heard of talking to plants positively to help them grow well and thrive? I genuinely do this with my bakes. Now, I don’t mean a constant conversation while your cake is in the oven. I simply mean singing or dancing while you are combining ingredients. Saying sweet words to your cake batter before shutting the oven door.
Sounds bonkers? I’m aware. But I genuinely feel like it gives your bake that extra lift. Everyone knows a homemade treat tastes best when it’s made with love. Having fun whilst making your treats makes them taste better.
Saying things like “bake well” in a loving tone as you close the oven door puts out good vibes for your treat to come out at its best.
Sometimes the quirkier techniques bring the best results. So, next time you’re baking something, say some kind words to both yourself and your bake before it goes in the oven!
I hope you find these tips and tricks useful! A baking journey is likely never linear but I hope these nuggets of information mean that your baking adventures are more enjoyable. Happy baking, happy eating!
© Flavour of the Film. All content and imagery is copyright protected. Please do not use any of my images or written content without prior permission. If you would like to share any of the recipes or images on Flavour of the Film, please link back to the recipe in question and rewrite it in your own words, crediting Flavour of the Film as the original source.


2 Comments
Comments are closed.