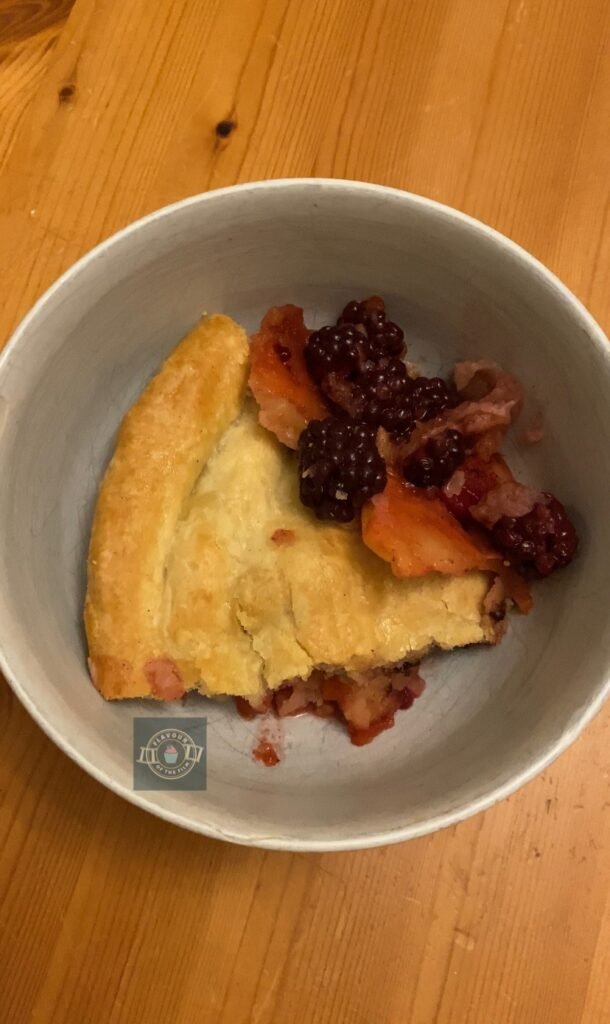
Ohohoooo well hello double crust fruit pie. Joining my The Last Of Us cake is another action packed bake: my John Wick inspired apple and blackberry pie. A hit of warming goodness with every slice. No need for fighting, there’s plenty of pie to go around.
Contents

The Bake
As I mentioned above, one of the things that the character of John Wick is known for in the trade is his skill to “kill a man with a pencil”. Though it’s a rumour to most, we get to see it in Chapter 2 so I felt (weirdly?) inspired to create a bake that reflects this interesting, impressive and pretty terrifying ability.
The first two films are set in New York City a.k.a The Big Apple. I don’t know about you, but when I think of apples in desserts, I think of a pie or a crumble. Pie felt more appropriate (and stable) so I chose to create a John Wick inspired pie.
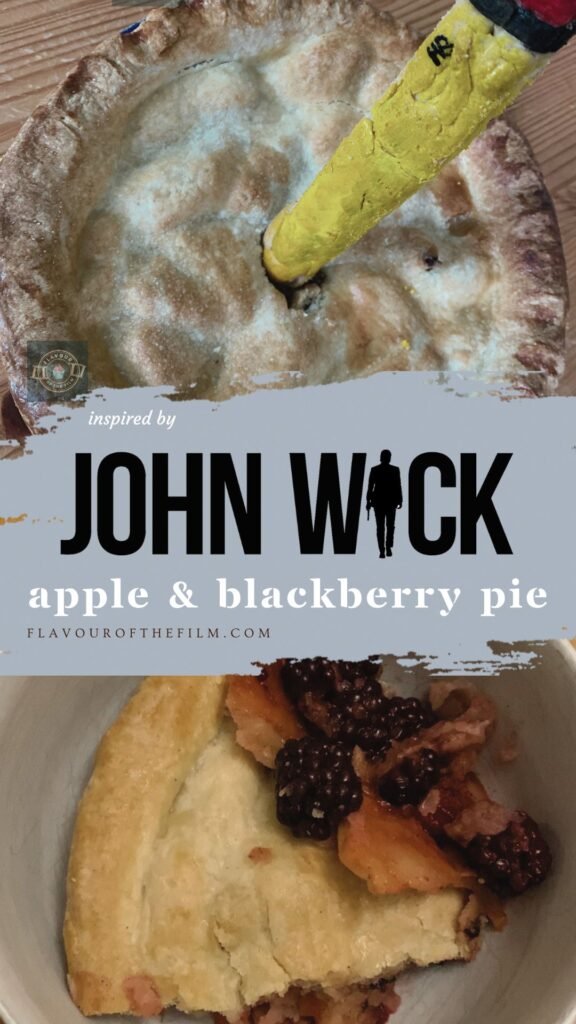
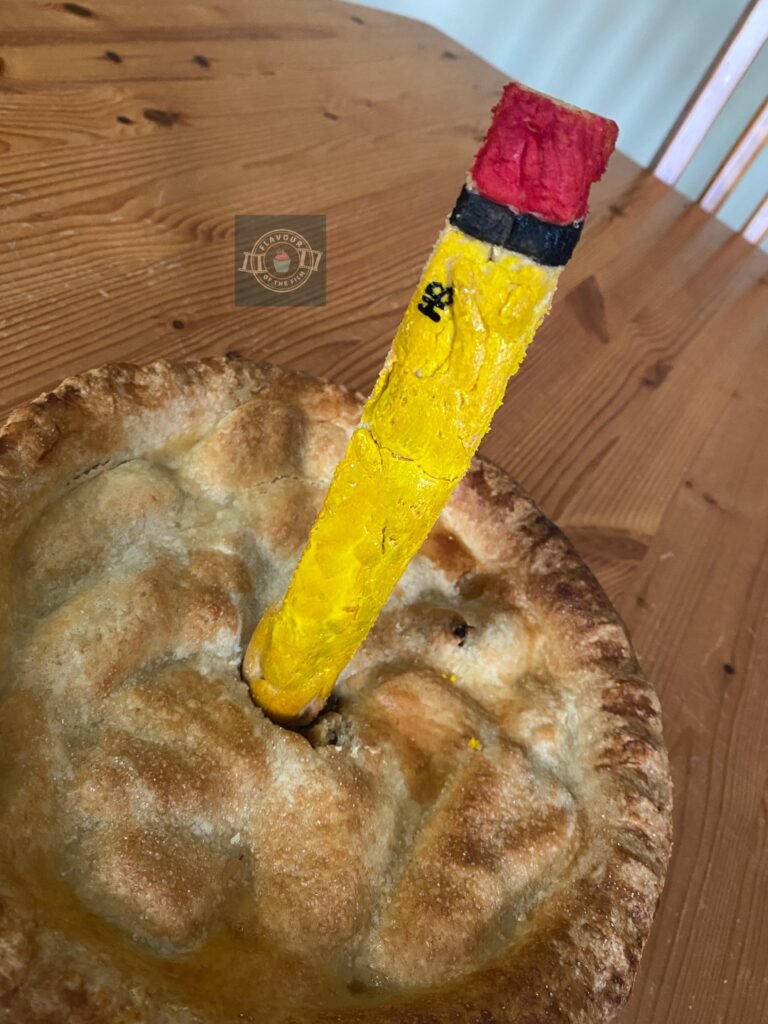
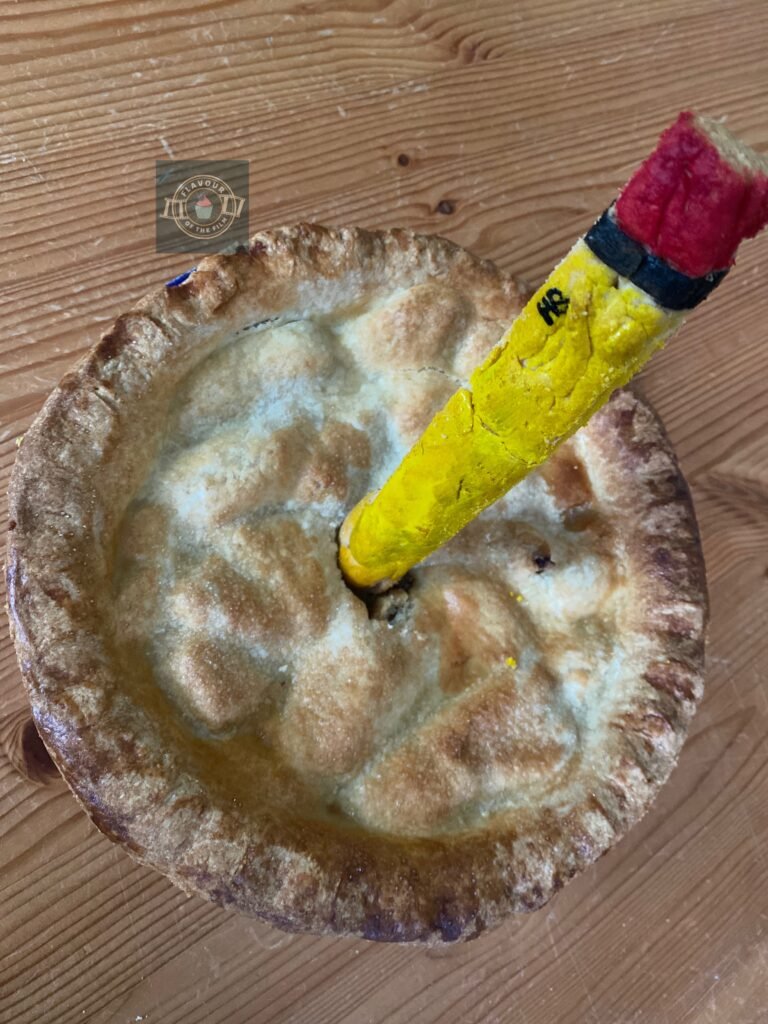
The concept is an apple and blackberry pie with homemade double crust pastry and a pastry pencil sticking out of it.
When I first made this pie, I actually made the pencil a lot thicker and I painted it with pinstripes. It wasn’t until I rewatched Chapter 2 that I remembered the pencils he uses are the yellow HB ones with the pink erasers on the ends. I felt it necessary to re-do the pie just to change the look of the pencil. Obviously, you can choose any pencil you like, I simply wanted to keep it as close to the films as possible.
For flavours, I chose apple to represent NYC and I chose blackberry because it goes really well with apples in a pie, and also to represent the black suit that John wears in literally every film. Thus, apple and blackberry.
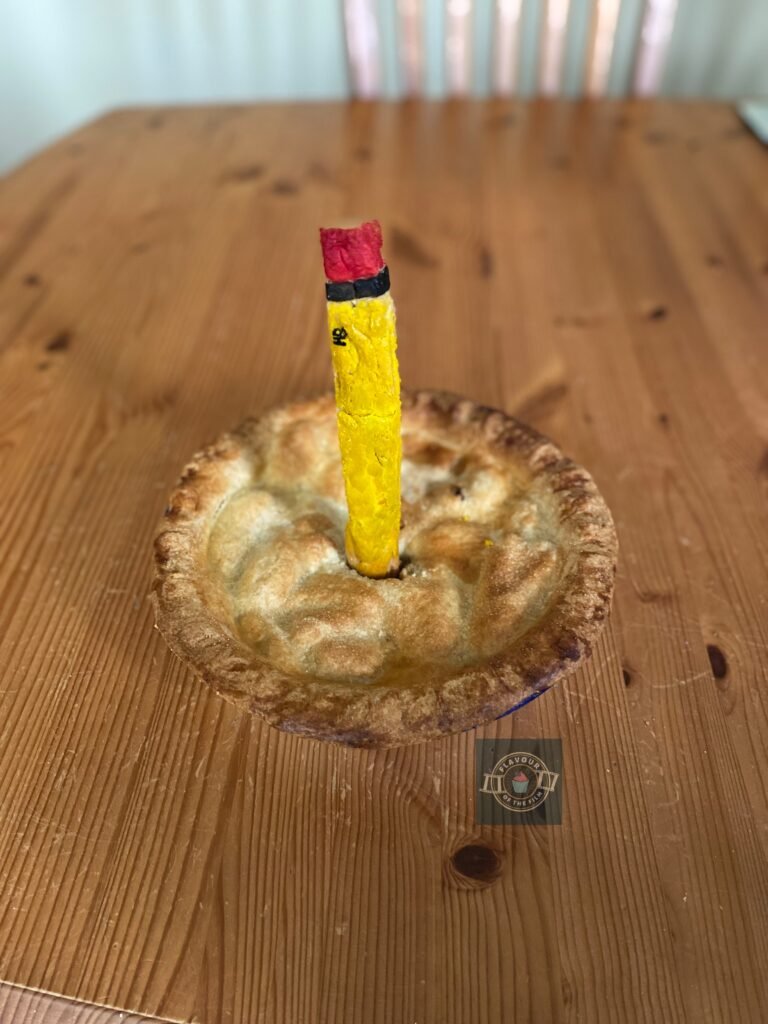
Once baked and cooled, I stabbed the pencil into the pie in a relatively central place.
It’s simple but effective and it feels in keeping with the vibe of the films.
To make the pastry, you can use a food processor if you have one. Otherwise, you can easily make it by hand – it’ll just take a little longer. If making by hand, you’ll need to rub the butter into the dry ingredients with your fingers until it starts to look a little like breadcrumbs.
You don’t need to be spot on with this – you aren’t making scones. It’s just to make sure the butter is well incorporated before adding the water.
With this pastry, you don’t want to overwork it.
An overworked pastry can often result in a tough pastry once cooked which is really not ideal. After adding the water, you just want to bring it all together. No kneading. No over-mixing. It doesn’t need it and the less you work the pastry, the flakier and more delicious it will be.
This apple and blackberry pie recipe is so simple and will make you feel such a sense of accomplishment at having made your own pastry. It’s that tasty. It’s even more delectable when served warm with vanilla ice cream or warmed up custard. Unreal.
Top Tips
- Don’t slice your apples too thinly. Whether in slices or chunks, if the pieces are too small, you risk the entire lot turning to mush during the baking process.
- Make sure to wash your fruit before use. Sounds blatantly obvious, but it can be easy to forget to do this.
- Try not to overwork the pastry. It doesn’t need to be kneaded and an overworked pastry can be a tough pastry.
- Wrap the remaining pastry around a chocolate bar for a sweet surprise in the pencil. Just an idea.
- Serve with ice cream, double [heavy] cream or warm custard.
This is proper comfort food and I hope you love it. If you haven’t seen the films yet, then I hope you love them too. This pie makes a great movie night treat, especially when served warm with ice cream, cream or custard…
Happy baking, happy eating!
The Recipe
Ingredients
Pie pastry:
- 180g [6.25 oz] very cold unsalted butter (I stick mine in the freezer for 10 or so minutes before using) cut into cubes
- 300g [2½ cups] plain [all-purpose] flour
- 2 tbsp caster sugar
- A pinch of sea salt
- 125ml [½ cup] cold water
Apple and blackberry filling:
- 2 good sized cooking apples i.e. Bramley apples
- 300g fresh blackberries (washed and air dried)
- 2 – 4 tbsp light brown sugar (based on sweetness preference)
- 2 tsp mixed spice
Decoration:
- 2 tbsp milk of your choice
- A sprinkle of granulated sugar
- Leftover pastry
- Yellow food colouring or edible paint
- Pink food colouring or edible paint
- Black/grey food colouring or edible paint
Serves: 6
Preparation time: 30 minutes
Chilling time: 30 – 60 minutes
Baking time: 45 – 50 minutes
Cooling time: 2 – 4 hours or overnight
Method
Pastry:
- In a food processor, add the flour, salt and sugar and blitz until well mixed. If doing this by hand, just mix well with a wooden spoon in a large mixing bowl.
- Add the butter and blitz until mostly combined – you should still see some butter in pieces amongst the dry ingredients. By hand: using your fingertips, rub the butter into the dry ingredients until mostly combined. Make sure to rub in every cube.
- Add the water bit by bit and blitz until a rough dough has formed. By hand: make a well in the middle of your mixture and pour in the water. Mix with a wooden spoon until a rough dough has formed.
- Lightly flour a clean surface and tip the rough dough out onto it. Using your hands, bring the dough together and fold it in on itself. Split into two halves and press each half into a disc shape.
- Wrap each disc in cling film or beeswax paper and chill in the fridge for at least 30 minutes. The dough can be left to chill overnight in the fridge if making ahead of time.
Apple and blackberry filling:
- While your dough is chilling, prepare your filling.
- Wash the blackberries and lay them out on some kitchen paper to dry. Slice up your apples (discarding the cores) into relatively thin slices. Cut off the skin of your apple slices (the skin of cooking apples can be quite bitter).
- Grease a 9 inch round pie dish with butter and set aside.
- Lightly dust a clean surface and rolling pin with flour. Retrieve one disc of pastry from the fridge and remove the wrapping. Roll the disc out so that it is plenty larger than your pie dish.
- Carefully lift your pastry and sit it into the pie dish. Lift the edging and use one of your knuckles to gently press the pastry into the dish.
- Cut off the excess with a sharp knife and set aside. You will use this for the pencil so make sure to keep it!
- Place the pie dish in the fridge and chill for 15 or so minutes.
- Preheat your oven to 180°C [350°F] or 170°C fan.
- Retrieve your other disc of dough and roll it out into a rough circle slightly bigger than the rim of your pie dish.
- Collect the pie dish from your fridge and fill with your blackberries and apple slices. Sprinkle the sugar and mixed spice over the fruit and carefully lay the rolled out pastry over the top of it. Alternatively, you can carefully toss the sugar, mixed spice and fruit with your hands in a bowl before adding to the pie and covering with the pastry lid.
- Pinch together the pastry and create a pattern around the trim to seal your pie.
Pencil:
- Cut off the excess and gather it together with the rest of the remaining pastry.
- Form a pencil shape using the excess pastry. It can be as thick or thin, long or short as you like, just keep in mind that the baking times will vary depending on the size you choose. If doing the HB style of pencil, make indents in the pastry to indicate when the eraser starts.
- Line a baking tray with aluminium foil or baking parchment/greaseproof paper and place the pie on the tray. Put the pencil directly on the paper, leaving space between it and the pie dish.
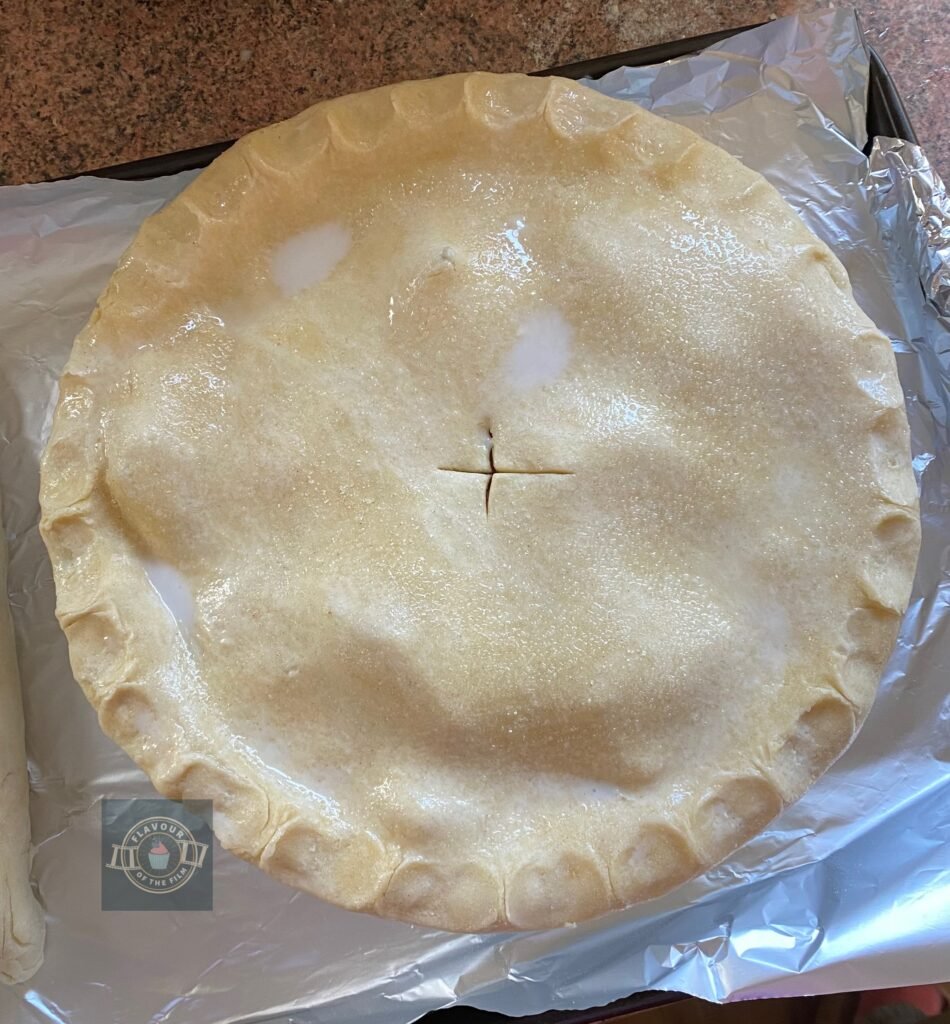
- Glaze the top of the pie with the milk and sprinkle over the sugar if using.
- Using a sharp knife, make a small cross shape in the middle of the pastry surface to create a ‘breathing hole’.
Baking:
- Bake the pencil until it is golden brown and looks relatively dried out on the surface – about 20 – 30 minutes depending on the size. Remove the pencil carefully from the oven and place on a wire rack to cool while the pie continues to cook.
- Bake the pie for 45 – 50 minutes, until the pastry is golden and crisp and the apples feel soft but still in shape when you put a skewer through the centre of the pie (through the breathing hole of the pastry). This timing can depend on how hot your oven runs so keep an eye on it after 45 minutes. If needed, cover the pie over with tin foil after the 45 minutes to keep it from catching.
- Once baked, remove the pie from the oven and allow it to rest for at least 2 to 4 hours or even overnight before serving.
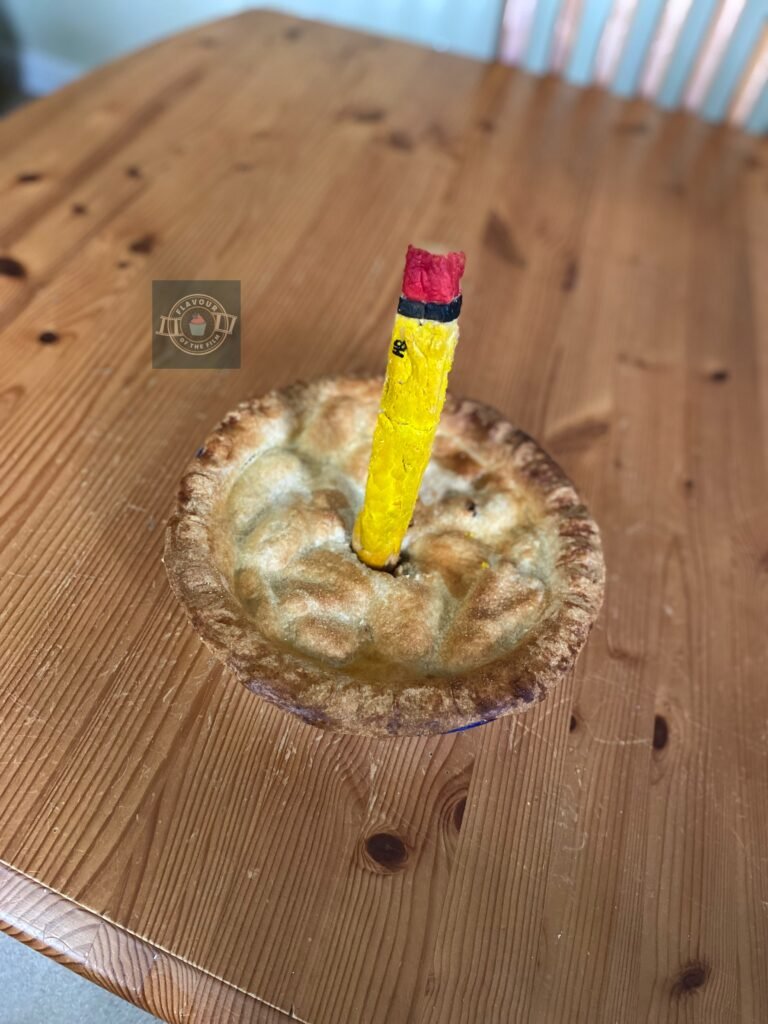
- When the pastry pencil is cool, paint on your desired pattern. If needed, carve the shape with a sharp knife for a more rectangular finish but be careful doing so as the pastry is flakey and thus, prone to breaking (it can be saved with edible glue if needed!). For the HB style: paint the main body of the pencil yellow, the eraser in pink and the metal band in a black or silver. Paint on “HB” and a number if desired in black.
- Before serving, literally stab the pastry pencil tip down through the centre of your pie, using the breathing hole as a target. It should stay standing on its own as the pie is very full but you can use a cocktail stick to help it stand up if you find it keeps wanting to fall over!
Tip: You can wrap your extra pastry around something like a chocolate bar of sorts. Something with a similar shape to a pencil. This is something I did in my first experimenting session with this pie – I used a Cadbury Twirl – but decided I didn’t want it as thick. It bakes just the same, you just have to make sure there are no holes in the pastry so the chocolate doesn’t melt out of it. If you do want a thick pencil then this is something worth considering!
This sweetly comforting apple and blackberry pie is best served once cooled. You can warm it through again in the oven for a few minutes or in the microwave in 30 second bursts if desired. It’s absolutely delicious served on its own, with vanilla ice cream or warmed up custard. Enjoy!
The Films
As the fourth instalment of the John Wick series has just been released, I wanted to celebrate the franchise with a delicious bake. What drew me to John Wick in the first place was the overall motivation for the character. Instead of the usual tropes that are often used as reasons for seeking revenge in films, John’s seemed oddly more relatable to the everyday person.
Beginning with John Wick (2014), audiences find the character, played by the iconic Keanu Reeves, a retired hitman and a widower. With an adorable dog as his only company, the story sees us in with a melancholy start. That is until some gangsters break into his home in the night, killing his dog and stealing his car.
John comes out of retirement and back into the world he thought he had left behind.
We learn that his reputation precedes him; known widely as the boogeyman with the skill to “kill a man with a pencil”. John sets out on hunting down the gangsters who invaded his home and stole from him. Word gets around and the story threads out into situations that run much deeper than initially thought.
What I love about these films is that they each pick up right where the last one left off.
John Wick: Chapter 2 (2017) quite literally continued on as if the two films didn’t have three years of production time in between them. For reasons I will not divulge in (no spoilers here!), John has a $14 million price tag put over his head, making him vulnerable to every hitman in business.
Then John Wick: Chapter 3 – Parabellum (2019) takes us further: to a different part of the world with a target on John’s back wherever he turns. This brings us nicely (or not so nicely) to John Wick: Chapter 4 (2023).
The style of these films feels very Japanese in its aesthetic, which I love.
Check my Avatar: The Last Airbender cakes recipe; my Teen Wolf chocolate cookies and cream cake post, and any of my Anime recipes. It’ll make sense why a Japanese aesthetic is something I love and appreciate.
The fight scenes are second to none and it’s hard not to root for John as the story progresses… despite the body count he racks up.
Derek Kolstad wrote all four instalments, with Chris Collins and Shay Hatten as co-writers in Chapter 3 (Hatten on Chapter 4 too) and Michael Finch on Chapter 4. Chad Stahelski directed all four productions, alongside David Leitch for John Wick. The films also host one heck of a regular cast, with additions to each film.
Alongside Keanu as the title character, the regular stars include Ian McShane, Lawrence Fishbourne and Lance Reddick. The likes of Halle Berry, Willem Dafoe, Riccardo Scamarcio, Claudia Gerini, Common, John Leguizamo, Mark Dacasos, Angelica Huston, Asia Kate Dillon and Jerome Flynn join them throughout the different films (just to name a few!).
John Wick: Chapter 4 delights us with Donnie Yen, Bill Skarsgård, Hiroyuki Sanada, Aimée Kwan, Clancy Brown and Rina Sawayama and more.
These films are fantastic and I recommend them to anyone I know that is a fan of the genre.
I’m off to the big screen to see John Wick: Chapter 4 as soon as possible. It certainly looks like one to see in the cinemas while it’s still showing.
Recipe Card

Apple and Blackberry Pie | John Wick
Ingredients
Pie pastry:
- 180 g [6.25 oz] very cold unsalted butter I stick mine in the freezer for 10 or so minutes before using then cut into cubes
- 300 g [2½ cups] plain [all-purpose] flour
- 2 tbsp caster sugar
- A pinch of sea salt
- 125 ml [½ cup] cold water
Apple and blackberry filling:
- 2 good sized cooking apples i.e. Bramley apples
- 300 g fresh blackberries washed and air dried
- 2 – 4 tbsp light brown sugar based on sweetness preference
- 2 tsp mixed spice
Decoration:
- 2 tbsp milk of your choice
- A sprinkle of granulated sugar
- Leftover pastry
- Yellow food colouring or edible paint
- Pink food colouring or edible paint
- Black/grey food colouring or edible paint
Instructions
- In a food processor, add the flour, salt and sugar and blitz until well mixed. If doing this by hand, just mix well with a wooden spoon in a large mixing bowl.
- Add the butter and blitz until mostly combined – you should still see some butter in pieces amongst the dry ingredients. By hand: using your fingertips, rub the butter into the dry ingredients until mostly combined. Make sure to rub in every cube.
- Add the water bit by bit and blitz until a rough dough has formed. By hand: make a well in the middle of your mixture and pour in the water. Mix with a wooden spoon until a rough dough has formed.
- Lightly flour a clean surface and tip the rough dough out onto it. Using your hands, bring the dough together and fold it in on itself. Split into two halves and press each half into a disc shape.
- Wrap each disc in cling film or beeswax paper and chill in the fridge for at least 30 minutes. The dough can be left to chill overnight in the fridge if making ahead of time.
- While your dough is chilling, prepare your filling.
- Wash the blackberries and lay them out on some kitchen paper to dry. Slice up your apples (discarding the cores) into relatively thin slices. Cut off the skin of your apple slices (the skin of cooking apples can be quite bitter).
- Grease a 9 inch round pie dish with butter and set aside.
- Lightly dust a clean surface and rolling pin with flour. Retrieve one disc of pastry from the fridge and remove the wrapping. Roll the disc out so that it is plenty larger than your pie dish.
- Carefully lift your pastry and sit it into the pie dish. Lift the edging and use one of your knuckles to gently press the pastry into the dish.
- Cut off the excess with a sharp knife and set aside. You will use this for the pencil so make sure to keep it!
- Place the pie dish in the fridge and chill for 15 or so minutes.
- Preheat your oven to 180°C [350°F] or 170°C fan.
- Retrieve your other disc of dough and roll it out into a rough circle slightly bigger than the rim of your pie dish.
- Collect the pie dish from your fridge and fill with your blackberries and apple slices. Sprinkle the sugar and mixed spice over the fruit and carefully lay the rolled out pastry over the top of it. Alternatively, you can carefully toss the sugar, mixed spice and fruit with your hands in a bowl before adding to the pie and covering with the pastry lid.
- Pinch together the pastry and create a pattern around the trim to seal your pie.
- Cut off the excess and gather it together with the rest of the remaining pastry.
- Form a pencil shape using the excess pastry. It can be as thick or thin, long or short as you like, just keep in mind that the baking times will vary depending on the size you choose. If doing the HB style of pencil, make indents in the pastry to indicate when the eraser starts.
- Line a baking tray with aluminium foil or baking parchment/greaseproof paper and place the pie on the tray. Put the pencil directly on the paper, leaving space between it and the pie dish.
- Glaze the top of the pie with the milk and sprinkle over the sugar if using.
- Using a sharp knife, make a small cross shape in the middle of the pastry surface to create a ‘breathing hole’.
- Bake the pencil until it is golden brown and looks relatively dried out on the surface – about 20 – 30 minutes depending on the size. Remove the pencil carefully from the oven and place on a wire rack to cool while the pie continues to cook.
- Bake the pie for 45 – 50 minutes, until the pastry is golden and crisp and the apples feel soft but still in shape when you put a skewer through the centre of the pie (through the breathing hole of the pastry). This timing can depend on how hot your oven runs so keep an eye on it after 45 minutes. If needed, cover the pie over with tin foil after the 45 minutes to keep it from catching.
- Once baked, remove the pie from the oven and allow it to rest for at least 2 to 4 hours or even overnight before serving.
- When the pastry pencil is cool, paint on your desired pattern. If needed, carve the shape with a sharp knife for a more rectangular finish but be careful doing so as the pastry is flakey and thus, prone to breaking (it can be saved with edible glue if needed!). For the HB style: paint the main body of the pencil yellow, the eraser in pink and the metal band in a black or silver. Paint on “HB” and a number if desired in black.
- Before serving, literally stab the pastry pencil tip down through the centre of your pie, using the breathing hole as a target. It should stay standing on its own as the pie is very full but you can use a cocktail stick to help it stand up if you find it keeps wanting to fall over!
Notes
© Flavour of the Film. All content and imagery is copyright protected. Please do not use any of my images or written content without prior permission. If you would like to share any of the recipes or images on Flavour of the Film, please link back to the recipe in question and rewrite it in your own words, crediting Flavour of the Film as the original source.