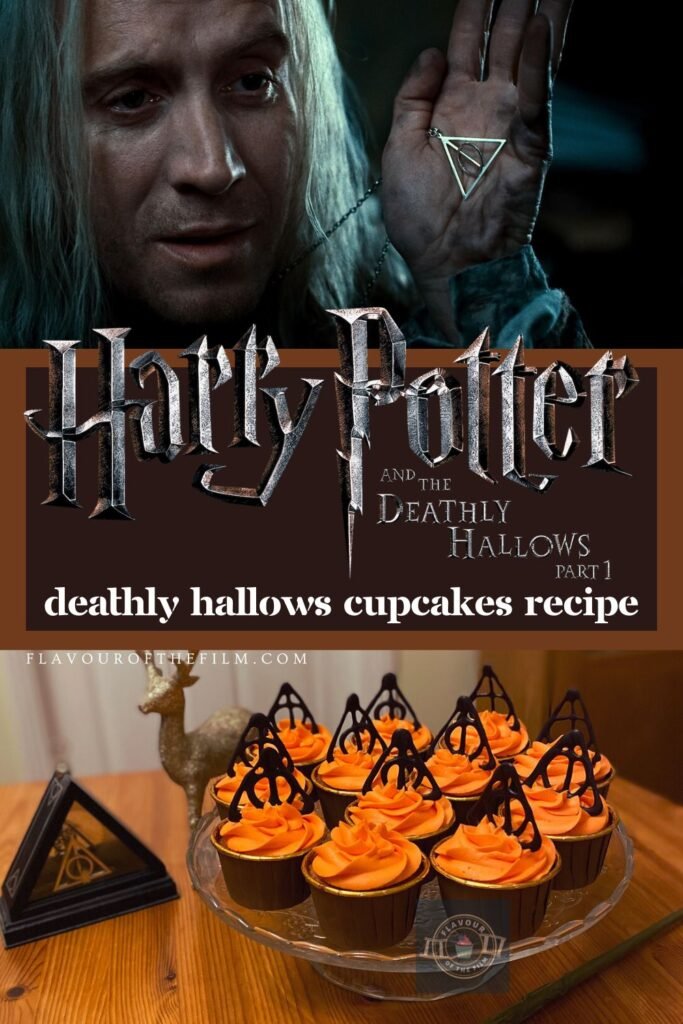
I wouldn’t necessarily say that one immediately thinks of cupcakes when it comes to the first Deathly Hallows film. They are, however, in theme and delightfully tasty. My easy Harry Potter cupcakes are flavoured with plum juice and ginger for a warming and wintery feel. No time to hang about: let’s begin.
Contents
The Bake
As I mentioned in my introduction, cupcakes aren’t usually the type of treat that springs to mind when watching a film as dark as this one.
Which is exactly why I chose them.
After all, if you’re preparing these treats as a viewing snack, you don’t really want to be stressing out over a bake before the film viewing has even begun. This film requires a bake that is relatively easy and fuss-free. Something that is not arduous to make!
Enter my Harry Potter cupcakes.
For flavours, I chose ginger for its warming and wintery quality. There is a little added nutmeg in there too, to create a gorgeous blend, but this is entirely optional.
The idea for plum to be used as a flavour came from the dirigible plums that surround the Lovegood residence. Whilst the plums that I used aren’t anti-gravity, the flavour goes brilliantly well with ginger.
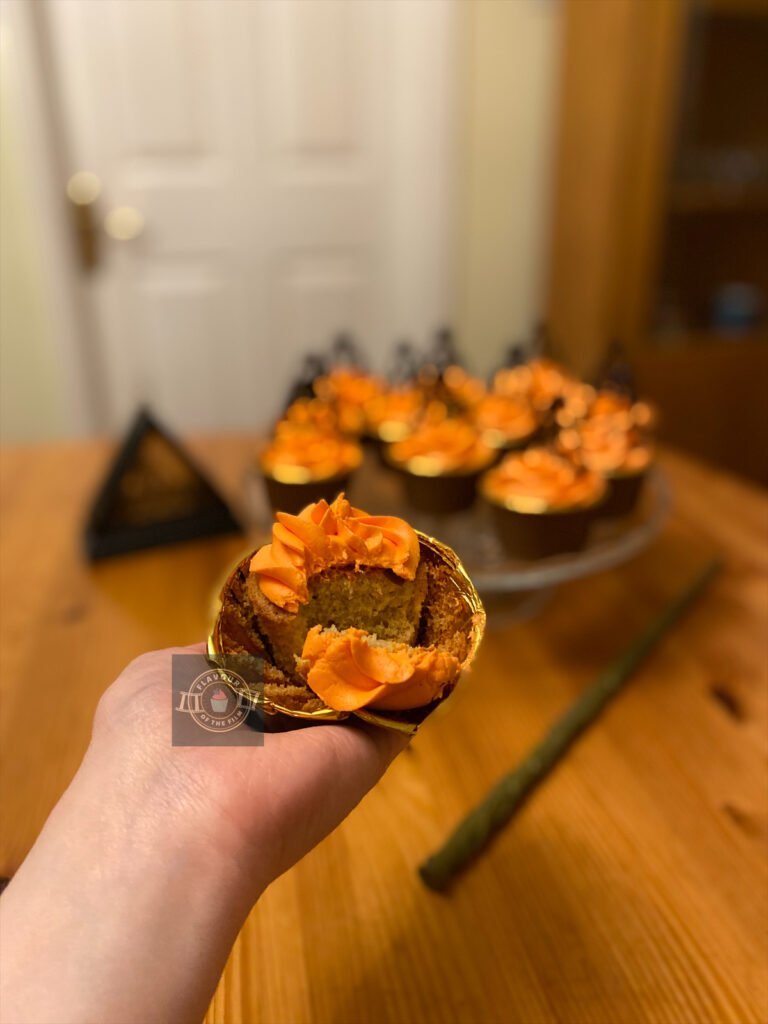
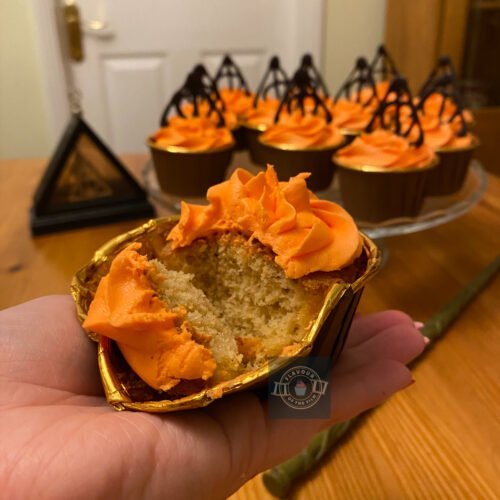
Although they are purple on the outside, regular (non-magical) plums are a pretty orange on the inside. You really get to see that when you blitz them into a pulp to get the juice.
The amount of juice you use in your Harry Potter themed cupcakes is up to you. Plums have a subtle flavour to them, but their juice is quite tart. Balance that tartness with the sweetness of the buttercream and you get a really magical taste.
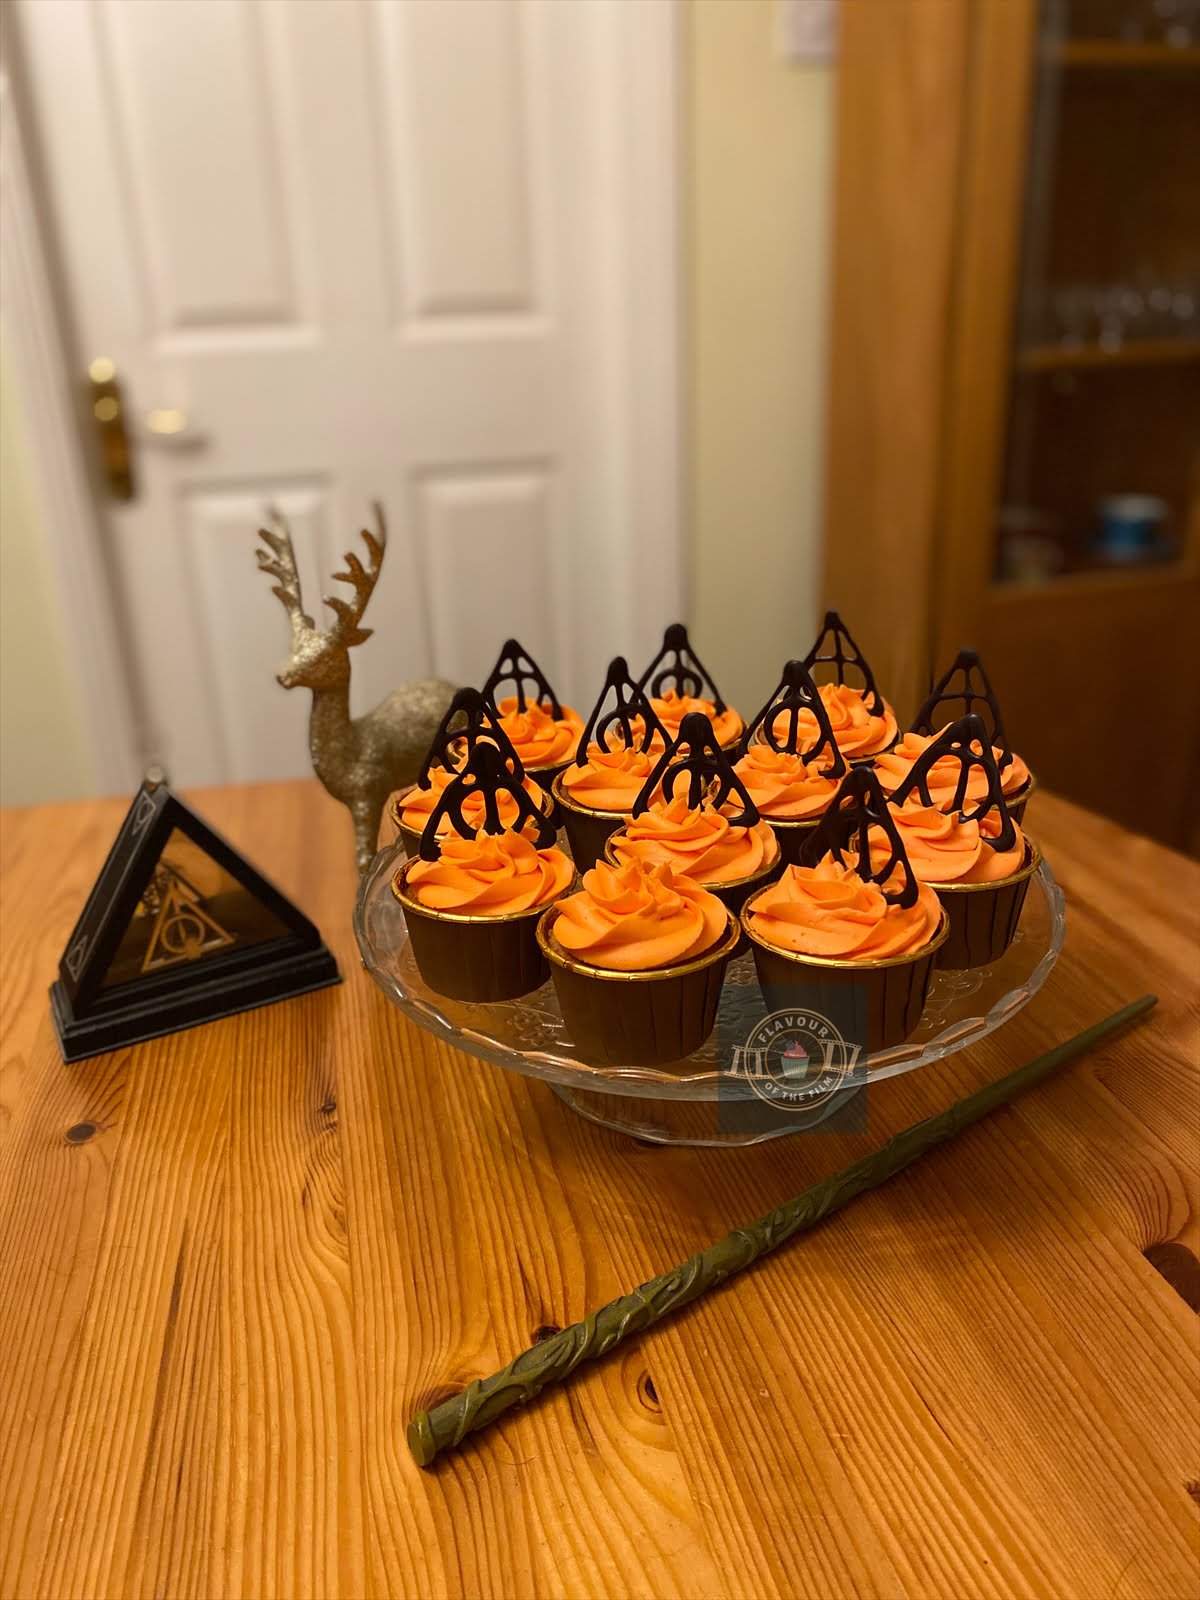
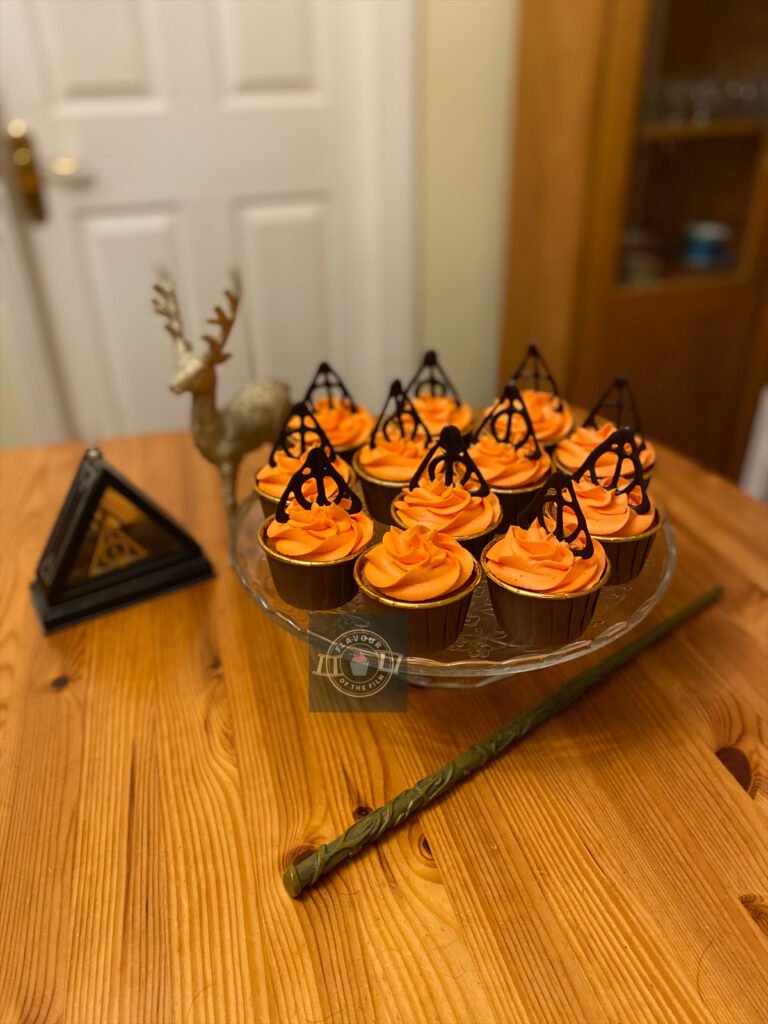
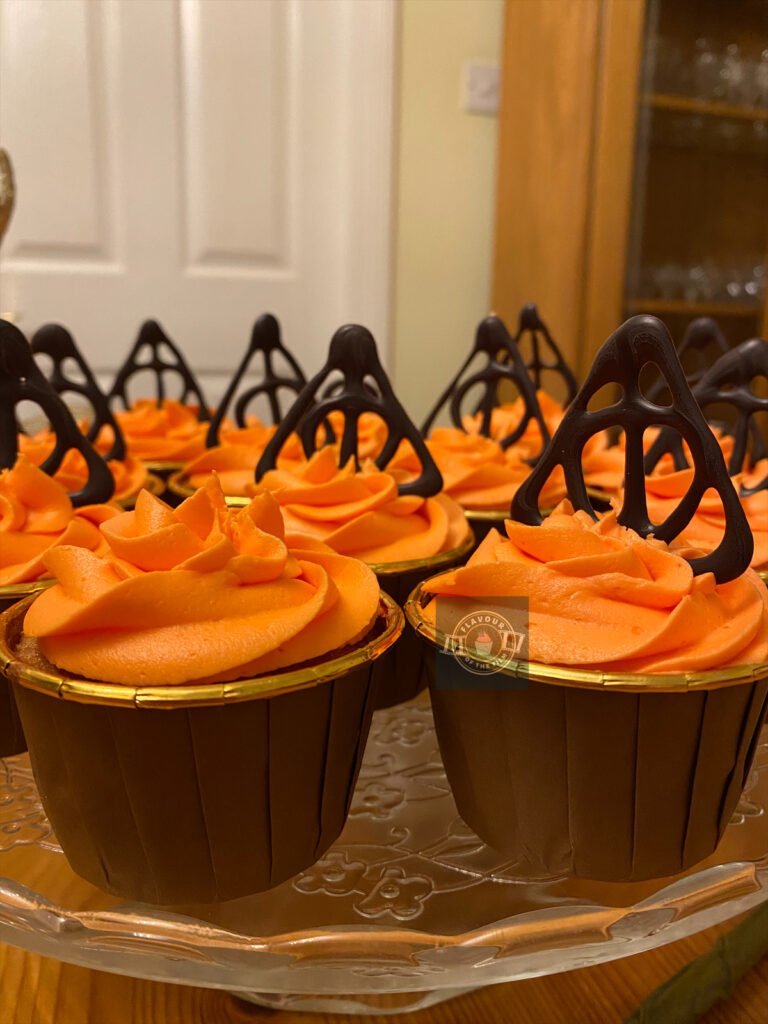
Dirigible plums are an orange colour, so my plum juice buttercream is also orange.
The look of it really pops which I love. Especially against the dark chocolate decorations.
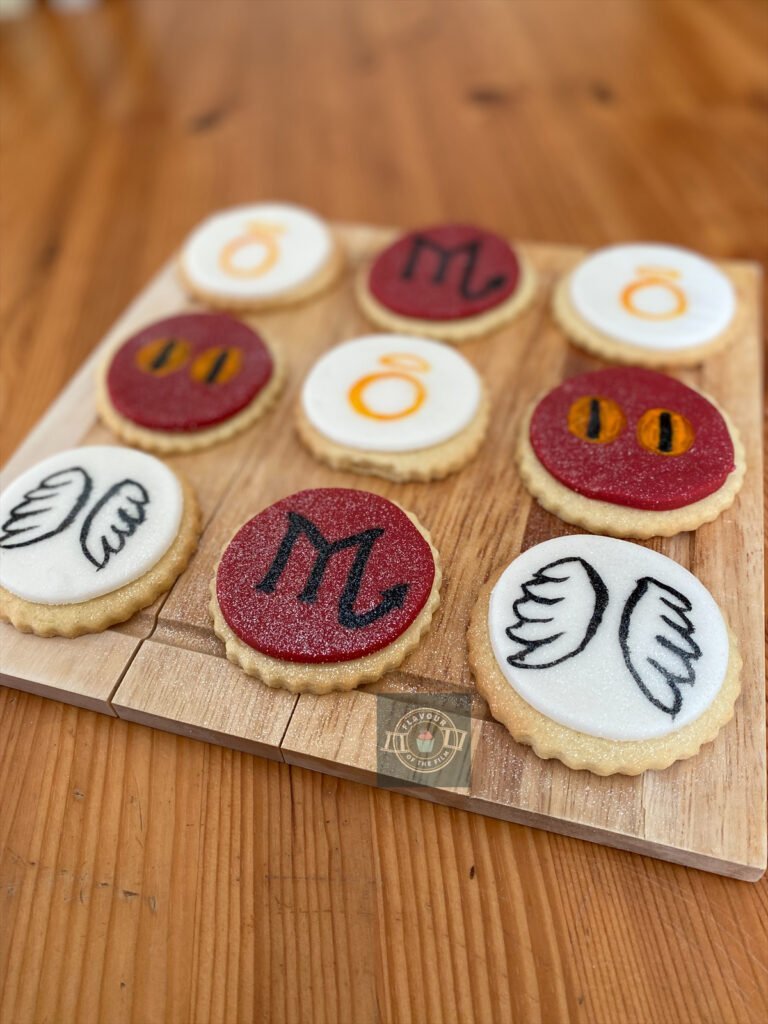
For my Deathly Hallows symbols, I tempered 90% dark chocolate and piped it onto baking parchment to set. It’s not the easiest symbol to pipe, which is why my recipe provides enough chocolate to practise a lot.
That way you can choose the symbols that you like the best out of the ones you’ve made!
You can also choose your chocolate. Dark chocolate tastes lovely with the flavours of these easy Harry Potter inspired cupcakes and really stands out. You can choose to go with any richness level, just make sure to go with a plain or dark chocolate that is at least 60%.

As discussed in my Avatar: The Last Airbender recipe, tempering chocolate is so much easier than people realise.
I used the bain marie method when I tempered the chocolate in that recipe because it was white chocolate that I tempered.
White chocolate can be more likely to catch and burn in the microwave. Dark chocolate, however, is easier to temper when using a microwave. If preferred, you can temper in a bain marie using the instructions in my The Nightmare Before Christmas recipe.
Otherwise, follow this method for instructions on tempering dark chocolate in the microwave. Honestly, it’s so much quicker.
I learned how to temper chocolate using this post on Handle the Heat – an incredibly useful guide with troubleshooting, including how to rescue seized chocolate if needed.

The key is to heat the chocolate up to a certain temperature…
You then cool it down to a certain temperature range which then becomes your working temperature. Once piped, it should set at room temperature within 10 minutes. Properly tempered chocolate will be shiny and smooth even when set, too.
If you’ve never tempered chocolate before, get ready to impress not only others but also yourself. It’s a very cool, very useful skill to have in your baking arsenal!
Top Tips
- Avoid over mixing the cake batter so that you achieve light and fluffy sponges.
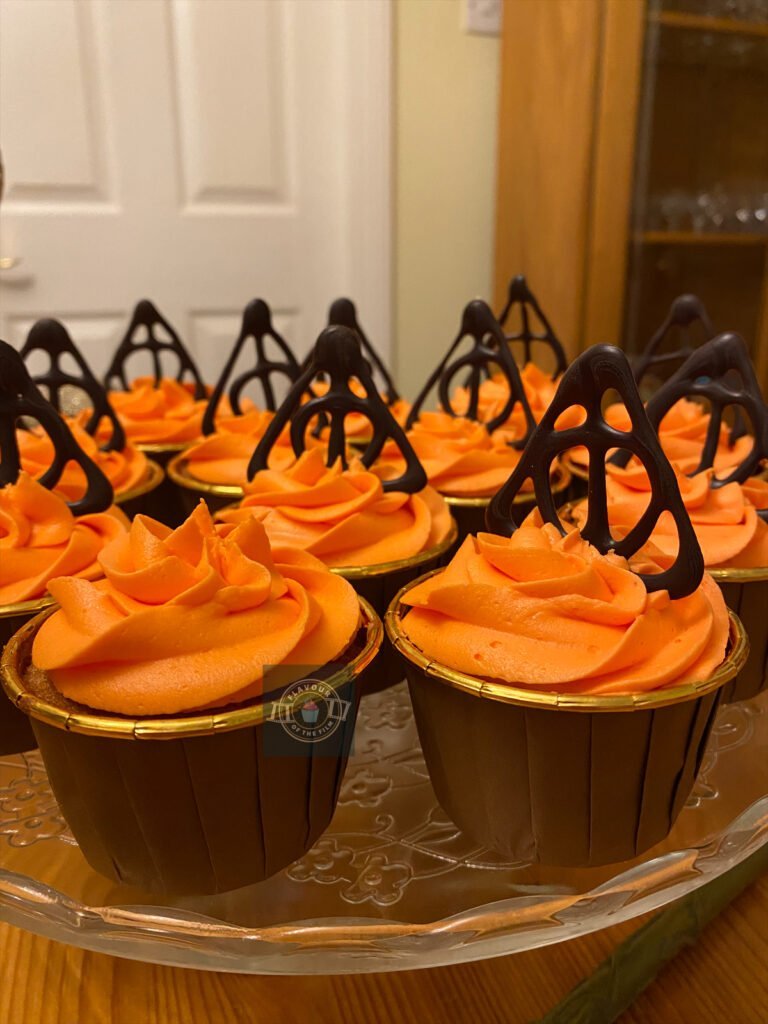
- I used cupcake cases that are sturdy enough to hold their shape on a baking tray. You don’t have to use a 12 hole tray! I love these cases – you can get them from so many shops online and they look great.
- Follow the steps closely to temper the chocolate properly. Once you’ve done it a few times, you’ll feel like a chocolate tempering pro.
- The plum is a delicate flavour so if you want a stronger taste, add more juice until the flavour is right for you. It shouldn’t diminish the ginger; the spice can really hold its own.
There we have it, friends. My Harry Potter themed cupcakes flavoured with plum and ginger. Warming, wintery smells will soon fill your kitchen. You can double or even triple the ingredients to make multiple batches. I hope you have a magical time making these delicious cupcakes.
Happy baking, happy eating!
The Recipe
Ingredients
Harry Potter cupcakes:
- 150g [5.25 oz] unsalted butter softened or room temperature
- 150g [¾ cup] light brown sugar
- 150g eggs (around 3 medium or 2 large)
- 150g [¾ cup + 3 tbsp] self-raising flour
- 1½ tsp ground ginger
- ½ tsp nutmeg optional
Decoration:
- 150g [5.25 oz] unsalted butter room temperature
- 300g [2 cups + 1 tbsp] icing [confectioners] sugar
- Juice of 3 small plums or 2 large plums
- Orange food colouring oil based
- 100g [½ cup + 1 tbsp] dark chocolate at least 60%
Serves: 12
Preparation time: 15 minutes
Baking time: 20 minutes
Decorating time: 40 minutes
Method
Cupcakes:
- Preheat your oven to 180°C [350°F] or 160°C fan. Line a baking tray (if using sturdy ones) or 12 hole tray with your chosen cupcake cases.
- Measure out your eggs in their shells and get as close to 150g as you can. Allow for around 15g each way. Whatever number you settle on, weigh the rest of your ingredients out to that exact number.
- In a large mixing bowl, cream together the butter and sugar until light and fluffy.
- Add the eggs one at a time, beating in between each egg until fully incorporated.
- Sieve in the flour and add the spices. Beat gently just until you can no longer see any flour. Be careful not to overmix!
- Spoon the mixture into each cupcake case. Fill each one half way and no more.
- Bake your Harry Potter cupcakes for 15 – 20 minutes. This will depend on how hot your oven runs. Mine took 20 minutes, but check them after 15.
- Your cakes will be done when a skewer/cocktail stick comes out clean, the surface of them spring back when gently pressed on, and you hear little to no crackling/bubbling sound when you listen to them.
- Once baked, leave to cool in or on the tray for a few minutes before transferring to a wire rack to cool completely.
Chocolate:
- While your cakes are cooling, temper your chocolate.
- Break ⅔ of the chocolate up into a microwaveable bowl. Keep the remaining ⅓ to the side.
- Melt the chocolate in the bowl in 30 second intervals, stirring well in between each burst.
- If using a food grade thermometer, check that the temperature is between 37°C [100°F] to 43°C [110°F].
- Break the remaining chocolate into the melted chocolate and stir vigorously until it is melted. Do this in chunks to make sure the chocolate melts completely.
- If needed, pop the bowl back into the microwave for 10 seconds to make sure all of the chocolate is completely melted.
- Stir until the temperature has cooled to 28°C [84°F] to 32°C [91°F].
- You can check whether your chocolate is at working temperature by dabbing some baking parchment into it and leaving it for a few minutes. If the chocolate sets hard and shiny, your chocolate is at working temperature.
- When your chocolate is ready, snip a thin end off a piping bag or sandwich bag and carefully pour the chocolate into it. Be careful to keep the open ends up!
- Lay a couple of sheets of baking parchment/greaseproof paper on your worktop.
- Pipe the Deathly Hallows symbol repeatedly on the parchment. It’s easiest to do this in one movement as the chocolate is runny.
- Repeat this until all of your chocolate is used up. Leave to set and be sure to keep the sheets flat. This will take around 10 minutes.
Decoration:
- While your chocolate is setting, make your buttercream.
- Beat the butter to loosen it.
- Add the icing sugar in ⅓ at a time and beat in after each ⅓ has been added.
- Cut the plums in half and remove the stone from the middle of each one.
- Blitz or mash your plums to a pulp. Put the pulp into a sieve and push through so that the juice seeps out and into the buttercream.
- Beat the plum juice in. Taste and adjust accordingly, adding more if needed.
- Add a few drops of the orange food colouring in and beat in until an even colour is achieved. Adjust the colour by adding more if needed.
- Fill a piping bag or sandwich bag with a 2D closed star piping tip attached with the buttercream.
- Pipe swirls of buttercream onto the top of each cake.
- By this point, your Deathly Hallows chocolate decorations should be set. Carefully lift your favourite ones from the paper and sit them into the buttercream on each cupcake.
These magically warming Harry Potter cupcakes will last for around 4 days in an airtight container. But, they are always best eaten on the day of baking. Enjoy!
The Film
I remember going to the cinema to see Harry Potter and the Deathly Hallows: Part 1. It was both an exciting yet apprehensive time for any hardcore Potterhead. Knowing that this was the first half of the last film instalment of the franchise brought so many mixed emotions.
Heck, I still have my annual Hazza P marathon because I never want the magic to end.
Knowing that it would soon come to a close in 2011 held a real level of sadness.
Nevertheless, we had a two-parter to look forward to.
Harry Potter and the Deathly Hallows: Part 1 hit cinemas in 2010 and had the fantasy world gripped.
Now, I’ve read the Harry Potter books multiple times over. I know the story incredibly well, it has to be said. Yet, there is nothing like seeing a book to screen adaptation that is not only part of one of the most successful cinematic franchises in history, but is also incredibly well made.
It’s a rare thing to witness a book to screen adaptation that is completely accurate. Some adaptations drift too far from the book and others only miss out a few details for the sake of time. So-called experts in the industry will argue that most people won’t sit for hours in a cinema to see a film.
I, among other film fanatics that I know, would argue otherwise.

If the film is big-screen worthy, let it be as long as it needs to be.
It’s disappointing when films are cut short and quality is compromised as a result.
Not everything in the Deathly Hallows book was translated to the big screen. However, the filmmakers did have the good sense to make the final instalment a two-part event. This kept the quality high enough to satisfy most fans.
That, in my opinion, is a job well done in itself. Especially when there is already a following for original content that is being adapted. As was the case with Harry Potter.
David Yates returned to direct (something I enjoy knowing for continuity reasons). Steve Kloves also returned to provide the screenplay for Harry Potter and the Deathly Hallows: Part 1.
We also see the return of many characters from previous years. Including some that had drifted from the story, only to be brought back at the appropriate time.
New faces in the cast include the ever-talented Bill Nighy as Minister Rufus Scrimgeour; Carolyn Pickles as Charity Burbage and Peter Mullan as Yaxley. We were also introduced to Guy Henry as Pius Thicknesse; the wonderful Rhys Ifans as Xenophilius Lovegood and Louis Cordice as Blaise. Plus, Hazel Douglas as Bathilda Bagshot; David Ryall as Elphias Dodge and more (mostly death eaters).
It was a massive cast – even bigger than any of the previous acting congregations.

Rightly so, considering the sheer scale of this film.
The very opening of this film is evidence of exactly that. A film that is on such a large scale that it felt like the whole world was coming together just to see it.
I talked about the change of tone in my Order of the Phoenix and Half-Blood Prince recipes… but, Deathly Hallows: Part 1 is the ultimate penultimate film.
It’s in this chapter that we see Harry, Ron and Hermione on the hunt for Voldemort’s Horcruxes. It’s the first year that the story isn’t set predominantly in Hogwarts. We’re taken away from that usual level of safety and comfort, just as Harry, Ron and Hermione are.
Stakes are incredibly high when we remember that the only sure way to defeat Voldemort is for the golden trio to find and destroy these Horcruxes.

I feel like I’m wired when I’m watching Deathly Hallows: Part 1. Even though I know what happens.
I have one word for you. Or, rather, I have one name for you.
DOBBY.
Nothing more. Nothing less.
Nevertheless, I love this chapter of the series. It’s beautifully crafted. It continues to expand the wizarding world to us. The tone is the right level of dark. The performances are truly wonderful.
The only thing needed to balance out the tension and darkness of the film is a nice, warming treat to eat whilst watching it…
Recipe Card
Harry Potter Cupcakes | Harry Potter and the Deathly Hallows Part 1
Ingredients
Harry Potter cupcakes:
- 150 g [5.25 oz] unsalted butter softened or room temperature
- 150 g [¾ cup] light brown sugar
- 150 g eggs around 3 medium or 2 large
- 150 g [¾ cup + 3 tbsp] self-raising flour
- 1½ tsp ground ginger
- ½ tsp nutmeg optional
Decoration:
- 150 g [5.25 oz] unsalted butter room temperature
- 300 g [2 cups + 1 tbsp] icing [confectioners] sugar
- Juice of 3 small plums or 2 large plums
- Orange food colouring oil based
- 100 g [½ cup + 1 tbsp] dark chocolate at least 60%
Instructions
Cakes:
- Preheat your oven to 180°C [350°F] or 160°C fan. Line a baking tray (if using sturdy ones) or 12 hole tray with your chosen cupcake cases.
- Measure out your eggs in their shells and get as close to 150g as you can. Allow for around 15g each way. Whatever number you settle on, weigh the rest of your ingredients out to that exact number.
- In a large mixing bowl, cream together the butter and sugar until light and fluffy.
- Add the eggs one at a time, beating in between each egg until fully incorporated.
- Sieve in the flour and add the spices. Beat gently just until you can no longer see any flour. Be careful not to overmix!
- Spoon the mixture into each cupcake case. Fill each one half way and no more.
- Bake your Harry Potter cupcakes for 15 – 20 minutes. This will depend on how hot your oven runs. Mine took 20 minutes, but check them after 15.
- Your cakes will be done when a skewer/cocktail stick comes out clean, the surface of them spring back when gently pressed on, and you hear little to no crackling/bubbling sound when you listen to them.
- Once baked, leave to cool in or on the tray for a few minutes before transferring to a wire rack to cool completely.
Chocolate:
- While your cakes are cooling, temper your chocolate.
- Break ⅔ of the chocolate up into a microwaveable bowl. Keep the remaining ⅓ to the side.
- Melt the chocolate in the bowl in 30 second intervals, stirring well in between each burst.
- If using a food grade thermometer, check that the temperature is between 37°C [100°F] to 43°C [110°F].
- Break the remaining chocolate into the melted chocolate and stir vigorously until it is melted. Do this in chunks to make sure the chocolate melts completely.
- If needed, pop the bowl back into the microwave for 10 seconds to make sure all of the chocolate is completely melted.
- Stir until the temperature has cooled to 28°C [84°F] to 32°C [91°F].
- You can check whether your chocolate is at working temperature by dabbing some baking parchment into it and leaving it for a few minutes. If the chocolate sets hard and shiny, your chocolate is at working temperature.
- When your chocolate is ready, snip a thin end off a piping bag or sandwich bag and carefully pour the chocolate into it. Be careful to keep the open ends up!
- Lay a couple of sheets of baking parchment/greaseproof paper on your worktop.
- Pipe the Deathly Hallows symbol repeatedly on the parchment. It’s easiest to do this in one movement as the chocolate is runny.
- Repeat this until all of your chocolate is used up. Leave to set and be sure to keep the sheets flat. This will take around 10 minutes.
Decoration:
- While your chocolate is setting, make your buttercream.
- Beat the butter to loosen it.
- Add the icing sugar in ⅓ at a time and beat in after each ⅓ has been added..
- Cut the plums in half and remove the stone from the middle of each one.
- Blitz or mash your plums to a pulp. Put the pulp into a sieve and push through so that the juice seeps out and into the buttercream.
- Beat the plum juice in. Taste and adjust accordingly, adding more if needed.
- Add a few drops of the orange food colouring in and beat in until an even colour is achieved. Adjust the colour by adding more if needed.
- Fill a piping bag or sandwich bag with a 2D closed star piping tip attached with the buttercream.
- Pipe swirls of buttercream onto the top of each cake.
- By this point, your Deathly Hallows chocolate decorations should be set. Carefully lift your favourite ones from the paper and sit them into the buttercream on each cupcake.
Notes
© Flavour of the Film. All content and imagery is copyright protected. Please do not use any of my images or written content without prior permission. If you would like to share any of the recipes or images on Flavour of the Film, please link back to the recipe in question and rewrite it in your own words, crediting Flavour of the Film as the original source.


4 Comments
Comments are closed.