
Hello part two of my Harry Potter series of bakes! As I mentioned in my Harry Potter Birthday Cake recipe, I am baking a treat inspired by each Hazza P film. In the natural order of things, this second recipe celebrates the second instalment of the franchise: Harry Potter and the Chamber of Secrets. My interpretation of THE Aunt Petunia pudding in Harry Potter and the Chamber of Secrets will quench any sweet craving. Just make sure yours doesn’t start floating.
Recipe updated 11/06/2024.
Contents

The Bake
There were a few ideas I had bouncing around in my brain when it came to this film, but I really like the idea of baking food that actually features in the films. As with my recipe for Hagrid’s homemade birthday cake, this bake is inspired by a dessert that directly features in this Hazza P instalment.
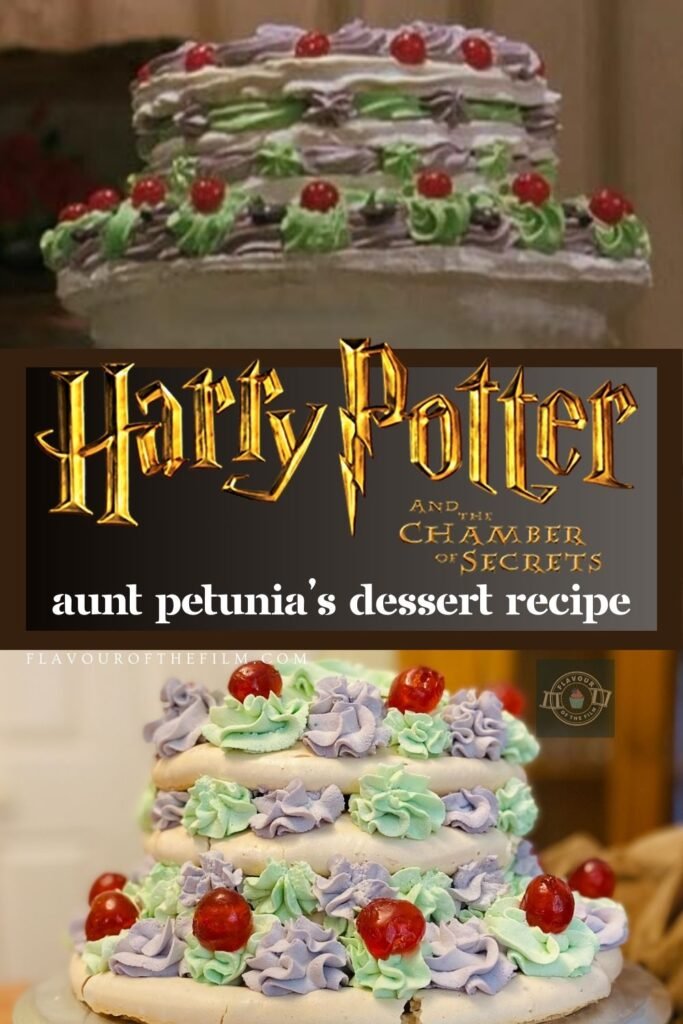
At the very beginning, we see Aunt Petunia’s pudding in Harry Potter and the Chamber of Secrets. Uncle Vernon is preparing for a very important dinner with his boss and his boss’s wife that the Dursley’s are hosting. Whilst last minute details are being attended to, Petunia is adding the finishing touches to her homemade dessert.
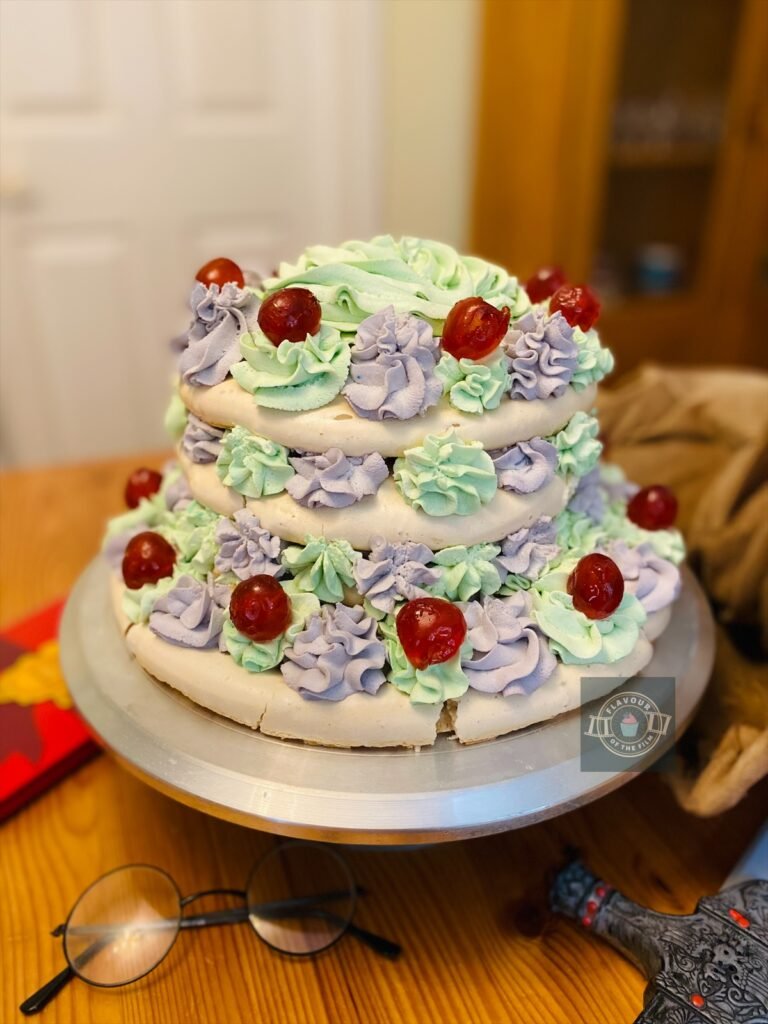
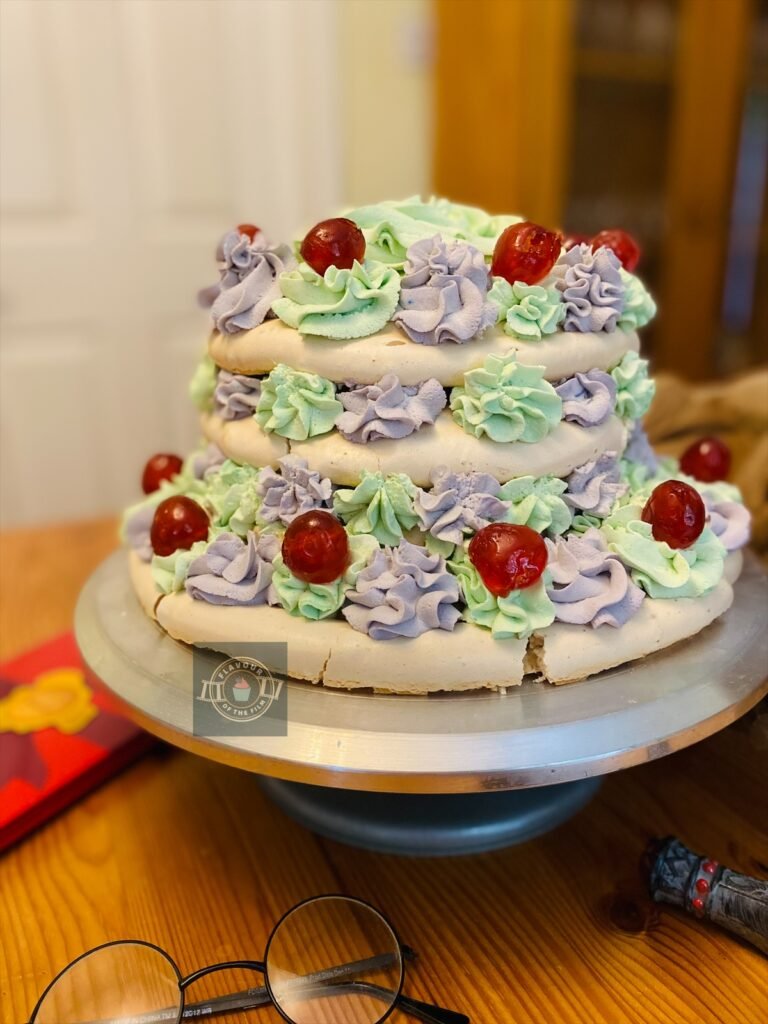
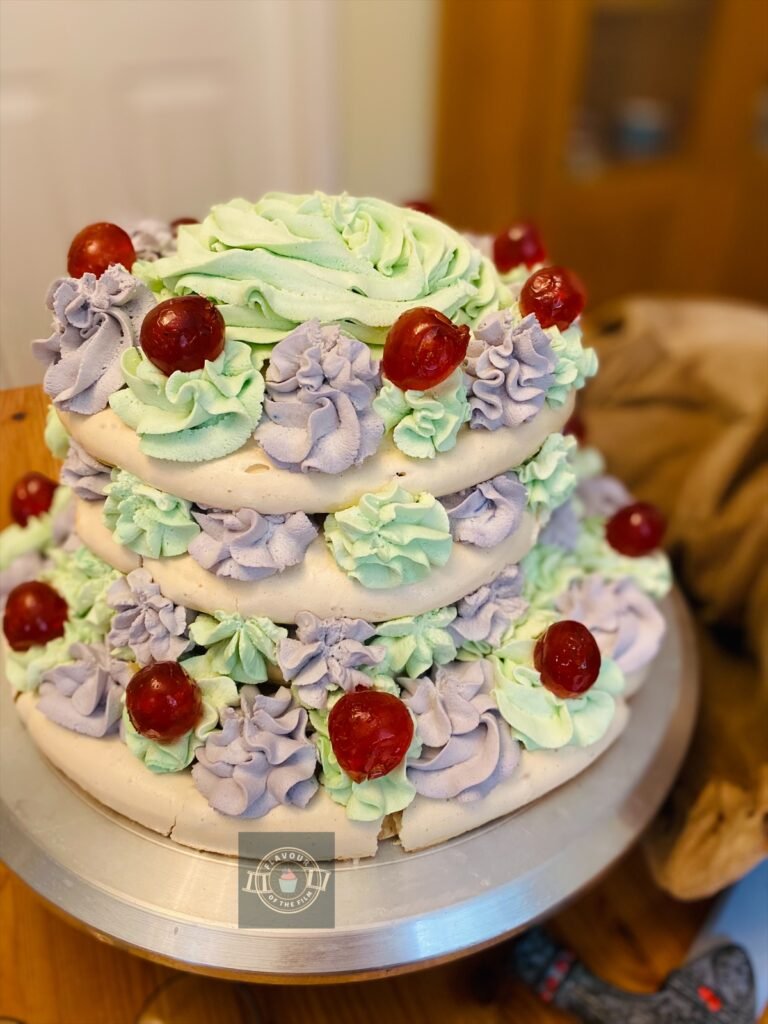
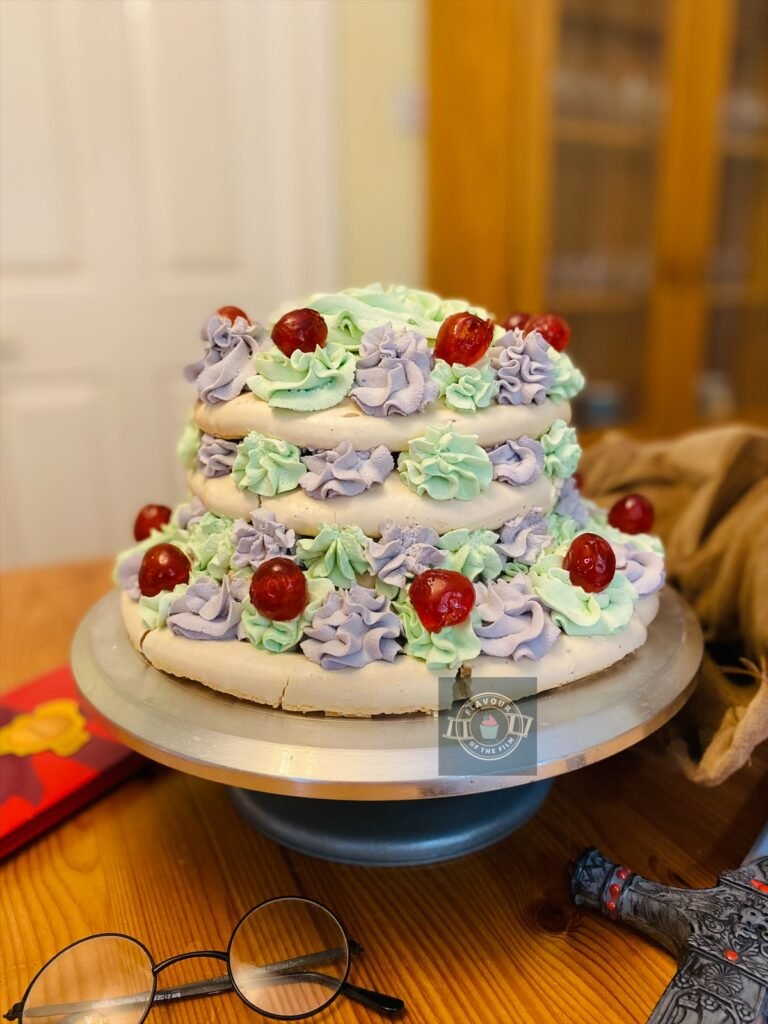
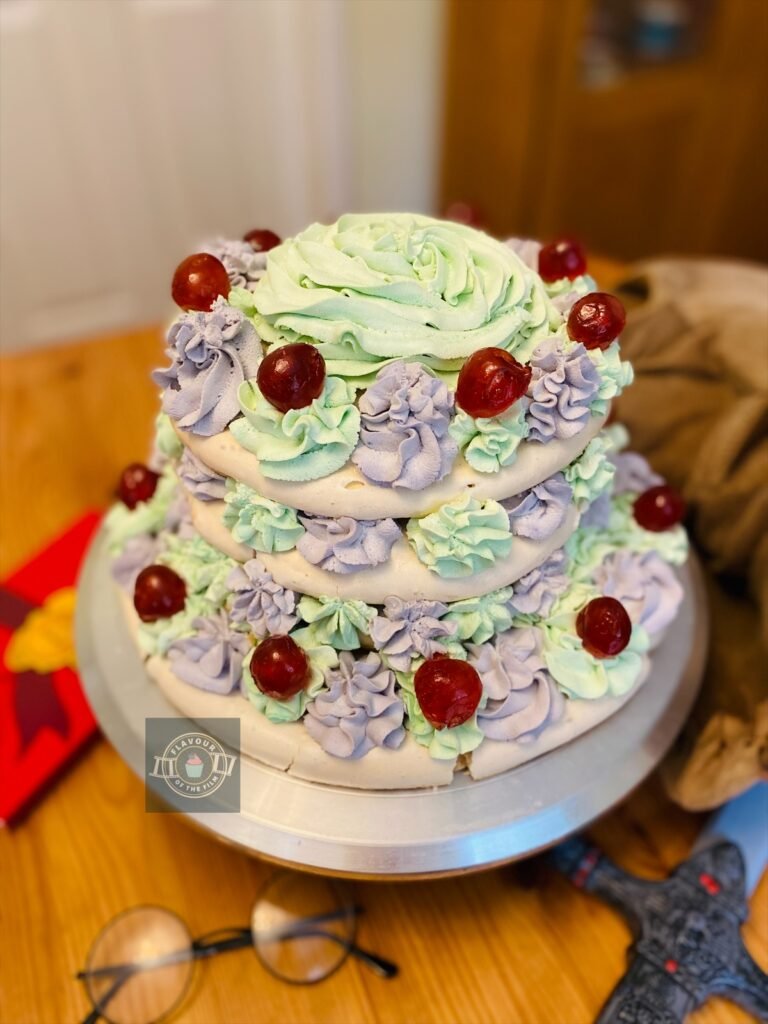
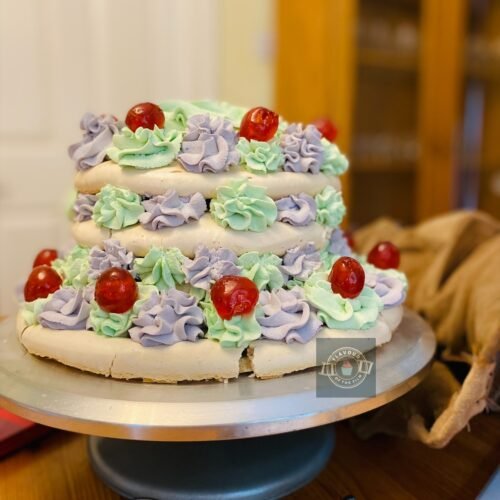
This dessert, which I am calling THE “Aunt Petunia Pudding” appears to be a stack of meringue discs, with green and purple piped work in between, topped with glacé cherries. That is, until Dobby levitates the dessert and drops it on the head of Uncle Vernon’s boss’s wife, much to Harry’s dismay.
The colours used are so Petunia, don’t you think?
Dainty, floral pastels. I used her pipe work as a guide but sort of did my own thing in the end. You can free-style it a little for your “Aunt Petunia pudding” if you want to or you can copy it as close as possible. Just be sure to add the food colouring a little at a time – it will develop! I recommend oil based food colouring to make sure it mixes with the cream evenly.
As meringue tends to be light, you can get away with piping only a few whipped cream swirls under each layer. Just enough to support them. Then the rest can be used to decorate the outside parts of each layer to make it look just like the pudding in Harry Potter and the Chamber of Secrets. Top it with the glacé cherries and there you have it.
Making meringue from scratch can be a little daunting, especially when you know it can be over-whipped and thus, lost. But if you take your time and trust the process, you’ll end up with a delicious meringue that has a crispy outer shell and a fluffy interior for your Aunt Petunia dessert. Lovely.

This recipe requires a lot of eggs and sugar just for the meringue part of the Aunt Petunia pudding in Harry Potter and the Chamber of Secrets.
It’s a pretty big dessert. My best tip here would be to separate each individual egg into two small bowls, then tip the white into the big mixing bowl you plan on whisking the entire mix in. Do this after each egg so if you do accidentally mix yolk in, you only risk one egg white, rather than the entire lot.
You don’t want egg yolk mixed in your whites when you’re making meringue. You also need to make sure that the mixing bowls are neither wet, nor greasy, otherwise you may not end up with the stiff peaks you need.
If you don’t have a really large mixing bowl (trust me, you’ll need one!), make sure you put six egg whites into one mixing bowl and the other six into another. Then add half the sugar into the egg whites when ready, and the other half of the sugar to the other half of the egg whites. That’s what I had to do.

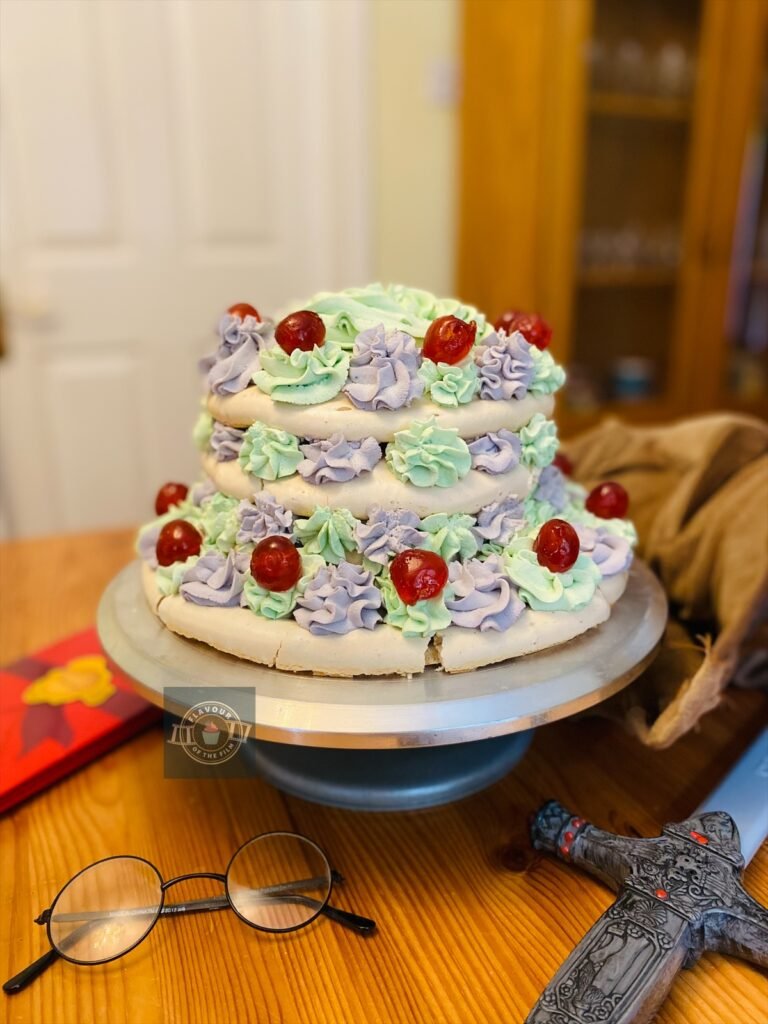
I traced around my 6 inch cake tin on baking parchment three times for the smaller layers.
I then did the same with an 8 inch cake tin for the base layer. Then, I piped the meringue on, using my tracing as a guide. You can spoon the meringue on though, if you aren’t wanting to pipe it on. I needed three baking trays in the end and was able to bake them all at the same time.
However, if you can only bake one or two at a time then by all means do so! It’ll just take a while longer as you need to leave the meringue in the oven to cool down with it. This helps to dry it out and gives you that wonderful texture.
Top Tips
- A 6 inch cake tin and 8 inch cake tin make the perfect sized meringue discs! If you don’t have either, you can trace around a small dinner plate and a larger dinner plate.
- Remember to flip your sheets of baking parchment so that the pencil markings are on the underneath before you pipe your meringue on! Otherwise you’ll have pencil/pen markings baked into your meringue.
- To clean your equipment and make sure it is grease-free, use lemon juice or white wine vinegar on a piece of paper towel. Wipe it round and leave it to dry.
- When separating the eggs, pour each egg white into your large mixing bowl individually before moving onto the next egg. This will reduce the risk of you ruining the entire bowl of egg whites should any yolk creep in.
- Once the meringue has reached the right consistency, stop whisking. It’s very difficult to rescue over worked meringue and you may have to start over.
- Don’t stress if the meringue for your Aunt Petunia pudding cracks. It’s normal for that to happen in the oven.
- Make sure that any fruit you are decorating with is dry before you start layering it between the meringue levels. Soggy meringue is not the one, friends. An option here is to melt down some white chocolate and spread a layer of it on the top before you add the whipped cream as it absorbs moisture!
- The white wine vinegar and cornflour are optional, but they really help to create a luscious meringue texture.
That’s it! The Aunt Petunia pudding from Harry Potter and the Chamber of Secrets, recreated. I hope you have fun making this dessert! It’s delicious with fresh fruit… and extra cream if that flies your car.
Happy baking, happy eating!
Note
This recipe was updated on 11/06/2024. The ingredients for the meringue was reduced to create smaller, thicker and more stable discs. The recipe before used 12 egg whites and 800g caster sugar. I also decreased the temperature of the oven and increased the baking time slightly for a more even bake. The pictures were also updated for a more accurate recreation of THE iconic Aunt Petunia pudding!
The Recipe
Ingredients
Meringue:
- 10 large egg whites
- 600g [3 cups] caster sugar
- 2 tsp cornflour optional
- 2 tsp white wine vinegar optional
- 2 tsp vanilla extract
Decoration:
- 1200ml [45 oz] double [heavy or whipping] cream
- 2 tbsp icing [confectioners] sugar
- 2 tsp vanilla extract (or any extract of your choice)
- Violet/purple food colouring oil based
- Green food colouring oil based
- 1 small pot of glacé cherries
Serves: 10+
Preparation time: 30 minutes
Baking time: 50 minutes to 1 hour
Cooling time: 2 hours
Decorating time: 30 minutes
Method
Meringue:
- Preheat your oven to 130°C [260°F] or 120°C fan. Line 3 baking trays with baking parchment/greaseproof paper. Trace around a small dinner plate or 6 inch cake tin four times on 2 of the sheets of paper, then do the same with a large dinner plate or 8 inch cake tin once on the last sheet for guidance. Be sure to flip the paper over so that your markings are on the underside. Set aside.
- Make sure all bowls and whisks being used are clean, dry and grease-free. Clean with lemon juice or the white win vinegar to be sure. Leave to air dry if doing so.
- Separate your eggs into smaller bowls, one at a time, adding the egg white into either one very large mixing bowl (all 10 egg whites) or two large mixing bowls (5 in each). Make sure to add the egg white into the large mixing bowl(s) after each separation to avoid accidentally ruining all eggs if any yolk escapes into it! Keep the yolks for another dish.
- Whisk the egg whites using an electric hand whisk until you reach stiff peaks. The egg white should be able to hold itself when you lift the whisk out of the bowl.
- Add the sugar 1 tbsp at a time whilst still whisking the egg whites. Make sure it is fully incorporated until you add the next tbsp. If making the mix in 2 halves, do this one bowl at a time and add half the sugar to one bowl, then half to the other so that the mixture is evenly distributed. Do not rush this part.
- Your meringue mix will look thick and glossy once all the sugar has been whisked in. Add the vanilla and whisk in.
- If adding the cornflour and white wine vinegar, do so now and whisk in. If using 2 bowls, split roughly in halves and add to both.
- Either pipe or spoon the meringue onto the baking trays so that you have five decent sized, relatively thick discs. Make sure that the biggest disc is thick as it will be your base.
- Bake for 50 minutes to 1 hour. Once baked, leave the meringue to cool in the oven for 1 hour, then prop the oven door open slightly by sitting a wooden spoon in between the oven and the oven door for the remaining hour.
- When the meringue has fully cooled, prepare your whipped cream decoration.
Whipped cream:
- In two large mixing bowls, add half of the cream into one bowl and the other half into the other bowl.
- Do the same with the icing sugar.
- Add any extract if using.
- Add a few drops of green food colouring into one bowl. Do the same with the purple into the other.
- Using an electric hand whisk, whip the cream until it can hold shape. Add more food colouring if needed but remember that it will develop over time. Rinse the whisk off and do the same for the other bowl.
- Begin building your meringue dessert.
Decoration:
- Gently lift and peel the paper off your base meringue disc, then place on a large plate/board/cake stand. Be gentle here as meringue is delicate!
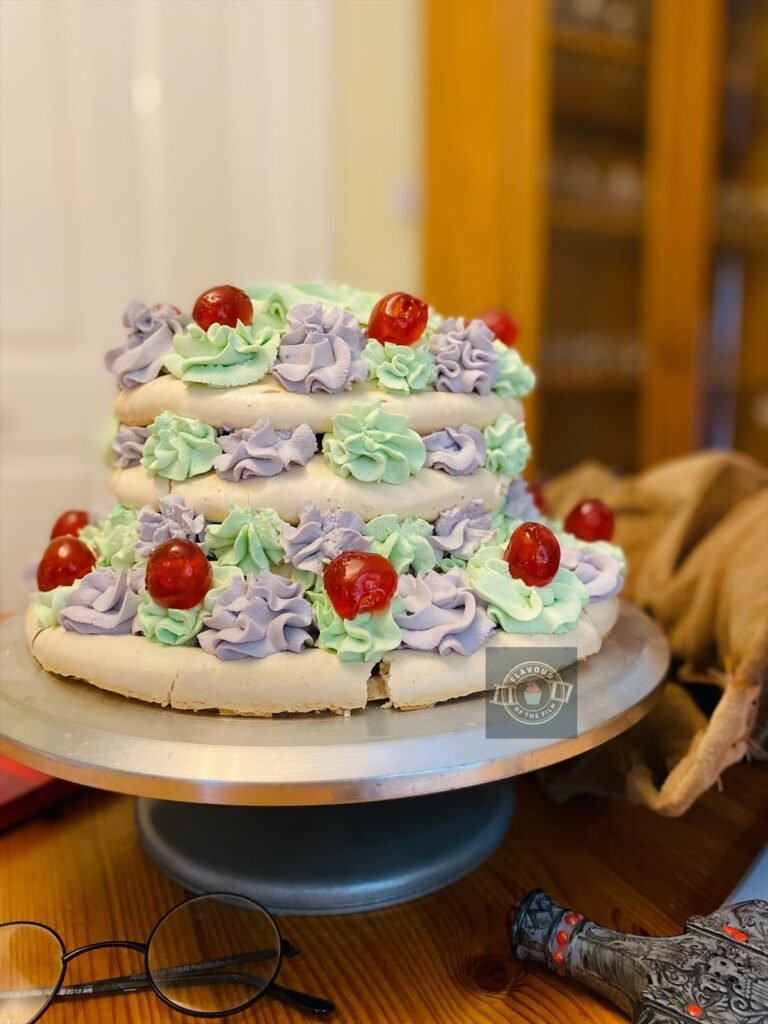
- Using 2 piping bags or sandwich bags with a 2D closed star piping tip attached on one and an open star piping tip on the other, pipe a few swirls of the purple whipped cream around the edge of your base. Spoon a pile of whipped cream into the centre for your next meringue disc to sit on.
- Lift and peel the next meringue disc and lay on the top gently. I slid each disc off the tray and peeled the paper from underneath. Alternatively, if you have big enough hands, you can flip the meringue onto one hand, peel the paper off cleanly and gently flip it back over to lay over the cream.
- Repeat the previous two steps until all of your meringue discs are stacked. Don’t stress if the meringue cracks, you can fix it with whipped cream! It’s delicious no matter what.
- Using the remaining cream, finish piping the decoration in the same pattern as the dessert in the film.
- Finish by placing the cherries on the green swirls of whipped cream.
This delicately sweet meringue dessert makes THE Aunt Petunia pudding from Harry Potter and the Chamber of Secrets. It’s best eaten on the day but can be kept in the fridge and consumed for up to 2 days. It is even more delicious when eaten with extra fresh fruit of your choice. Enjoy!
The Film
Released in 2002, Harry Potter and the Chamber of Secrets continues on the saga of Harry and his friends in their second year at Hogwarts. However, before Harry can even get to school for the academic year, magical forces are at work to keep him from returning home to Hogwarts altogether. Magical forces being a house elf by the name of Dobby.
Dobby is in the know of some plans to bring darkness and evil back into Hogwarts. Plans that put Harry’s life in jeopardy. So, he does whatever he can to prevent Harry from going back to Hogwarts. When that doesn’t work, Dobby continues his attempts while Harry navigates his way through his second year.
All the while, darkness is creeping around Hogwarts, terrorising the school.
Harry, Hermione and Ron find themselves at the core of it. They work to solve the mysteries and eradicate the dark magic that is desperately trying to regain power.
In Harry Potter and the Chamber of Secrets, we are introduced to new characters – Jason Issacs as Lucius Malfoy, Kenneth Branagh as Gilderoy Lockhart and Shirley Henderson as Moaning Myrtle to name a few – as well as new spells and magical objects.
Anyone else wish they had a flying car? Same.
Christopher Columbus returned to the director’s helm for this sequel, bringing the same sense of wonder, magic and wholesomeness as he did for Harry Potter and the Philosopher’s Stone.
What I love most about this second instalment is the clear growth in the friendship between the golden trio. They have clearly bonded and it really shows. More so in Ron’s protectiveness over Hermione at this age. Especially when Draco Malfoy has something to say.
I also, like most Potterheads, LOVE Dobby. What a pure, pure soul. Even now, watching Dobby in Harry Potter and the Chamber of Secrets makes me sob because of events that occur later in the franchise. Enough said.
Recipe Card
Aunt Petunia’s Pudding | Harry Potter and the Chamber of Secrets
Ingredients
Meringue:
- 10 large egg whites
- 600 g [3 cups] caster sugar
- 2 tsp cornflour optional
- 2 tsp white wine vinegar optional
- 2 tsp vanilla extract
Decoration:
- 1200 ml [45 oz] double [heavy or whipping] cream
- 2 tbsp icing [confectioners] sugar
- 2 tsp vanilla extract or any extract of your choice
- Violet/purple food colouring oil based
- Green food colouring oil based
- 1 small pot of glacé cherries
Instructions
Meringue:
- Preheat your oven to 130°C [260°F] or 120°C fan. Line 3 baking trays with baking parchment/greaseproof paper. Trace around a small dinner plate or 6 inch cake tin four times on 2 of the sheets of paper, then do the same with a large dinner plate or 8 inch cake tin once on the last sheet for guidance. Be sure to flip the paper over so that your markings are on the underside. Set aside.
- Make sure all bowls and whisks being used are clean, dry and grease-free. Clean with lemon juice or the white win vinegar to be sure. Leave to air dry if doing so.
- Separate your eggs into smaller bowls, one at a time, adding the egg white into either one very large mixing bowl (all 10 egg whites) or two large mixing bowls (5 in each). Make sure to add the egg white into the large mixing bowl(s) after each separation to avoid accidentally ruining all eggs if any yolk escapes into it! Keep the yolks for another dish.
- Whisk the egg whites using an electric hand whisk until you reach stiff peaks. The egg white should be able to hold itself when you lift the whisk out of the bowl.
- Add the sugar 1 tbsp at a time whilst still whisking the egg whites. Make sure it is fully incorporated until you add the next tbsp. If making the mix in 2 halves, do this one bowl at a time and add half the sugar to one bowl, then half to the other so that the mixture is evenly distributed. Do not rush this part.
- Your meringue mix will look thick and glossy once all the sugar has been whisked in. Add the vanilla and whisk in.
- If adding the cornflour and white wine vinegar, do so now and whisk in. If using 2 bowls, split roughly in halves and add to both.
- Either pipe or spoon the meringue onto the baking trays so that you have five decent sized, relatively thick discs. Make sure that the biggest disc is thick as it will be your base.
- Bake for 50 minutes to 1 hour. Once baked, leave the meringue to cool in the oven for 1 hour, then prop the oven door open slightly by sitting a wooden spoon in between the oven and the oven door for the remaining hour.
- When the meringue has fully cooled, prepare your whipped cream decoration.
Whipped cream:
- In two large mixing bowls, add half of the cream into one bowl and the other half into the other bowl.
- Do the same with the icing sugar.
- Add any extract if using.
- Add a few drops of green food colouring into one bowl. Do the same with the purple into the other.
- Using an electric hand whisk, whip the cream until it can hold shape. Add more food colouring if needed but remember that it will develop over time. Rinse the whisk off and do the same for the other bowl.
- Begin building your meringue dessert.
Decoration:
- Gently lift and peel the paper off your base meringue disc, then place on a large plate/board/cake stand. Be gentle here as meringue is delicate!
- Using 2 piping bags or sandwich bags with a 2D closed star piping tip attached on one and an open star piping tip on the other, pipe a few swirls of the purple whipped cream around the edge of your base. Spoon a pile of whipped cream into the centre for your next meringue disc to sit on.
- Lift and peel the next meringue disc and lay on the top gently. I slid each disc off the tray and peeled the paper from underneath. Alternatively, if you have big enough hands, you can flip the meringue onto one hand, peel the paper off cleanly and gently flip it back over to lay over the cream.
- Repeat the previous two steps until all of your meringue discs are stacked. Don’t stress if the meringue cracks, you can fix it with whipped cream! It’s delicious no matter what.
- Using the remaining cream, finish piping the decoration in the same pattern as the dessert in the film.
- Finish by placing the cherries on the green swirls of whipped cream.
Notes
© Flavour of the Film. All content and imagery is copyright protected. Please do not use any of my images or written content without prior permission. If you would like to share any of the recipes or images on Flavour of the Film, please link back to the recipe in question and rewrite it in your own words, crediting Flavour of the Film as the original source.


One Comment
Comments are closed.