In honour of the movie adaptation of the smash hit musical, Wicked, being released today, I put together a recipe for a Wicked birthday cake! A cake that is a customisable delight with a Regency-era flair. A showstopper that can be whipped up for any Wicked birthday party. Now, do you see the yellow brick road?
Contents
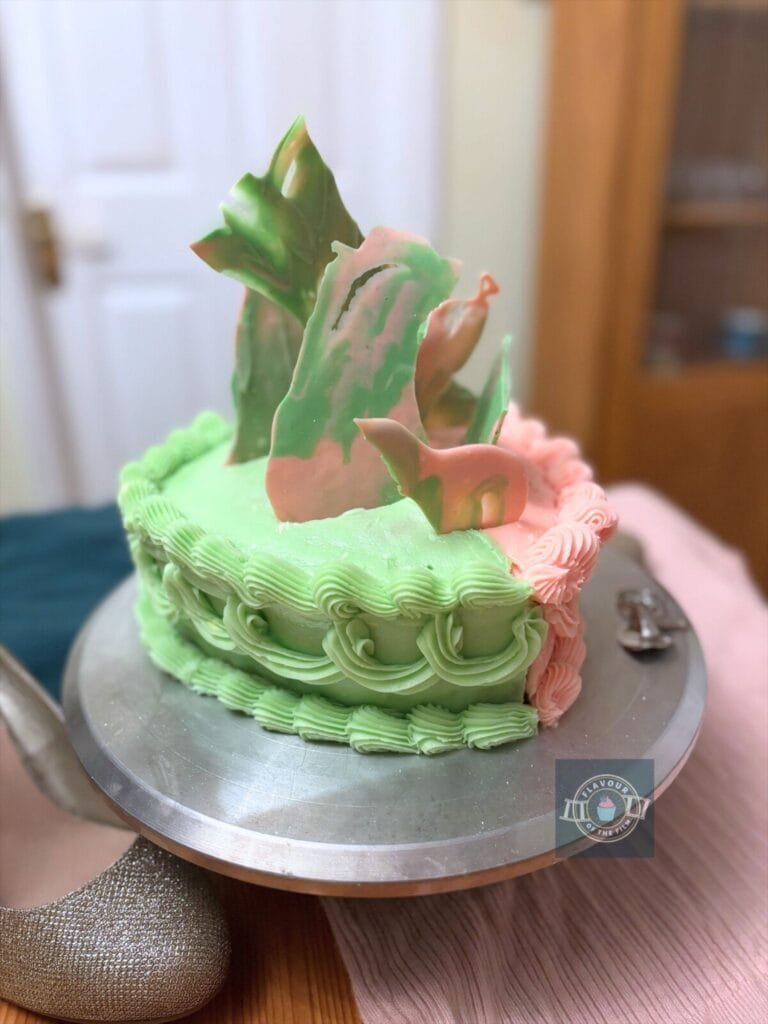
The Bake
This one is an easy recipe that achieves maximum results. That’s the dream, right?
I considered – and attempted – a different type of sponge cake when creating this Wicked inspired birthday cake, but ultimately realised that I wanted this to be more of an open recipe. An easy one for you to make yourself and adapt the flavour if and when you desire.
A simple sponge that can be built upon can be better than a strict recipe, especially when you’re looking for a design that you like and know to be achievable, rather than a strict recipe with little to no wiggle room.
Baking is an art and a science, friends. In this circumstance, I am giving you a canvas. How you paint it is down to your preferences and desires.
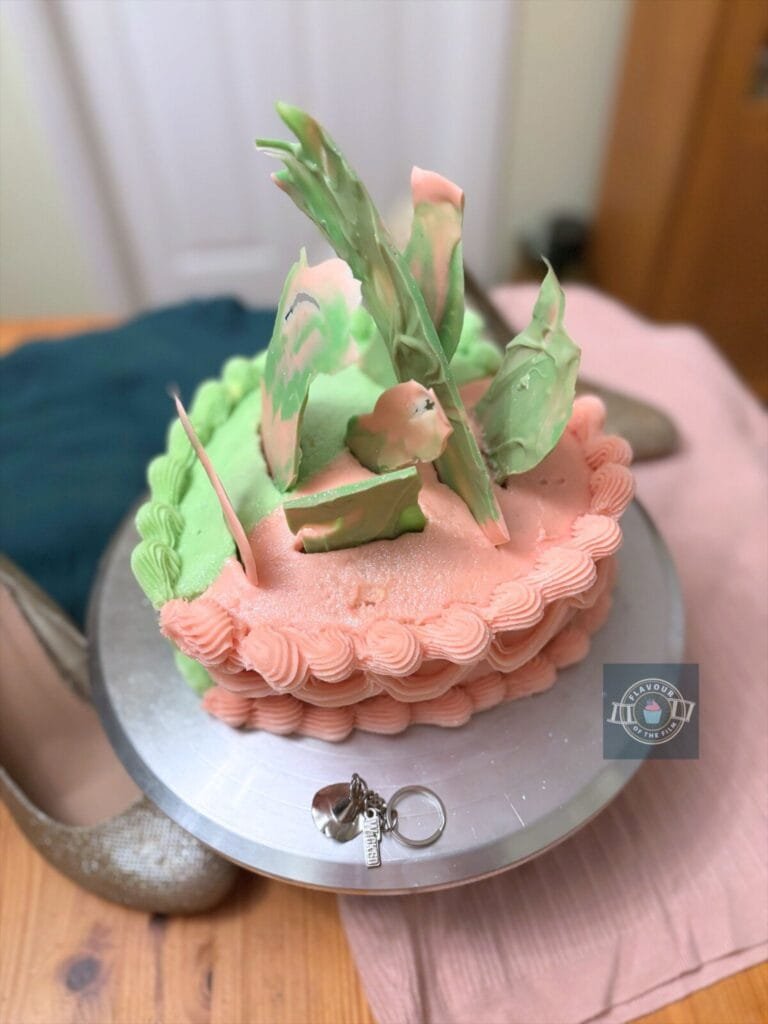
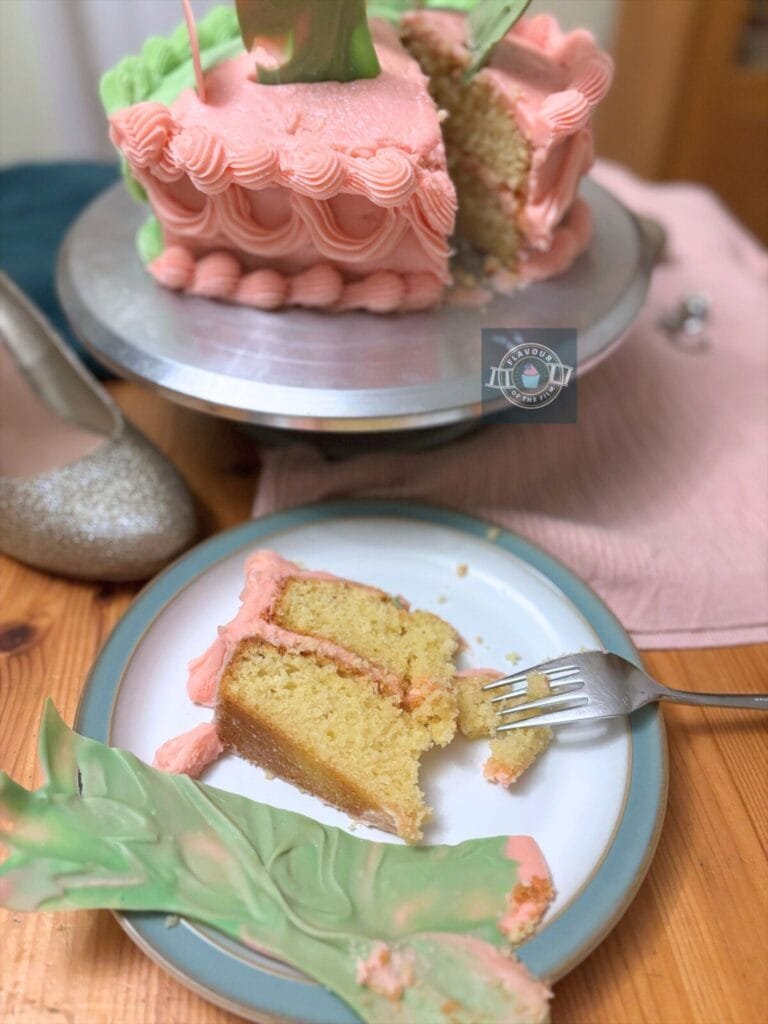
The flavours are entirely up to you.
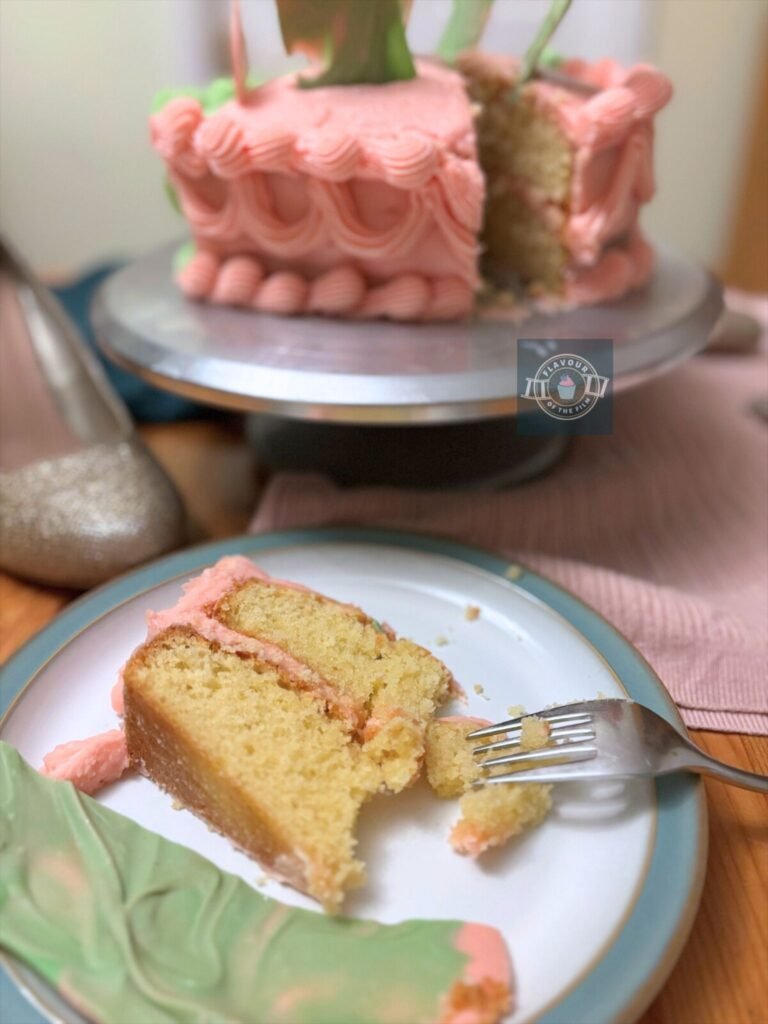
My Wicked birthday cake is entirely customisable when it comes to flavour. That way, you can add an extract or syrup to the sponge that you prefer.
This also goes for the filling and frosting flavours. Tailor it to you (or to the person you are making this Wicked inspired birthday cake for!).
I chose to add a pairing of orange and peach extracts directly into the sponge and the buttercream. They are seriously delicious together, so these are the flavours I used in my recipe.
You can absolutely swap out these extracts for a different kind. If you’re looking to add just one, simply add 1 tsp. If you’re using high strength flavouring like the one I used in my Spirited Away peach buns, you’ll want to add no more than ½ tsp.
For chocolate options that would work for this cake size, check out my Lilo & Stitch dessert cake or my version of Hagrid’s cake for Harry in Harry Potter and the Philosopher’s Stone.
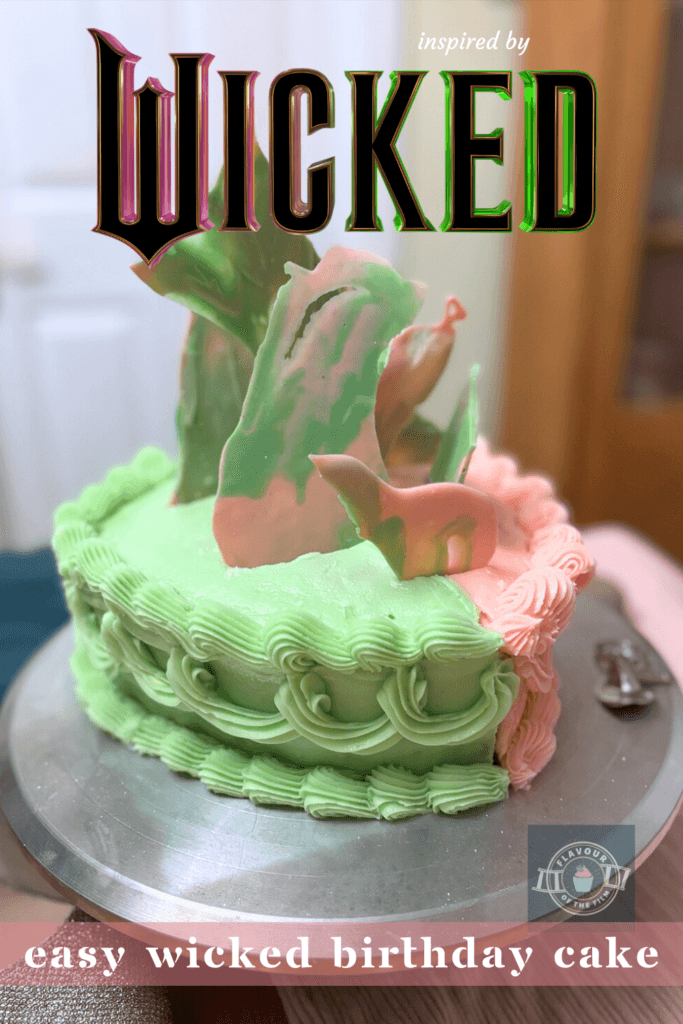
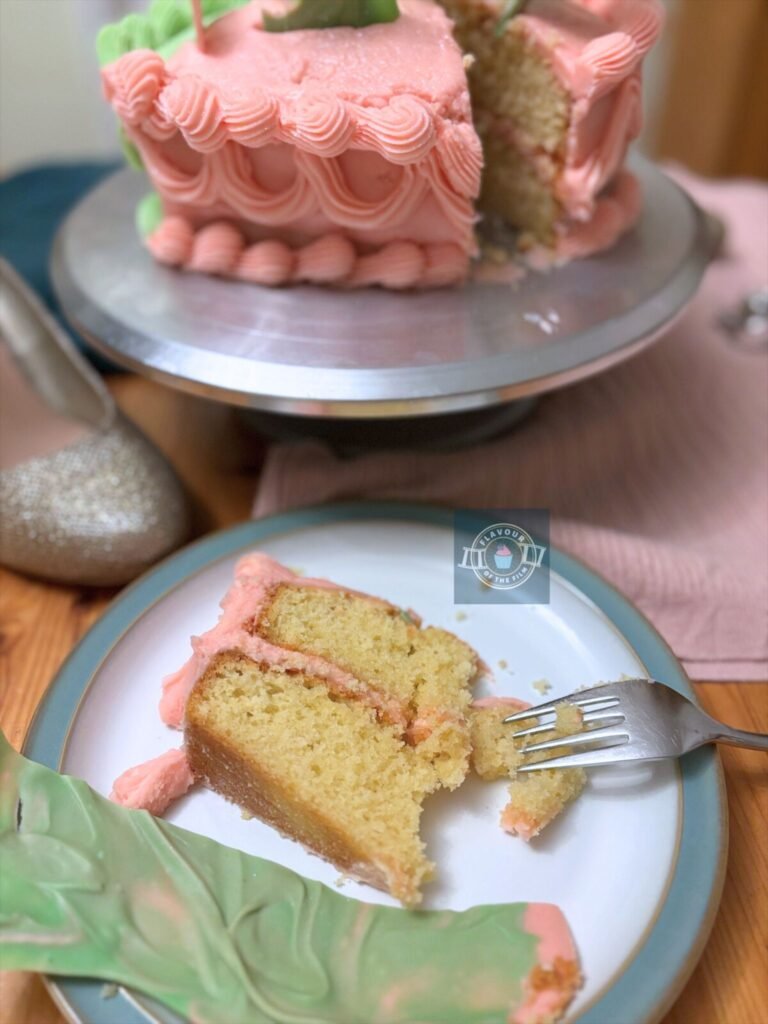
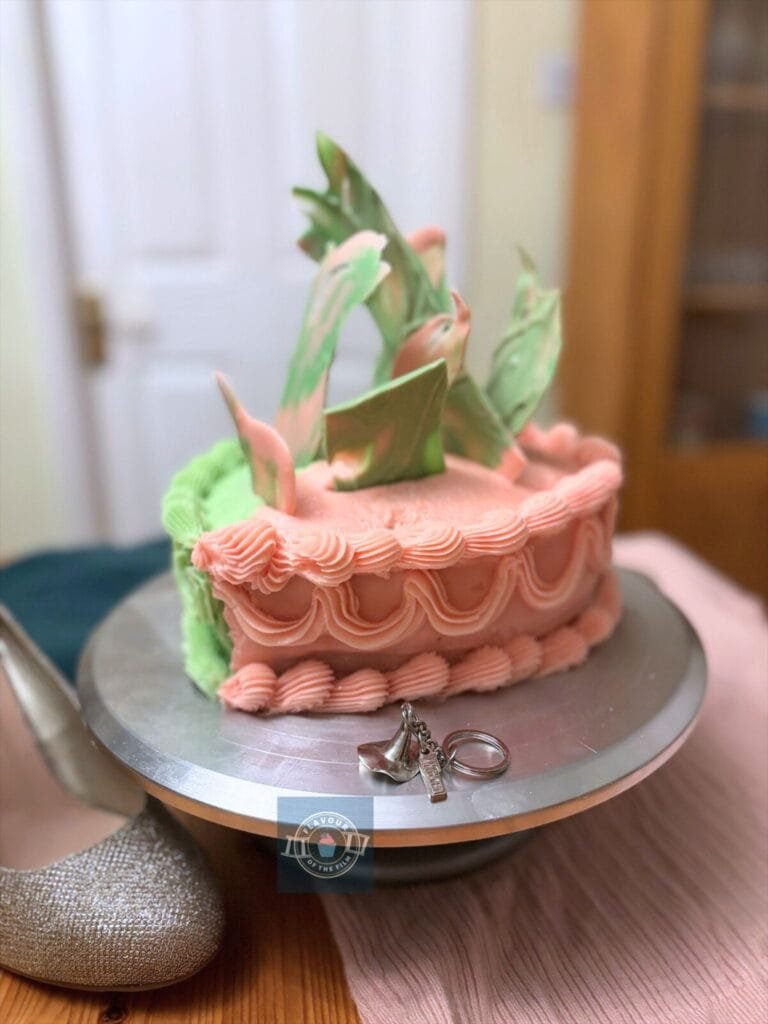
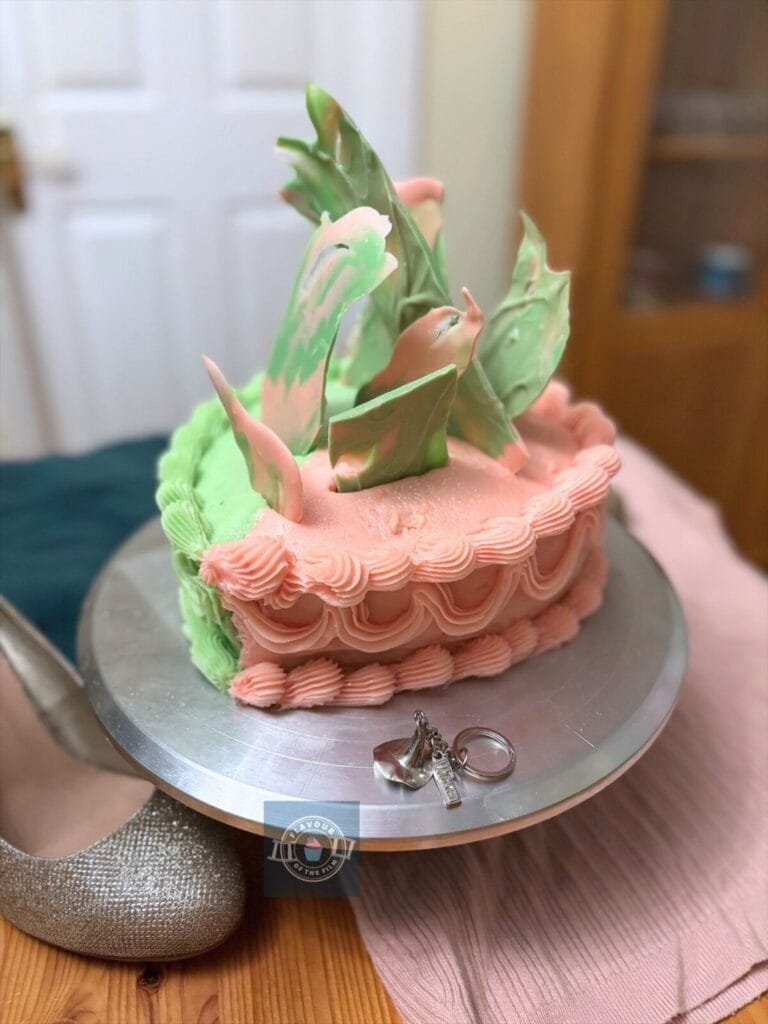
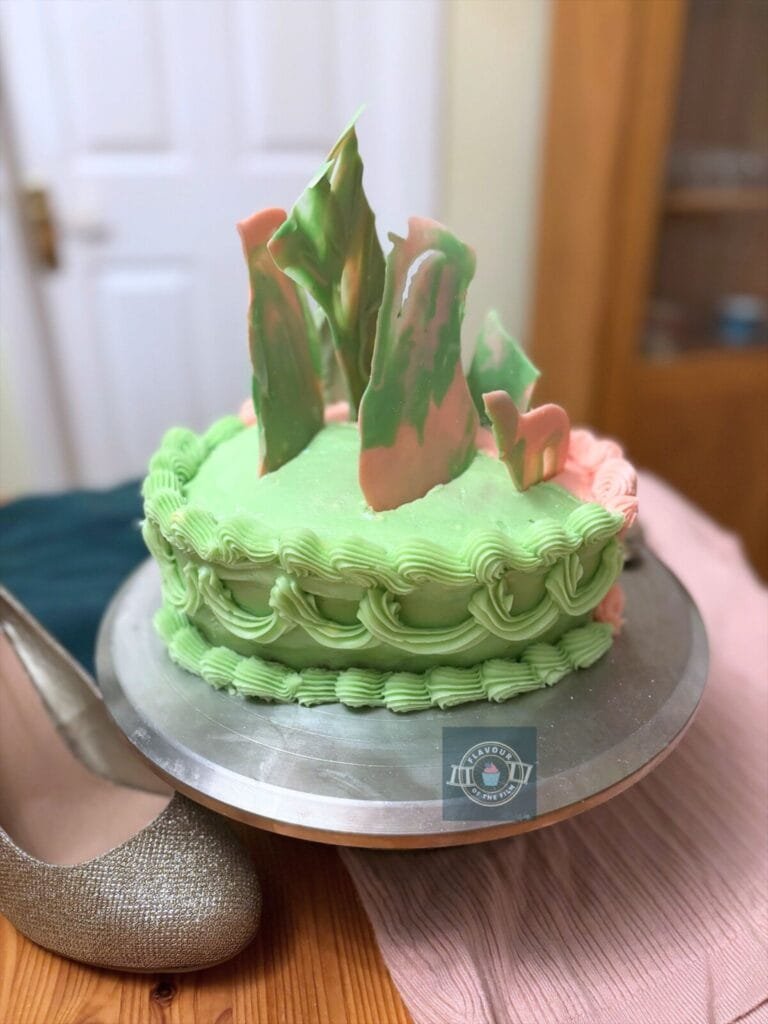
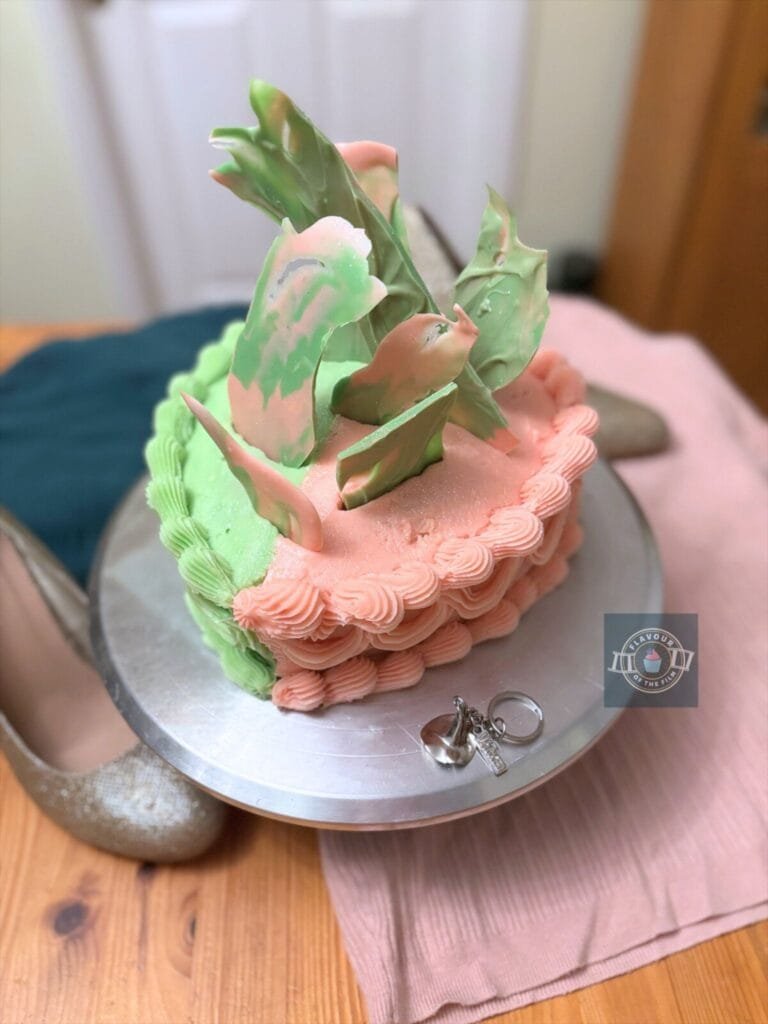
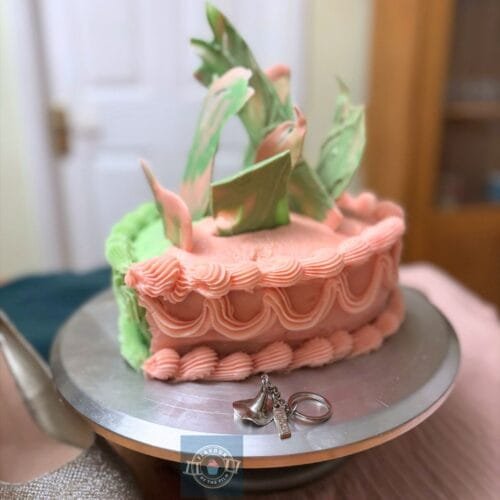
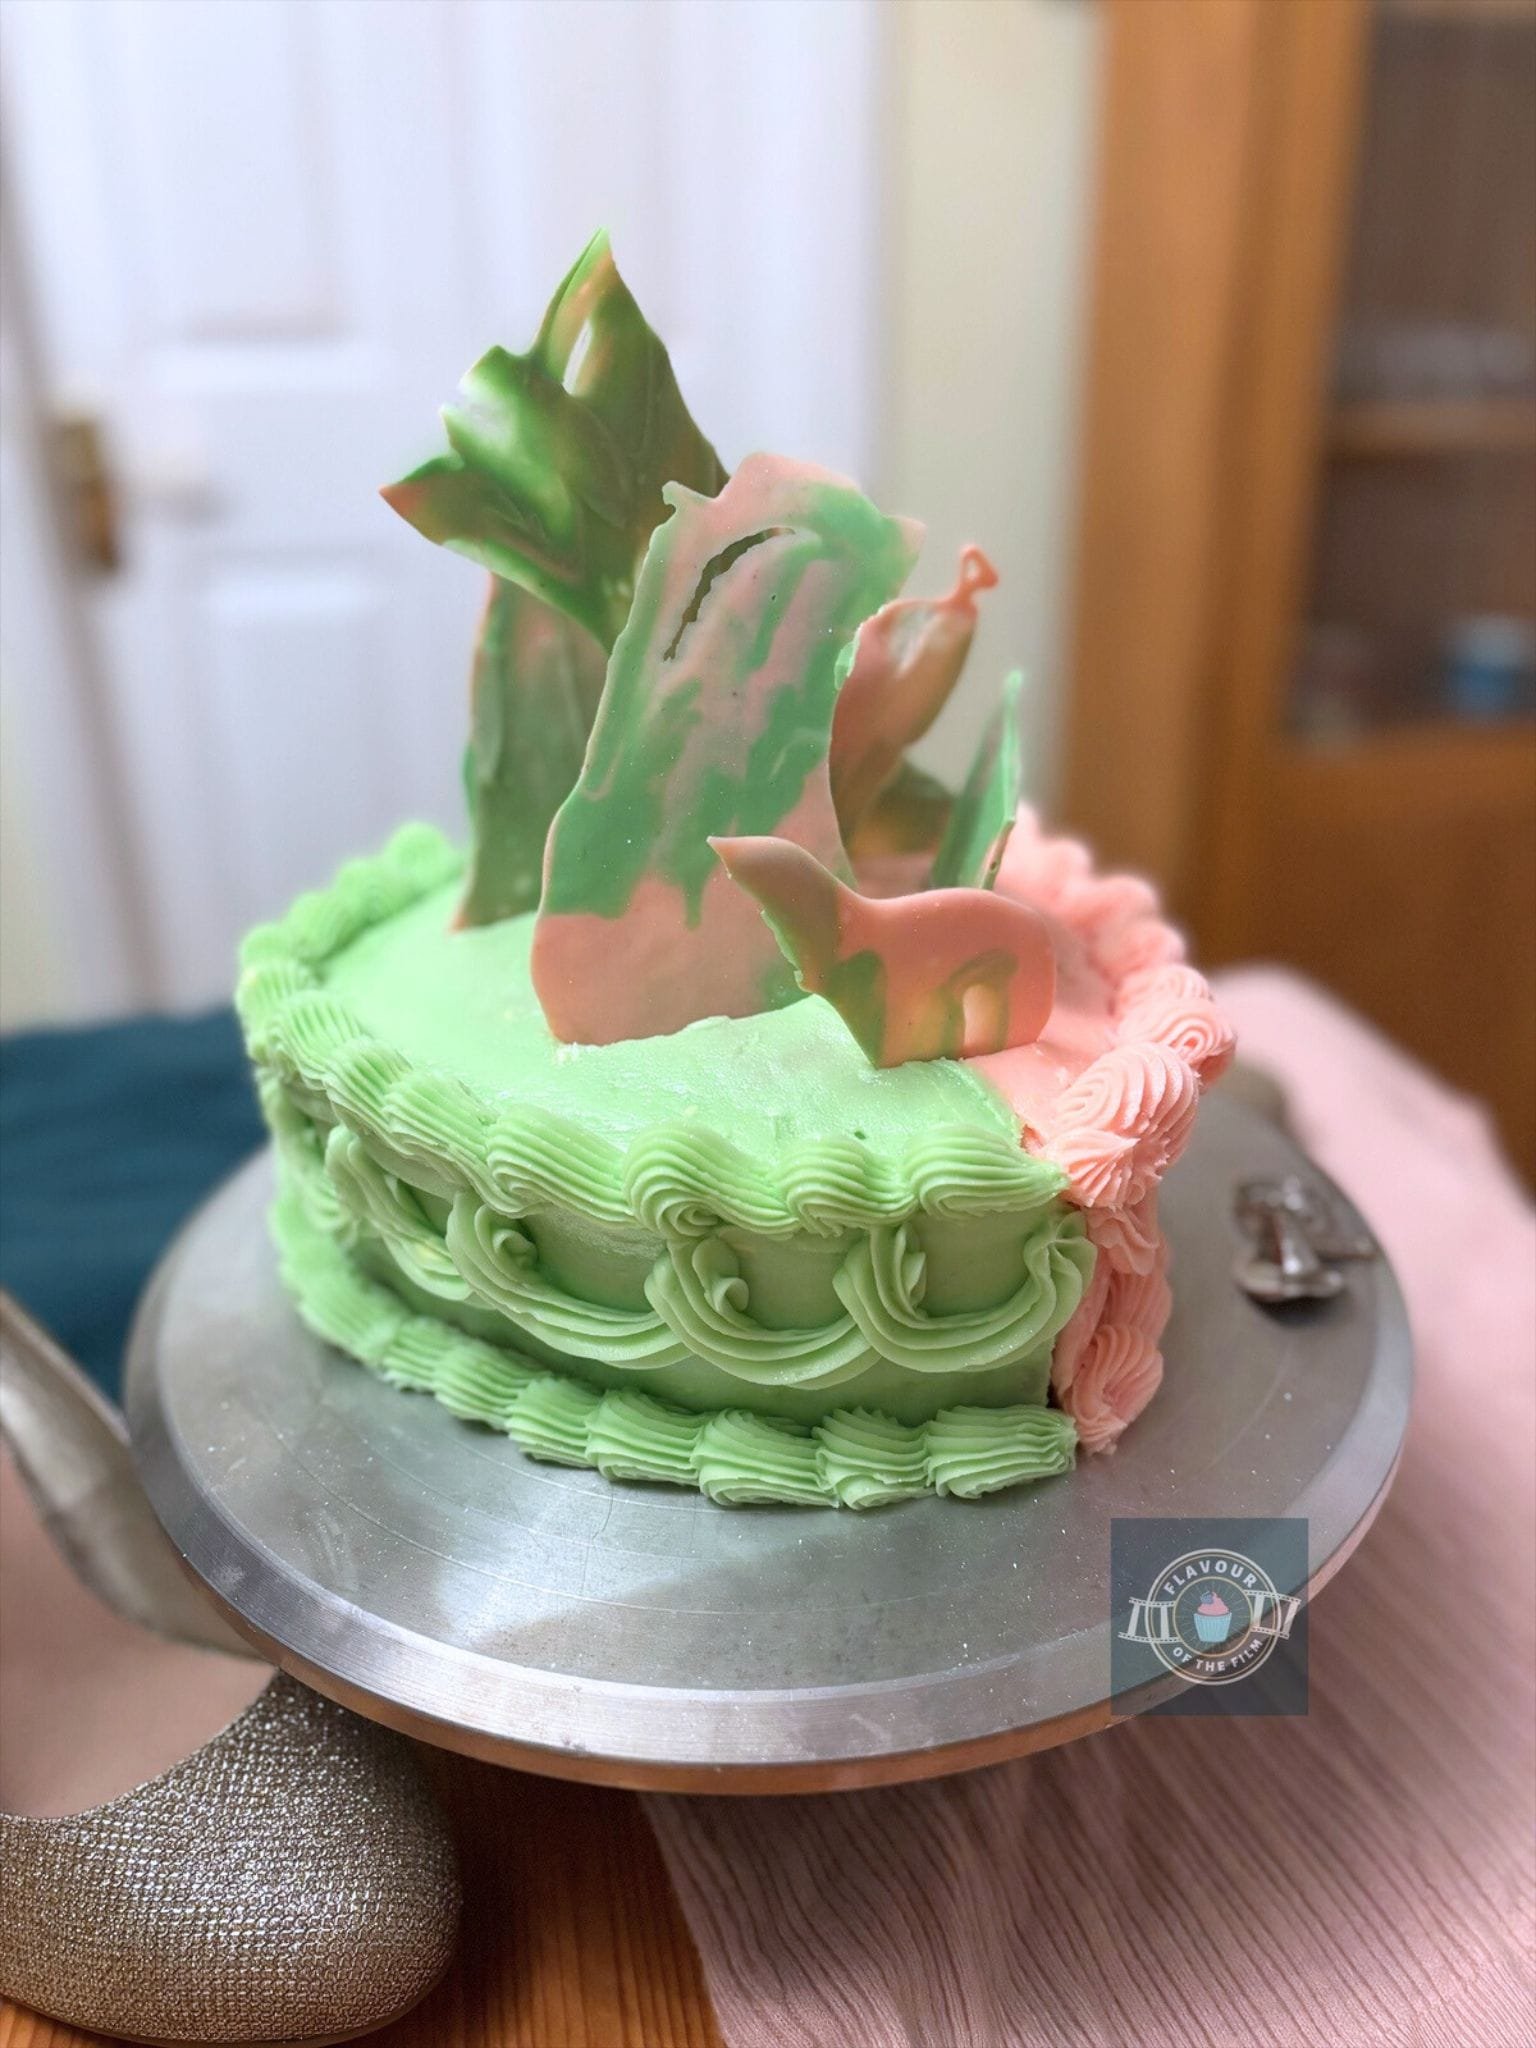
Decoration wise, I wanted to achieve an elegant, whimsical kind of vibe.
Regency-era cakes have been increasingly popular as of recent times and they fit the aesthetic I was aiming for. They are also lovely to look at and achieve a fancy appearance without tons of effort.
Even if your piping skills aren’t outstanding, you can make this cake elegant.
There are no rules. Do as little or as much as you like, tailoring it to yourself or the person this cake is for.
To finish, I wanted to represent the friendship formed between Elphaba and Glinda. To do this, I created “elements” of their magic in the form of chocolate shards.
Chocolate shards are so easy to make and achieve a really stand-out effect. I did a similar thing in my Avatar: The Last Airbender Appa bento cake! They make quite the impact, wouldn’t you say?
Top Tips
- I used heart-shaped tins for my sponges, but you can use round ones if preferred. As long as the tins are 8 inches (23 cm) across and at least 3.5 cm in depth, they should work.
- Weigh out your eggs in their shells first, getting as close to 300g as you can. Then weigh out the rest of your ingredients to the exact weight of your eggs. My eggs weighed 272g, so I measured the rest of my ingredients to 272g. This helps to achieve a delicious texture!
- If you need to use plain [all-purpose] flour instead of self-raising, make sure to add 1 level tsp baking powder with it.
- Flavours are your call – the cake I made was utterly delicious, but feel free to swap extracts/flavours out based on your preferences. 1 – 2 tsp should be plenty, depending on your choices. Be sure to use less if you are using high strength natural flavouring!
- The piping tips I used were an open star tip and a smaller closed star tip. A leaf tip is often used in Regency-era cake decorations for the ruffle-like texture.
- To pipe the elegant borders around the top and bottom of your cake, simply hold your piping bag (with the open star tip attached) at a slight angle, leaning it towards you rather than upright. Gently squeeze the bag and just as the buttercream has started coming out, lift it slightly and pull down and towards you to create a lower-case ‘a’ shape.
- Tempering the chocolate is optional but recommended, especially if you are planning on hosting a Wicked inspired birthday party and the cake will sit centre stage – you want the chocolate to stay solid at room temperature and tempering it allows this to be possible.
This Wicked birthday cake has a minimalist vibe with a flair of Regency-era to it. It’s easy but effective and would make a great showstopper at any Wicked inspired birthday party. Enjoy!
Happy baking, happy eating!
The YouTube Video
The Recipe
Ingredients
Wicked birthday cake layers:
- 300g unsalted butter room temperature or slightly softened
- 300g [1½ cups] caster sugar
- 300g eggs [about 4 large] room temperature
- 300g [1¾ cups + 2 tbsp] self-raising flour
- 1 tsp orange extract
- ½ tsp high strength natural peach flavouring
Decoration:
- 400g [10.5 oz] unsalted butter room temperature or slightly softened
- 800g [5½ cups] icing [confectioners] sugar
- 2 – 3 tbsp evaporated milk optional – can be swapped for any milk
- Baby pink food colouring
- Green food colouring
- 150g [5.25 oz] white chocolate
Serves: 10 +
Preparation time: 15 minutes
Baking time: 25 – 30 minutes
Decoration time: 40 minutes
Method
Wicked birthday cake sponges:
- Preheat your oven to 180°C [350°F] or 160°C fan. Grease and line the bases of two 8 inch heart shaped cake tins with baking parchment or greaseproof paper. Set aside.
- In a large mixing bowl, cream together the butter and sugar until light and fluffy.
- Add the eggs, beating them in one at a time until fully incorporated.
- Spoon in the orange and peach extracts and beat in.
- Sift in the flour and beat in just until you can no longer see any flour. Be mindful not to over mix here.
- Divide the mixture equally into your two lined tins and bake on the middle shelf for 25 – 30 minutes or until well risen and baked through. A cocktail stick or skewer should come out clean when tested, the surfaces of your sponges should spring back when gently pressed on and you should hear little to no crackling/bubbling sound when you listen to your sponges.
- Once baked, leave the sponges in their tins for 10 or so minutes before transferring upside down to a wire rack to cool completely.
Chocolate shards:
- While your sponges are cooling, make your cake toppers. Line a baking tray with parchment paper. Set aside.
- Prepare two heatproof bowls. Divide the white chocolate into two halves. Add ⅔ of the first half to one bowl. Add ⅔ of the other half to the other bowl.
- Melt the first half in the microwave in 20 second bursts, stirring in between until completely melted. Once melted, seed in the last ⅓ of the chocolate for this bowl and stir until mostly or completely melted. Add the pink food colouring and stir in. Place the bowl back in the microwave and heat for 10 seconds.
- Repeat step 3 for the other bowl of chocolate, adding green food colouring instead of pink to it.
- Spoon the melted chocolate in random places in the centre of the baking parchment on your tray.
- Using a palette knife or cutlery knife, spread the chocolate into one layer, being careful not to over mix the colours. The idea is to swirl the colours together, but not so much that they blend completely into one!
- Place in the fridge to set faster.
Buttercream:
- To make the buttercream, beat the butter in a large mixing bowl to loosen it. Add half of the icing sugar and beat in until light and fluffy. Add the other half of the icing sugar and beat in. Spoon in the evaporated milk and beat until the mixture is light and smooth.
- Split the mixture in half so that you have two large bowls of buttercream. Add the green food colouring to one bowl and the pink to the other – start with a little and build on the colour, adding as necessary. Beat each one individually so that you have a bowl of green buttercream and a bowl of pink buttercream.
- When your sponges are completely cool, it’s time to decorate!
- Spoon a dash of one of the buttercreams onto a cake board/stand/plate and place your first sponge layer on top of it.
- Thinly pipe a green line slightly off centre (more towards the left) and a pink one right next to it (more to the right). This will guide your halves. Spread some of the pink buttercream on the pink half and do the same with the green, smoothing down the lines of buttercream into their own halves as neatly as you can. Dip your palette knife in hot water (allow excess water to drip off) and smooth the buttercream with this to help.
- Top with the last sponge layer and pipe the two lines, making sure to pipe all the way down the top and bottom of the heart to make this easier. Create a crumb coat using the two buttercreams, keeping the green on one half and the pink on the other. Chill in the fridge while you make your cake toppers.
Decoration:
- Retrieve your cake from the fridge. Add more buttercream – either by piping or spatula – and smooth over the half you are working on first. Do the same with the other half so that you end up with a fully covered green side and a fully covered pink half.
- Using an open star piping tip, pipe around the top and bottom edges of the cake first. Start with one side, then be sure to clean your piping tip and use a fresh piping bag and pipe on the other half. Check the Top Tips section above for a technique tip.
- Repeat this process with the remainder of your decoration, using a leaf piping tip or other tip of your choice. Just be sure to practise with them on a plate before using them for your cake if needed.
- To finish, break the chocolate into shards and push them into the top of your cake.
This magical, whimsical Wicked inspired birthday cake is best enjoyed on the day, but will remain delicious for around 4+ days if stored in an airtight container/cake case/cake stand. It makes a very elegant cake fit for any Wicked themed birthday party. Enjoy!
The Film
At the time of writing this post, Wicked (2024) isn’t actually out yet. But, The Wizard of Oz (1939) is currently on my TV and the day this post goes live is the day Wicked is released in cinemas!
Wicked is only part one. The second part is due for release next year, so we’ll be transported back to Oz again!
I was lucky enough to see the musical in the West End a few years ago. It didn’t take long for me to understand why the production had been going for as long as it has and why it’s such a popular stage show.
I was blown away.
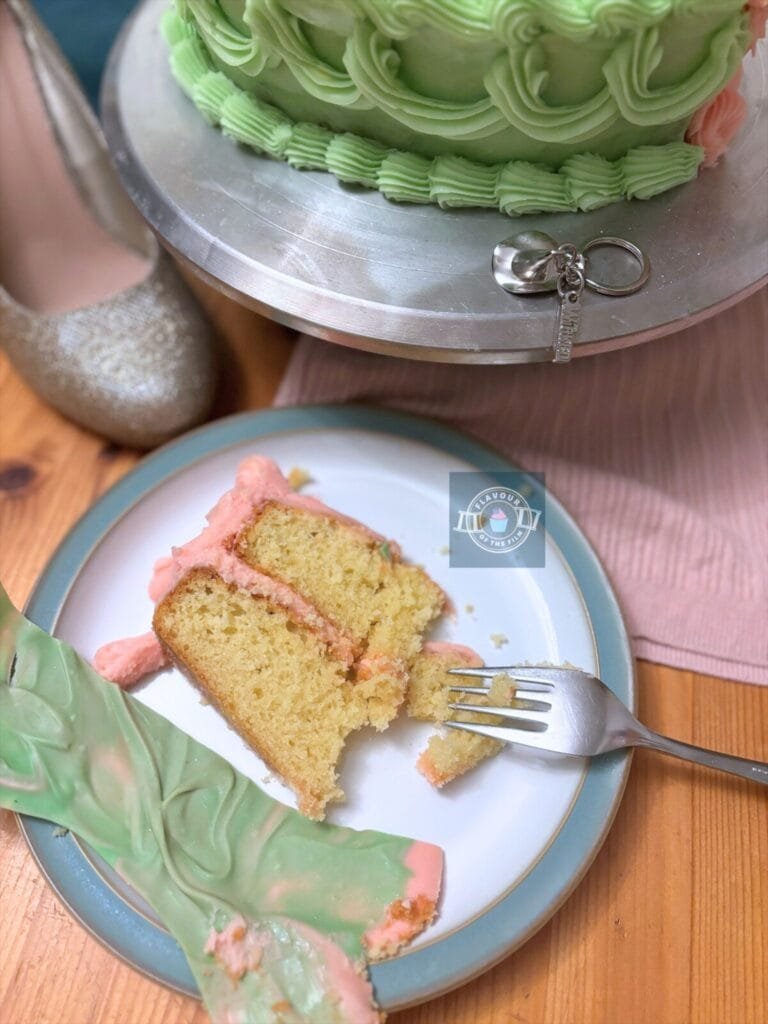
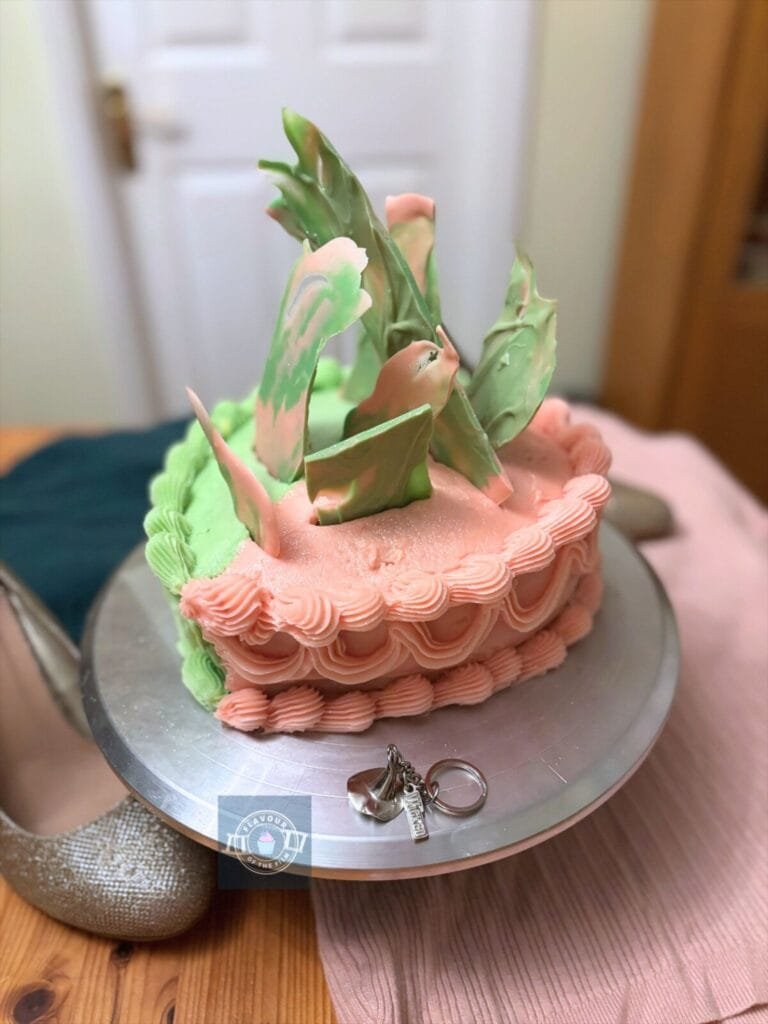
Wicked is an origin story. We discover how Elphaba and Glinda became the versions of themselves that we know of in The Wizard of Oz.
Years before Dorothy finds herself in the Land of Oz, Elphaba and Glinda – later known as different witch-y names – both attend Shiz University, where they meet.
A seemingly unlikely friendship blossoms between them, but that is put at risk when they encounter the Wonderful Wizard of Oz.
If you’ve seen the musical, you’ll know the rest of the story. If you haven’t and are waiting to attend a screening of the movie… I will say no more.
No spoilers, remember?
The filmmakers behind Wicked (2024) have put their all into doing this brilliant story justice.
In the director’s shoes (which I hope were ruby slippers) is Jon M. Chu, with Winnie Holzman and Dana Fox in charge of the screenplay. Holzman also wrote the musical book; the original novel that it is loosely based on is by Gregory Maguire.
It’s a musical, so I need to put the spotlight on the creatives responsible for the music! As you can imagine, the music department on this film was extensive to say the least. Similarly to the other demanding departments, like hair & makeup, wardrobe and visual effects to name a few.
The music and lyrics of Wicked are by John Powell and Stephen Schwartz. They created some of the most memorable songs from the stage in musical history.
The cast is one of the most integral parts when adapting a story that’s already as loved as this one is.
By the looks of the trailers, they’ve done a mighty fine job.
Playing their dream roles were singing sensation Cynthia Erivo as Elphaba and pop star Ariana Grande as Glinda. Joining them were a star-studded cast including Jonathan Bailey (any Bridgerton fans here?); Jeff Goldblum, Michelle Yeoh, Peter Dinklage, Keala Settle, Adam James, Bowen Yang, Ethan Slater, Marissa Bode, Bronwyn James and so many more.
I also love that Idina Menzel and Kristin Chenoweth are involved, too. The original Elphaba and Glinda on Broadway!
It really is a host of big industry names. Big names with big voices, which I can’t wait to hear!
I am truly very excited about this adaptation, so I hope it does the stage production justice.
Update: a few days after the film’s release, I went to the cinema to see it. WOW. It really is spectacular. Knowing that the cast sang live while filming is even more impressive when you see the stunts involved at the same time. Wicked (2024) feels like a musical on screen, not just a movie adaptation of a musical. I highly recommend.
Recipe Card
Easy Wicked Birthday Cake
Equipment
- 2 heart shaped cake tins 8 inches in size
Ingredients
Wicked birthday cake layers:
- 300 g unsalted butter room temperature or slightly softened
- 300 g [1½ cups] caster sugar
- 300 g eggs [about 4 large] room temperature
- 300 g [1¾ cups + 2 tbsp] self-raising flour
- 1 tsp orange extract
- ½ tsp high strength natural peach flavouring
Decoration:
- 400 g [10.5 oz] unsalted butter room temperature or slightly softened
- 800 g [5½ cups] icing [confectioners] sugar
- 2 – 3 tbsp evaporated milk optional – can be swapped for any milk
- Baby pink food colouring
- Green food colouring
- 150 g [5.25 oz] white chocolate
Instructions
- Wicked birthday cake sponges:
- Preheat your oven to 180°C [350°F] or 160°C fan. Grease and line the bases of two 8 inch heart shaped cake tins with baking parchment or greaseproof paper. Set aside.
- In a large mixing bowl, cream together the butter and sugar until light and fluffy.
- Add the eggs, beating them in one at a time until fully incorporated.
- Spoon in the orange and peach extracts and beat in.
- Sift in the flour and beat in just until you can no longer see any flour. Be mindful not to over mix here.
- Divide the mixture equally into your two lined tins and bake on the middle shelf for 25 – 30 minutes or until well risen and baked through. A cocktail stick or skewer should come out clean when tested, the surfaces of your sponges should spring back when gently pressed on and you should hear little to no crackling/bubbling sound when you listen to your sponges.
- Once baked, leave the sponges in their tins for 10 or so minutes before transferring upside down to a wire rack to cool completely.
- Chocolate shards:
- While your sponges are cooling, make your cake toppers. Line a baking tray with parchment paper. Set aside.
- Prepare two heatproof bowls. Divide the white chocolate into two halves. Add ⅔ of the first half to one bowl. Add ⅔ of the other half to the other bowl.
- Melt the first half in the microwave in 20 second bursts, stirring in between until completely melted. Once melted, seed in the last ⅓ of the chocolate for this bowl and stir until mostly or completely melted. Add the pink food colouring and stir in. Place the bowl back in the microwave and heat for 10 seconds.
- Repeat step 3 for the other bowl of chocolate, adding green food colouring instead of pink to it.
- Spoon the melted chocolate in random places in the centre of the baking parchment on your tray.
- Using a palette knife or cutlery knife, spread the chocolate into one layer, being careful not to over mix the colours. The idea is to swirl the colours together, but not so much that they blend completely into one!
- Place in the fridge to set faster.
- Buttercream:
- To make the buttercream, beat the butter in a large mixing bowl to loosen it. Add half of the icing sugar and beat in until light and fluffy. Add the other half of the icing sugar and beat in. Spoon in the evaporated milk and beat until the mixture is light and smooth.
- Split the mixture in half so that you have two large bowls of buttercream. Add the green food colouring to one bowl and the pink to the other – start with a little and build on the colour, adding as necessary. Beat each one individually so that you have a bowl of green buttercream and a bowl of pink buttercream.
- When your sponges are completely cool, it’s time to decorate!
- Spoon a dash of one of the buttercreams onto a cake board/stand/plate and place your first sponge layer on top of it.
- Thinly pipe a green line slightly off centre (more towards the left) and a pink one right next to it, more to the right. This will guide your halves. Spread some of the pink buttercream on the pink half and do the same with the green, smoothing down the lines of buttercream into their own halves as neatly as you can. Dip your palette knife in hot water (allow excess water to drip off) and smooth the buttercream with this to help.
- Top with the last sponge layer and pipe the two lines, making sure to pipe all the way down the top and bottom of the heart to make this easier. Create a crumb coat using the two buttercreams, keeping the green on one half and the pink on the other. Chill in the fridge while you make your cake toppers.
- Decoration:
- Retrieve your cake from the fridge. Add more buttercream – either by piping or spatula – and smooth over the half you are working on first. Do the same with the other half so that you end up with a fully covered green side and a fully covered pink half.
- Using an open star piping tip, pipe around the top and bottom edges of the cake first. Start with one side, then be sure to clean your piping tip and use a fresh piping bag and pipe on the other half. Check the Top Tips section above for a technique tip.
- Repeat this process with the remainder of your decoration, using a leaf piping tip or other tip of your choice. Just be sure to practise with them on a plate before using them for your cake if needed.
- To finish, break the chocolate into shards and push them into the top of your cake.
Notes
© Flavour of the Film. All content and imagery is copyright protected. Please do not use any of my images or written content without prior permission. If you would like to share any of the recipes or images on Flavour of the Film, please link back to the recipe in question and rewrite it in your own words, crediting Flavour of the Film as the original source.



2 Comments
Comments are closed.