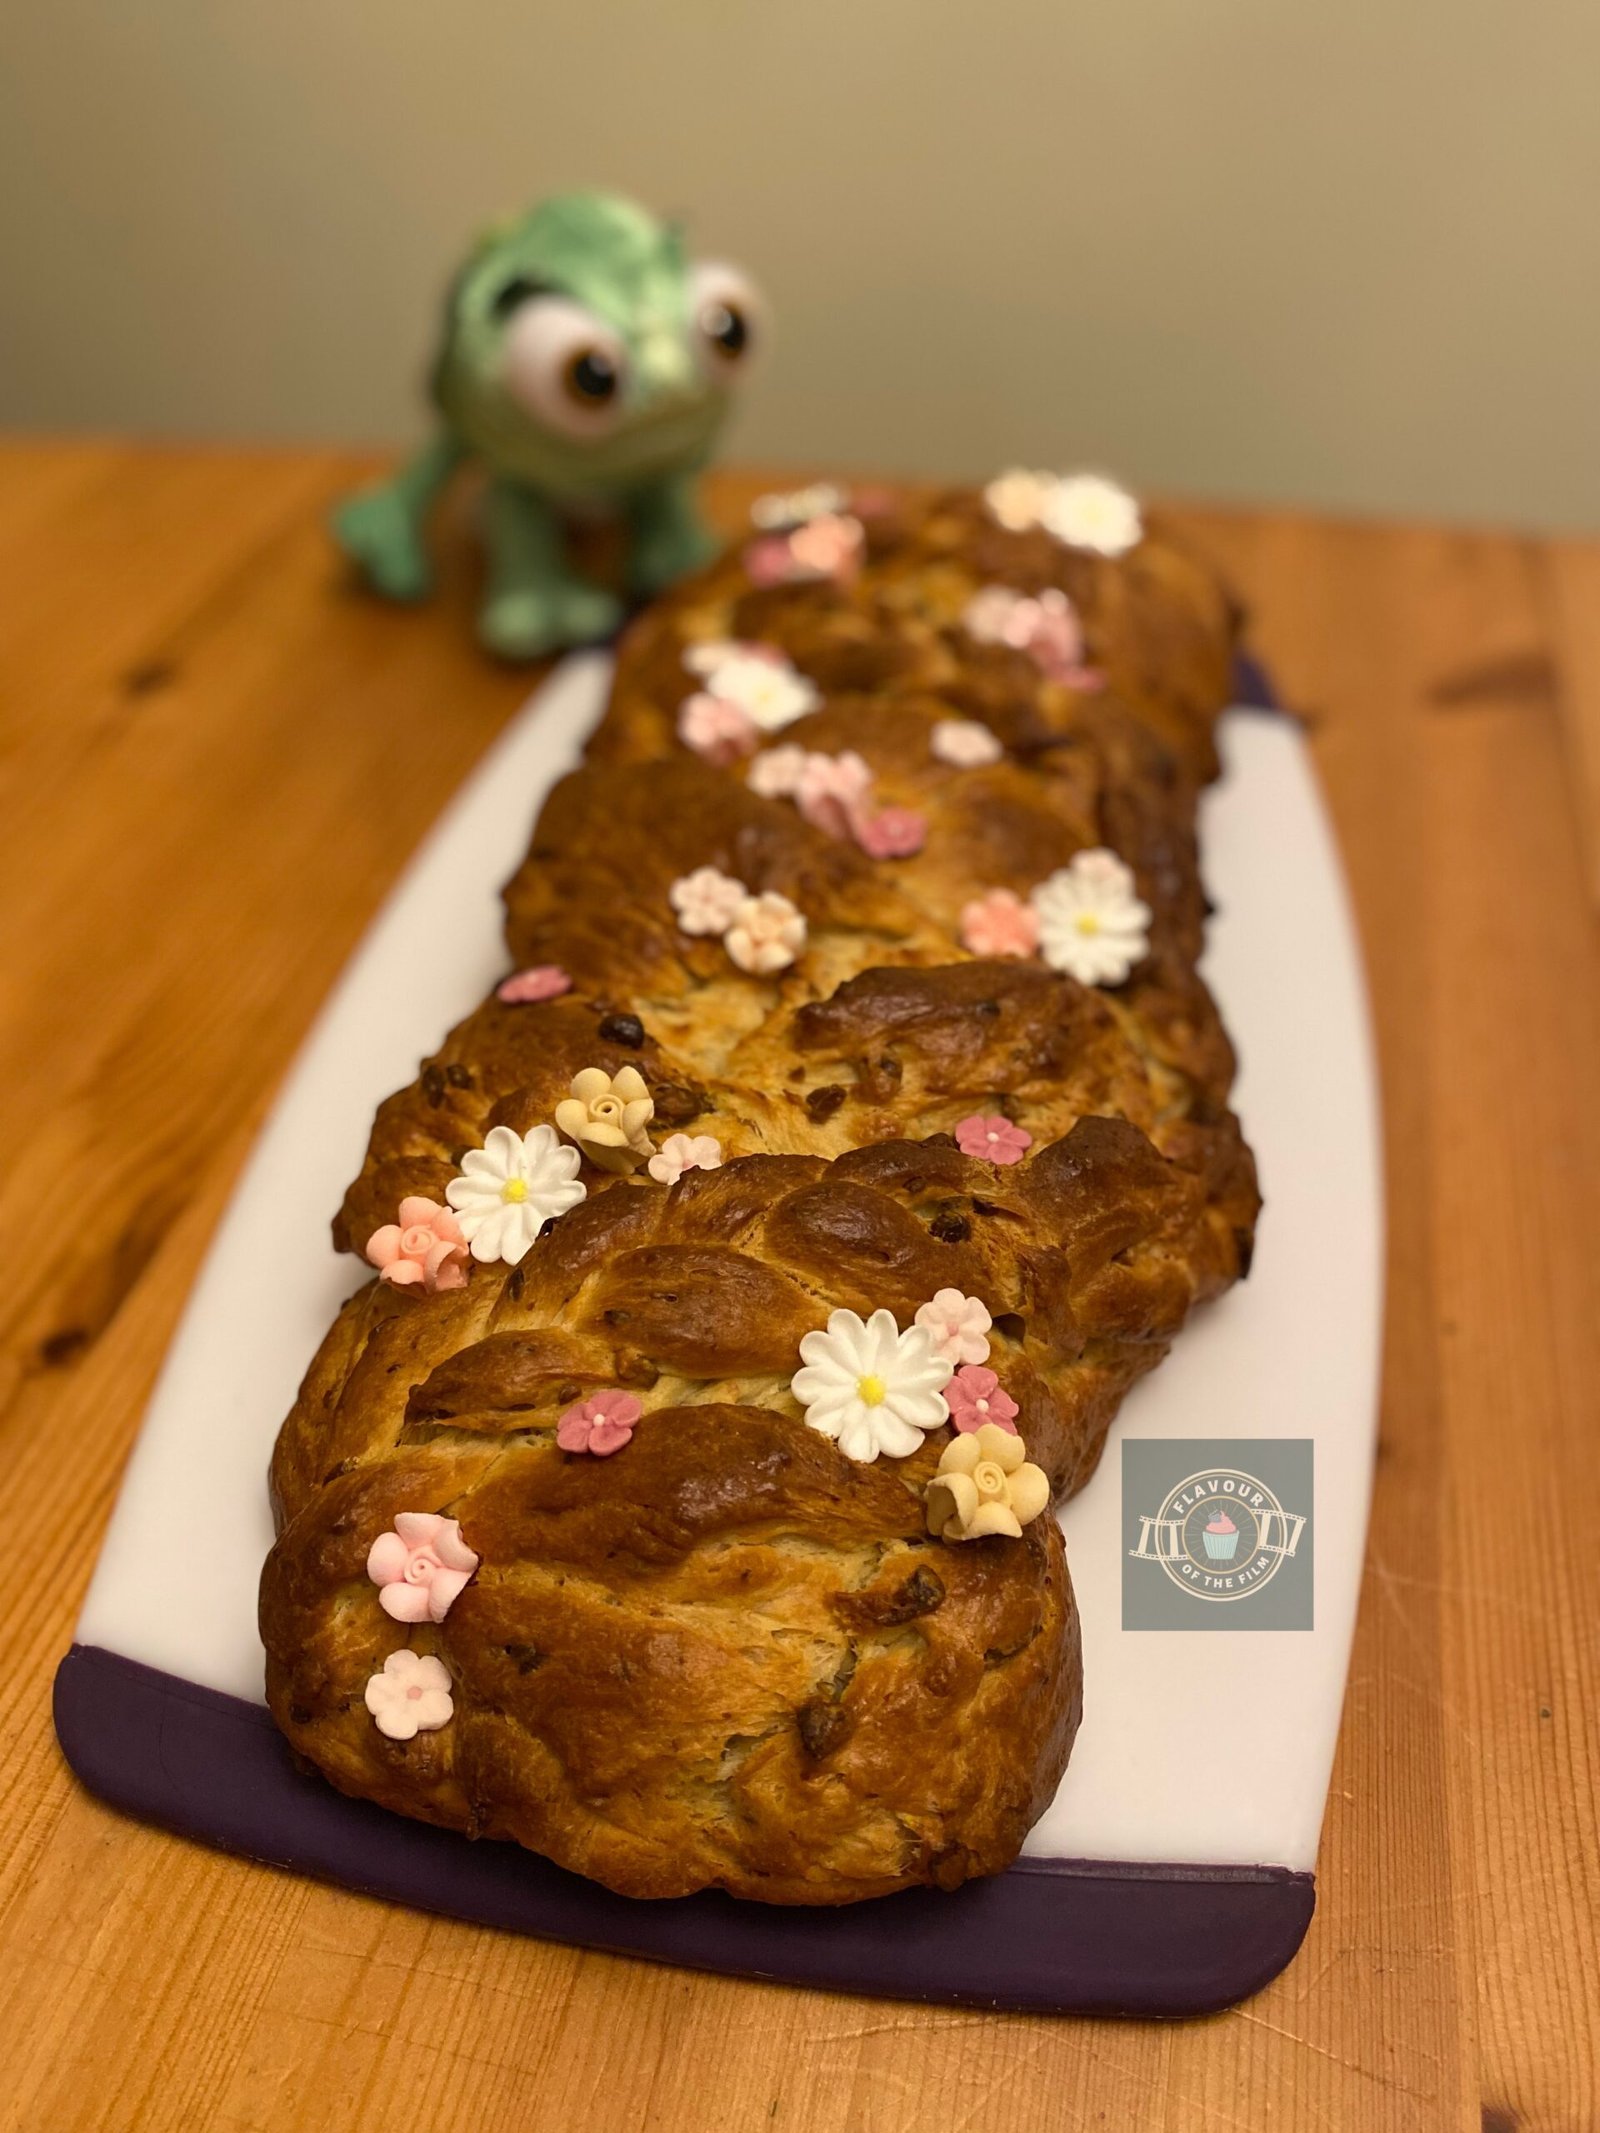
Braided Brioche | Disney's Tangled
Delicately buttery pistachio and rose water braided brioche shaped like Rapunzel's plaited hair, celebrating Disney's Tangled.
Ingredients
- 600 g [3¾ cups] plain [all-purpose] flour
- 7 g [1 sachet] fast action dried yeast
- 2 tsp salt
- 75 g [¼ cup + 2 tbsp] caster sugar
- 150 ml [5.5 oz] whole milk
- ½ tsp rose water
- 5 eggs
- 250 g [8.75 oz] softened unsalted butter cubed
- 75 g [½ cup] unsalted pistachios de-shelled (chopped)
- Edible/candy flowers for decoration
Instructions
- Add the flour and sugar to a large bowl. Add the salt to one side of the bowl and the yeast to the opposite side. Do not let the salt and yeast touch yet.
- Mix briefly with the dough hooks until combined.
- Add in the pistachios and mix again until well distributed.
- Measure the milk out into a saucepan and warm through on the hob [stove]. Stir regularly until the milk is warm to the touch. Do not let it boil.
- Take the milk off the heat. Add the milk and rose water to the dry ingredients and mix. You can do the rose water to taste, but know that a little goes a long way so take it easy!
- Add the eggs one at a time, mixing in between until incorporated.
- Knead on a medium speed for 10 minutes. If using a hand mixer, do this for as long as you can with it and then finish by kneading by hand, keeping the dough in the large bowl while you do so.
- Gradually add the butter over 5 minutes whilst the dough is kneading.
- Your dough will be ready when it looks elastic and shiny, and it passes the windowpane test: a piece of the dough stretches when pulled apart and you can see light through it before it rips apart completely. This is the elastic-like element that tells you the gluten has developed enough in your dough.
- Cover your dough in its bowl with cling film [plastic wrap] or beeswax wrap or a damp tea towel and allow to rise for an hour to two hours until doubled in size. I usually place my dough in an airing cupboard to rise but any relatively warm place will work. The warmer the place, the quicker your dough will rise so make sure to check on it – over proving is possible!
- Once doubled in size, place your dough in its current state in the fridge for 1 hour.
- Grease and line a good sized baking tray with greaseproof paper/baking parchment.
- After 1 hour is up, tip your dough out onto a clean and lightly floured surface. Knock the air out gently and then begin to shape the braid.
- Using a floured rolling pin, roll the dough out into a soft rectangular shape – length and width of your choice.
- With a large sharp knife, cut a chunk off the end of your dough – enough to be able to make three small braids from (about 15cm in length) and put aside.
- Leaving a 2 inch gap at the top, cut the dough into 3 sections to braid. Do this with the 2 inch gap at one of the short ends of your dough rectangle (not lengthways) so that it holds your 3 sections together.
- Braid the 3 sections by placing one section over the middle section, then the opposite side section over the newly-placed middle section. Repeat this until you have a large braid, then pinch all 3 sections at the end to keep them together.
- Repeat this process with your spare dough, dividing it and creating 3 small braids. Size here is a personal preference – the dough will enlarge in the last rising session.
- Lay the 3 small braids in different places of your main braid.
- Carefully lift and place the braid on your lined baking tray.
- Cover again and leave to rise for a final 30 – 35 minutes.
- After around 20 minutes of your dough in its final rise, preheat your oven to 180°C [325°F] or 160°C fan.
- Brush some whole milk or a single beaten egg over the surface of the dough.
- Bake your brioche braid on the middle shelf for around 35 minutes, until deeply golden and softly-hollow sounding when tapped on.
- Leave to cool for 10 or so minutes on the baking tray before transferring to a wire rack to cool completely.
- Once completely cool, decorate with your chosen flowers.
Notes
This lusciously buttery braided brioche is best eaten on the day. It will still be edible for another day if kept in an airtight container, but it won’t be as light and feathery. Enjoy!